Suzuki Outboard Lower Unit Oil: Everything You Need to Know
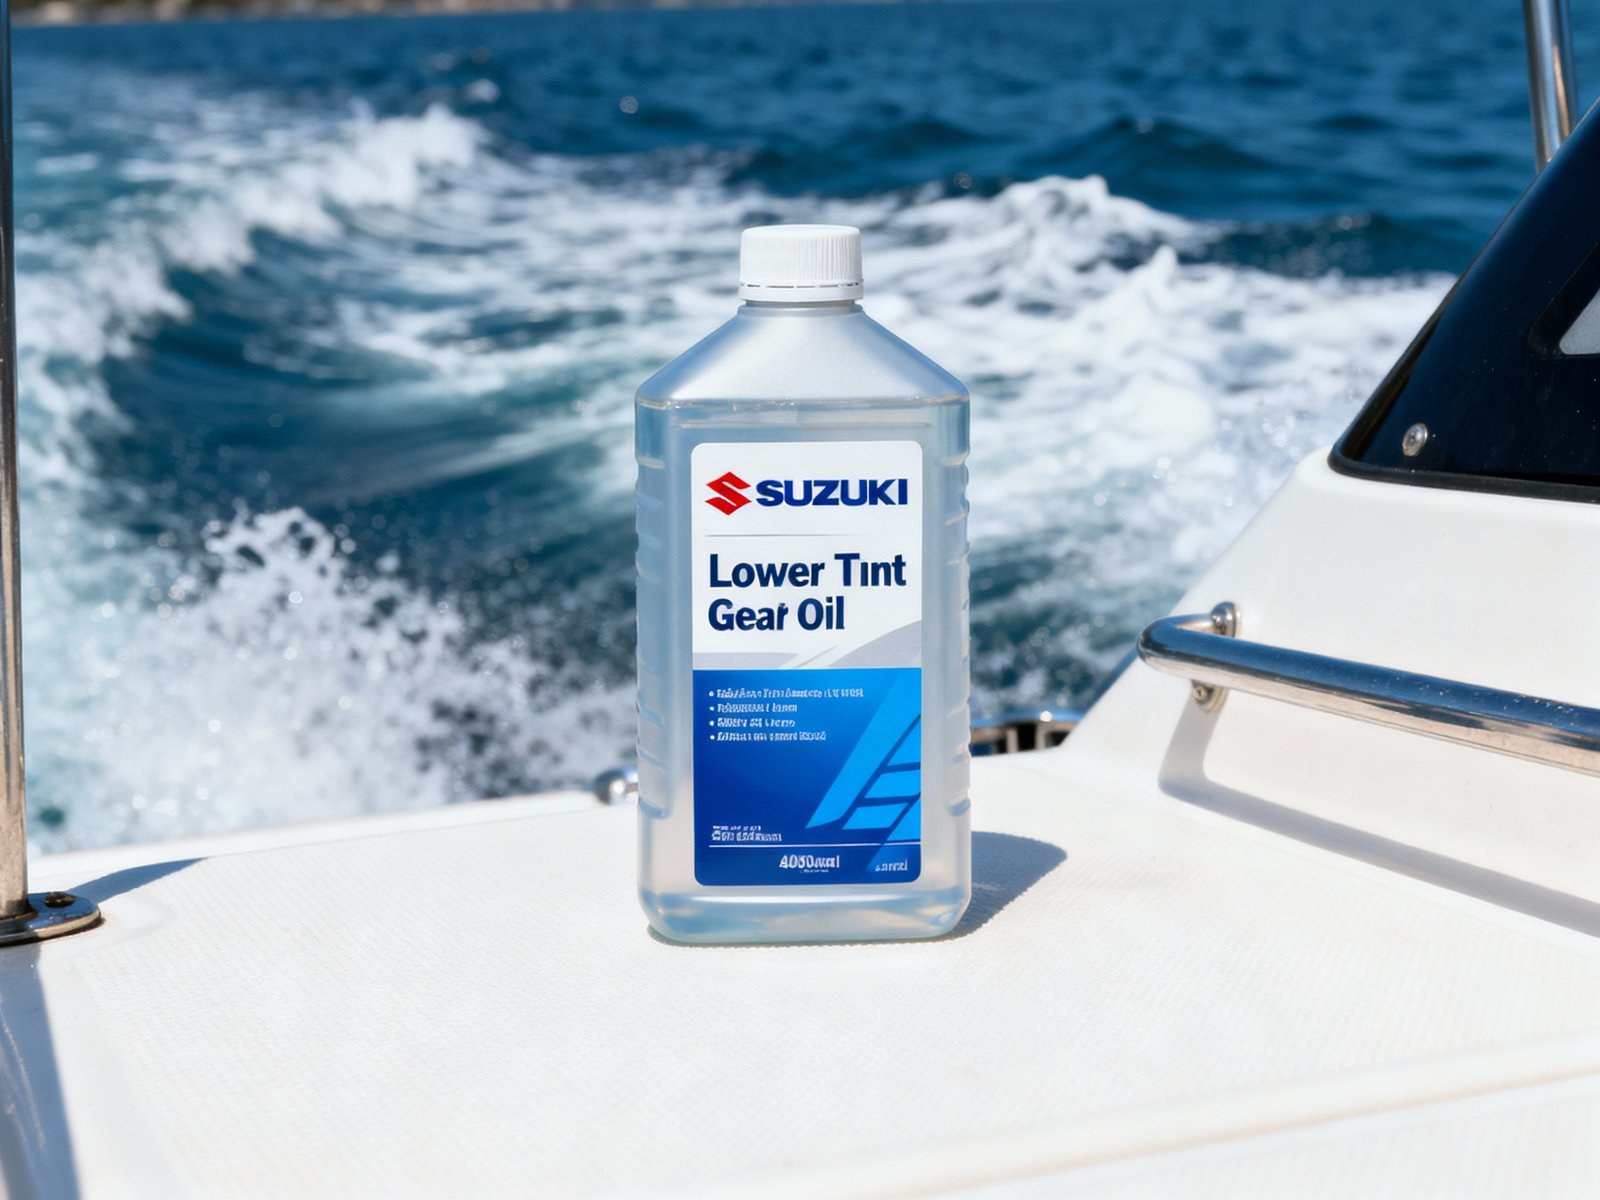
Maintaining the lower unit oil in your Suzuki outboard engine is essential to ensure smooth operation, maximize reliability, and prolong the life of your marine investment. Whether you’re an experienced boater or a first-time Suzuki outboard owner, following best practices for your lower unit oil can save significant repair costs and keep your outboard running at peak performance.
What Is Suzuki Lower Unit Oil?
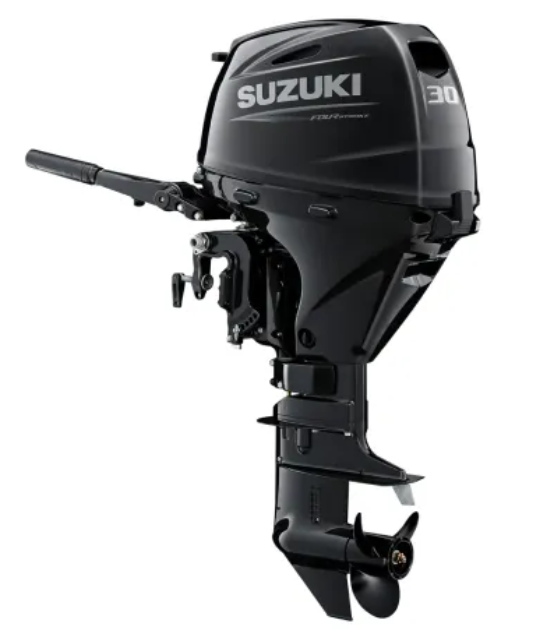
Suzuki lower unit oil, also known as gear oil or gear lube, is a specialized lubricant designed for the outboard’s lower unit. The lower unit contains gears, bearings, and shafts that translate engine power to the propeller, driving your boat forward.
The oil’s essential functions include:
Reducing Friction: It lubricates the moving metal parts inside the gear case, preventing wear and tear.
Cooling: It dissipates the heat generated by the gears and bearings during operation.
Corrosion Protection: Marine gear oils are formulated to resist water intrusion and saltwater corrosion.
Contaminant Suspension: It helps keep metal shavings and other contaminants suspended until the next oil change.
Using a high-quality, marine-specific Suzuki gear oil is necessary as it is engineered to handle the harsh water environments and demanding conditions faced by outboards.
Why Regular Lower Unit Oil Changes Matter
Regularly changing your Suzuki lower unit oil is critical for several reasons:
Lubrication: Over time, the oil breaks down, diminishing its lubricating properties, which leads to increased friction and premature gear damage.
Cooling Efficiency: Fresh oil better carries heat away, preventing overheating of gear components.
Contamination Control: Water contamination, especially from saltwater, can cause the oil to become milky or foamy, risking corrosion and internal rust.
Extended Gearbox Life: Prevents costly repairs due to gear pitting, bearing failure, or seal damage.
Ignoring oil maintenance can lead to catastrophic lower unit failure, resulting in costly replacements or refurbishments.
Signs Your Suzuki Lower Unit Oil Needs Changing
It is important to regularly inspect your lower unit oil for early signs of degradation or contamination. Here’s what to look out for:
Oil Appearance:
Milky or foamy texture indicates water intrusion.
Dark, burnt-smelling oil suggests overheating or oil breakdown.
Oil Level:
Low oil levels can lead to insufficient lubrication causing gear damage.
Operational Signs:
Unusual grinding or whining noises from the lower unit.
Excessive vibration or decreased performance.
If any of these symptoms appear, change your lower unit oil immediately and inspect for possible leaks or seal damage.
How Often Should You Change Suzuki Lower Unit Oil?
The general recommendation is to change the lower unit oil every 100 hours of engine use or at least once per year, whichever occurs first. This interval may vary based on usage conditions:
Frequent or Commercial Use: Shorten oil change intervals.
Saltwater Operation: Increase inspection frequency due to higher corrosion risk.
Post-Storage: Always change oil after winter storage to remove any condensed moisture.
It is best to follow the maintenance schedule in your Suzuki owner’s manual for your specific model.
Choosing the Right Oil for Suzuki Lower Unit
Suzuki recommends SAE 80 or SAE 90 weight marine gear oil for most models. Key selection criteria include:
Marine-Specific Formulation: Oils should meet or exceed the FC-W marine gear oil standards.
Hypoid Gear Oil: Provides superior lubrication and heat resistance.
Genuine Suzuki or Equivalent: Use Suzuki ECSTAR Hypoid Gear Oil or a high-quality OEM equivalent.
Avoid automotive or non-marine gear oils as they lack water separation and anti-foaming properties, risking damage in marine environments.
Tools and Supplies Needed
To perform a lower unit oil change, gather all necessary tools and supplies before starting:
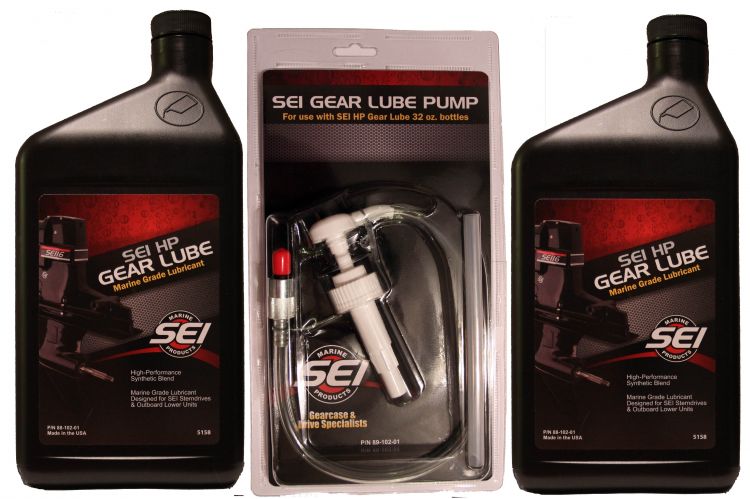
Gear lube pump (manual or electric)
Genuine Suzuki lower unit gear oil (capacity per model)
Container to catch old oil (drain pan)
Large flat-head screwdriver or impact driver
Clean shop towels or rags
Gloves and safety glasses
Preparing ahead prevents spills and ensures a smooth maintenance process.
Step-by-Step Guide to Changing Suzuki Lower Unit Oil
Performing regular oil changes yourself can save money and ensure your outboard runs smoothly. Follow these steps:
Warm Up the Engine:
Running the engine for a few minutes warms the oil, allowing it to drain better.Position the Boat and Prepare:
Place the boat on a trailer or lift for easy access. Put on gloves and position the drain pan.Remove Drain and Vent Plugs:
Locate the lower unit’s bottom drain plug and upper vent plug/screws. Using a screwdriver or impact driver, remove both plugs to allow the oil to drain fully.Drain the Old Oil:
Let the oil drain completely into your container. Inspect the oil for water contamination (milky color) or metal shavings.Replace Drain Plug:
Clean and reinstall the drain plug securely after draining.Refill the Lower Unit Oil:
Attach the gear lube pump to the new oil bottle and fill through the vent hole until fresh oil begins to flow from the top vent hole.Reinstall Vent Plug:
Replace the vent plug securely. Avoid overtightening, which can damage plugs.Clean Up and Dispose of Old Oil:
Wipe spills and dispose of used oil properly at an authorized recycling center.Check for Leaks:
After the first run post-change, inspect the lower unit for leaks or issues.
Additional Tips for Lower Unit Maintenance
Always keep a spare set of drain and vent plug seals to ensure a proper seal.
Inspect the propeller shaft for fishing line or debris wrapped around it to prevent seal damage.
Schedule regular professional inspections for seals, bearings, and gears.
Store your boat properly in the offseason with fresh lower unit oil and marine grease.
Conclusion
Routine maintenance of your Suzuki lower unit oil is essential for optimal outboard performance and longevity. By consistently inspecting, changing with quality marine gear oil, and following proper procedures, you can avoid costly repairs and keep your boat running efficiently for years to come.
Read More:
Yamaha Lower Unit Compatibility Chart | 5 Reliable Steps to Choose the Right Replacement
Yamaha Outboard Motor Lower Unit — Anatomy, Purpose, and Common Issues
Yamaha Lower Unit Upgrades: Performance Mods Worth Considering
👉 Upgrade Your Yamaha Outboard Today
Get the best-performing Yamaha lower units at unbeatable prices.
Have any questions? Our experts are available anytime — just text us in the chatbot below.


