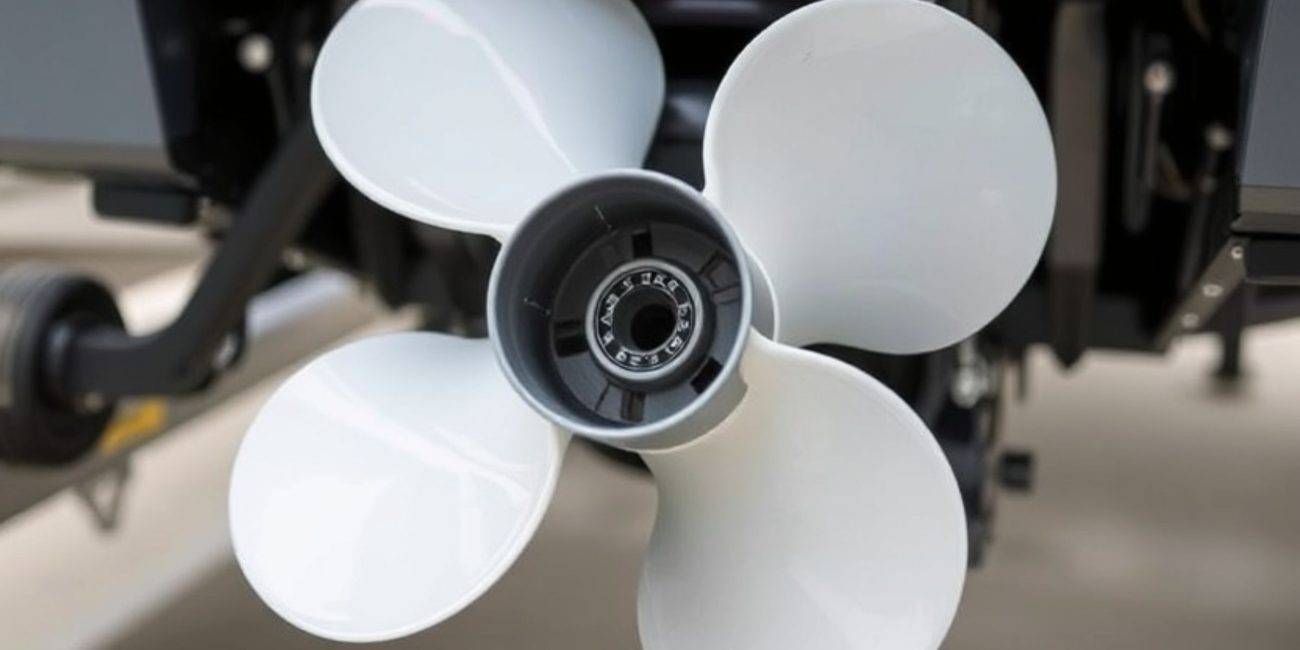
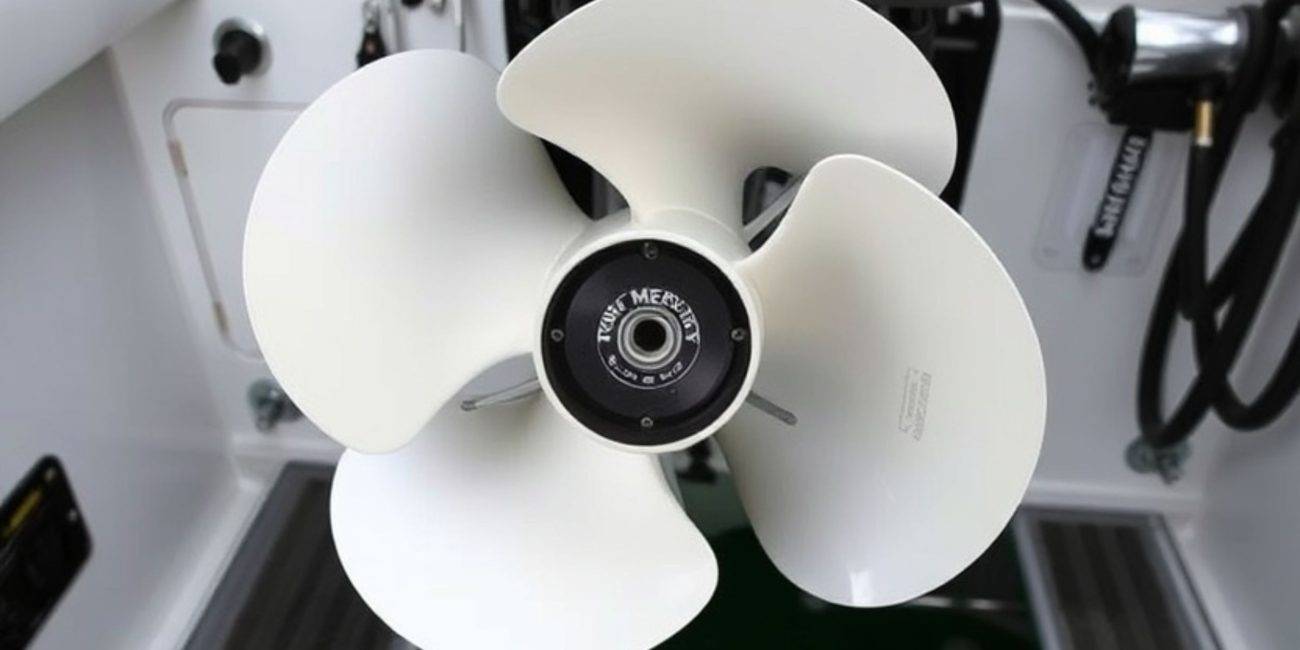
Evinrude 763459 Propeller Installation
The Evinrude 763459 Propeller is a high-performance propeller designed to provide smooth operation and efficient power transfer for your boat. However, even the most durable propellers will fail to perform at their best without proper installation. Proper alignment with your outboard lower unit ensures that the propeller works efficiently, reduces wear and tear, and boosts fuel efficiency. This guide will walk you through the detailed steps to install the Evinrude 763459 Propeller, making sure that you get the most out of your boating experience.
Grab a great deals on AllBoatSupplies.com .
Tools and Materials You’ll Need
Before starting the installation, gather the following essential tools and materials:
- Evinrude 763459 Propeller
- Propeller wrench
- Torque wrench
- Marine grease
- Cotter pin (if applicable)
- Safety gloves and eyewear
Having the right tools ensures the installation process goes smoothly and helps prevent unnecessary damage to the propeller or outboard unit.
Step 1: Preparing for Installation
1.1. Power Off the Engine
For safety purposes, make sure the boat’s engine is turned off, and the ignition key is removed. This prevents accidental engagement of the propeller during the installation.
1.2. Access the Outboard Lower Unit
Carefully tilt the engine upwards so that the outboard lower unit is easily accessible. Secure the boat to prevent any accidental movement during the process.
Step 2: Removing the Old Propeller
2.1. Remove the Propeller Nut
Use a propeller wrench to loosen and remove the nut holding the old propeller. Make sure to keep the nut, washers, and any additional hardware safe for reuse.
2.2. Inspect the Shaft and Clean
Once the old propeller is removed, inspect the shaft for any corrosion or debris. Clean the shaft thoroughly and apply a light layer of marine grease to prevent rusting and make installation smoother.
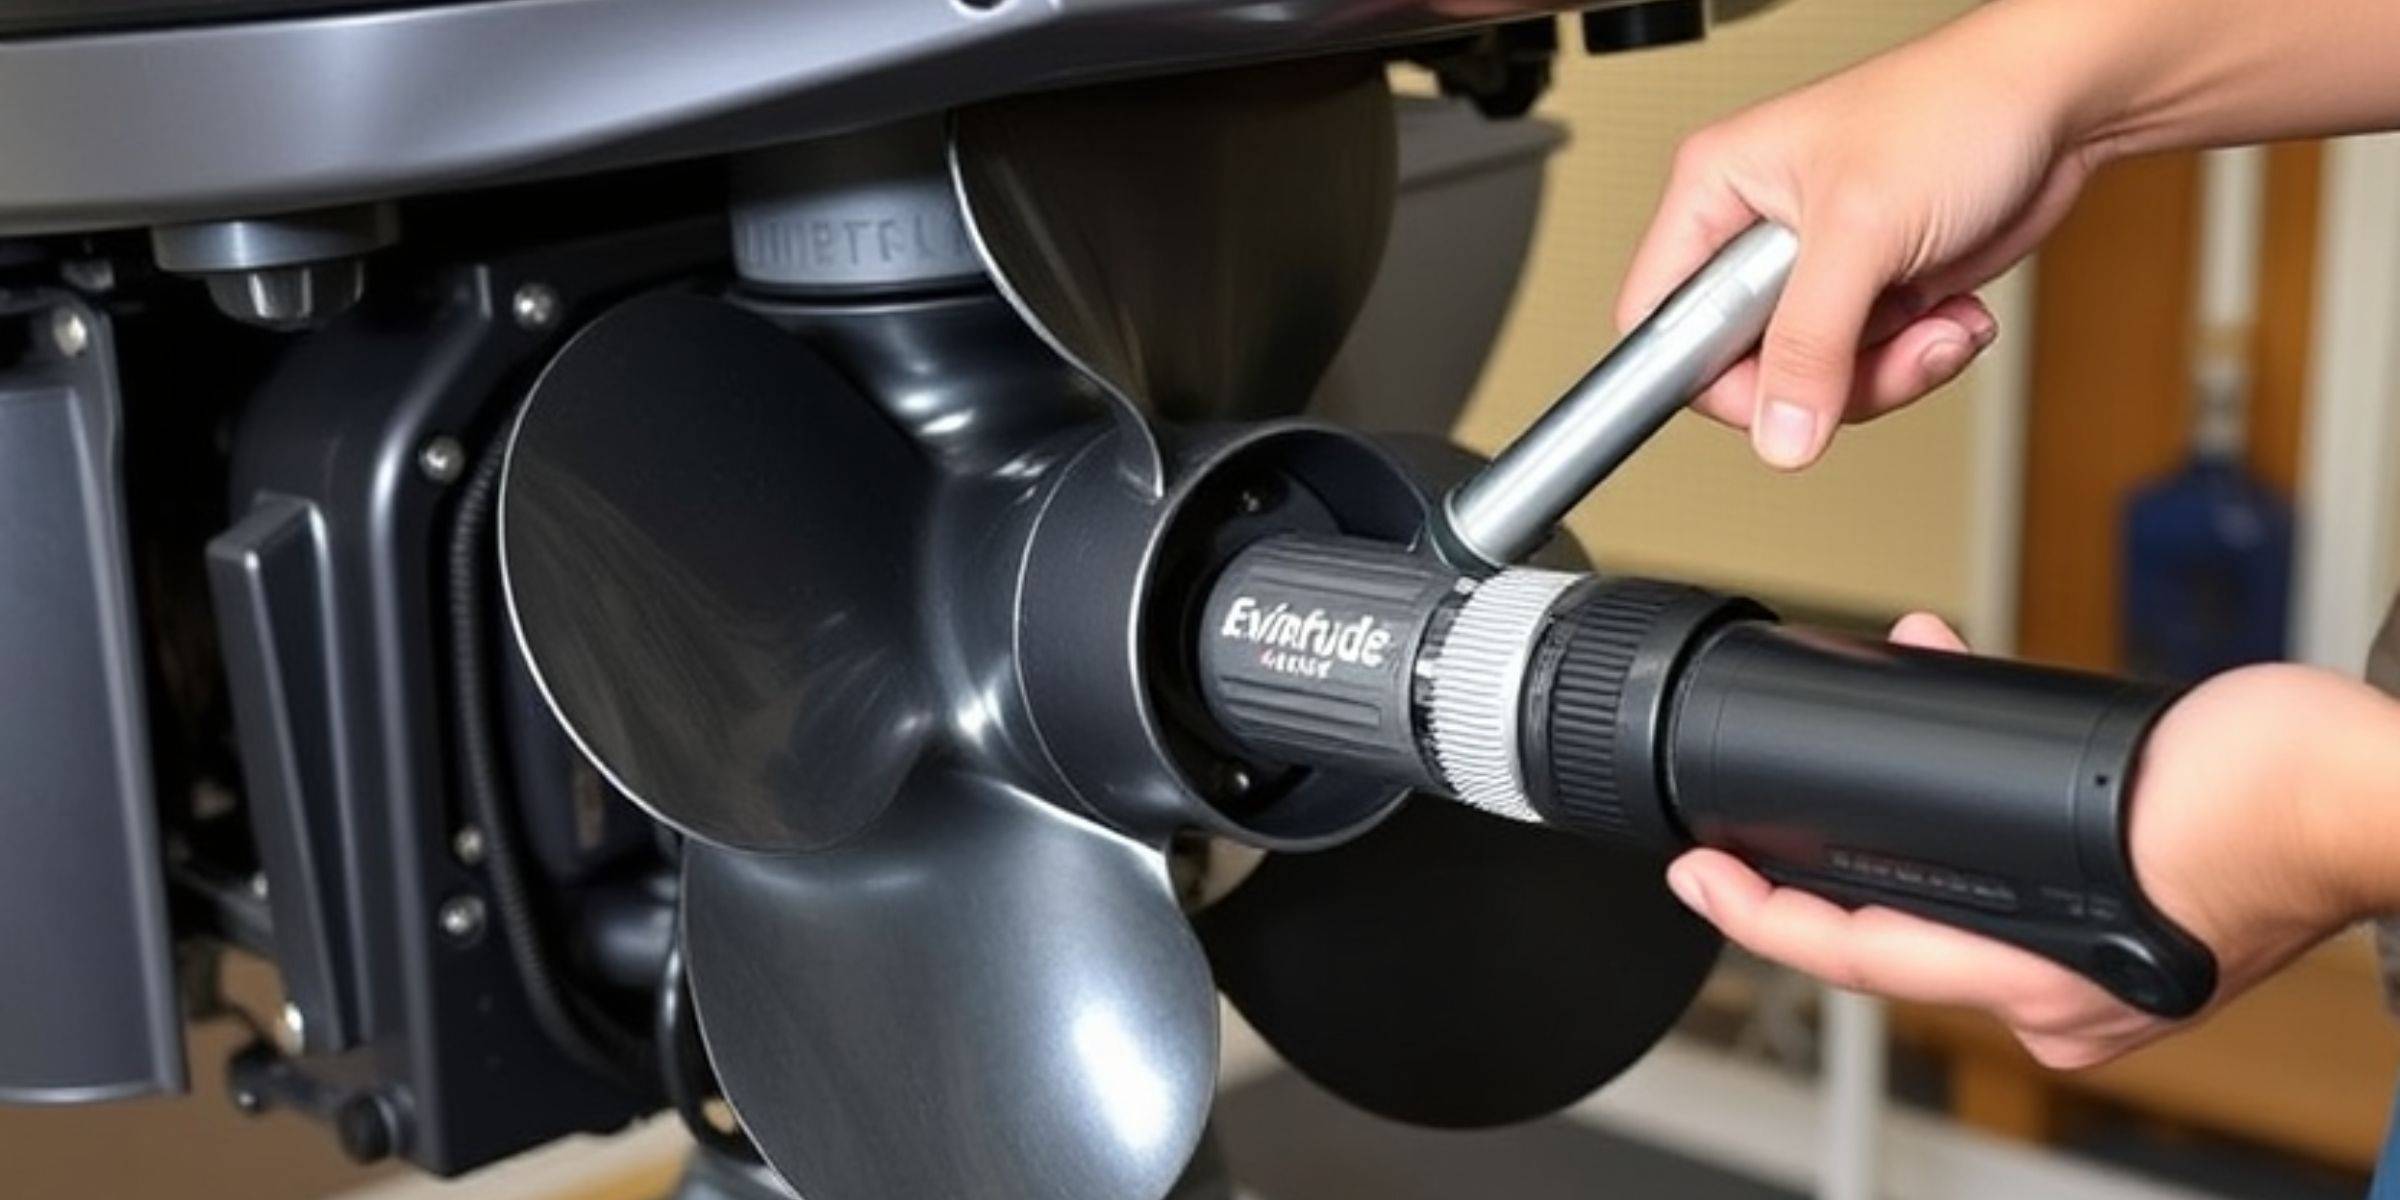
Step 3: Installing the Evinrude 763459 Propeller
3.1. Align and Slide the Propeller
Take the Evinrude 763459 Propeller and align it properly with the shaft’s splines. Gently slide the propeller onto the shaft, ensuring it fits snugly into place.
3.2. Secure the Propeller with Washers and Nut
Once the propeller is in position, place the washers back onto the shaft, followed by the propeller nut. Hand-tighten the nut to keep the propeller in place.
3.3. Tighten with a Torque Wrench
Use a torque wrench to tighten the nut to the manufacturer’s recommended torque specification. This ensures the propeller is secure, but not over-tightened, preventing damage to the outboard lower unit.
3.4. Insert the Cotter Pin
If your outboard lower unit includes a cotter pin, insert it into the hole in the shaft and bend the ends to lock it in place. This ensures that the nut remains secure during operation.
Step 4: Final Checks
4.1. Ensure the Propeller is Secure
Before starting the engine, double-check that the propeller is securely installed and that the nut is tightened to the correct specification.
4.2. Test the Propeller
With everything in place, start the engine and perform a short test at idle speed to ensure the propeller is running smoothly. Listen for any unusual noises that could indicate misalignment or an installation issue.
Common Issues and Troubleshooting Tips
- Vibration or noise: If you notice vibration or excessive noise after installation, the propeller may not be properly aligned with the outboard lower unit. Recheck the installation and ensure everything is tight.
- Slipping propeller: If the propeller seems to slip or doesn’t engage properly, inspect the shaft for any signs of wear or damage.
- Overheating engine: If the engine is overheating, check if the propeller is too tight or if any debris is obstructing the shaft or cooling system.
Conclusion: Secure Your Evinrude 763459 Propeller for Optimal Performance
The proper installation of the Evinrude 763459 Propeller is essential for ensuring your boat performs at its best. By following the steps outlined above, you can easily install the propeller, align it with your outboard lower unit, and ensure a smooth and safe boating experience. Regular maintenance and checks are also essential to keep the propeller in top condition.
For best results, always use the proper tools and follow the manufacturer’s guidelines.
For more insights, check out our previous blog: “Is the Turning Point Propellers 31501930 suitable for saltwater use?.”