Guide to Outboard Lower Unit Oiling
Why Outboard Lower Unit Oiling is Critical
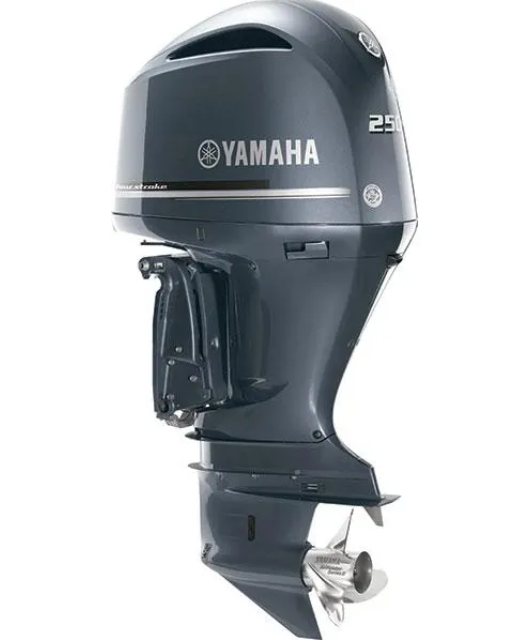
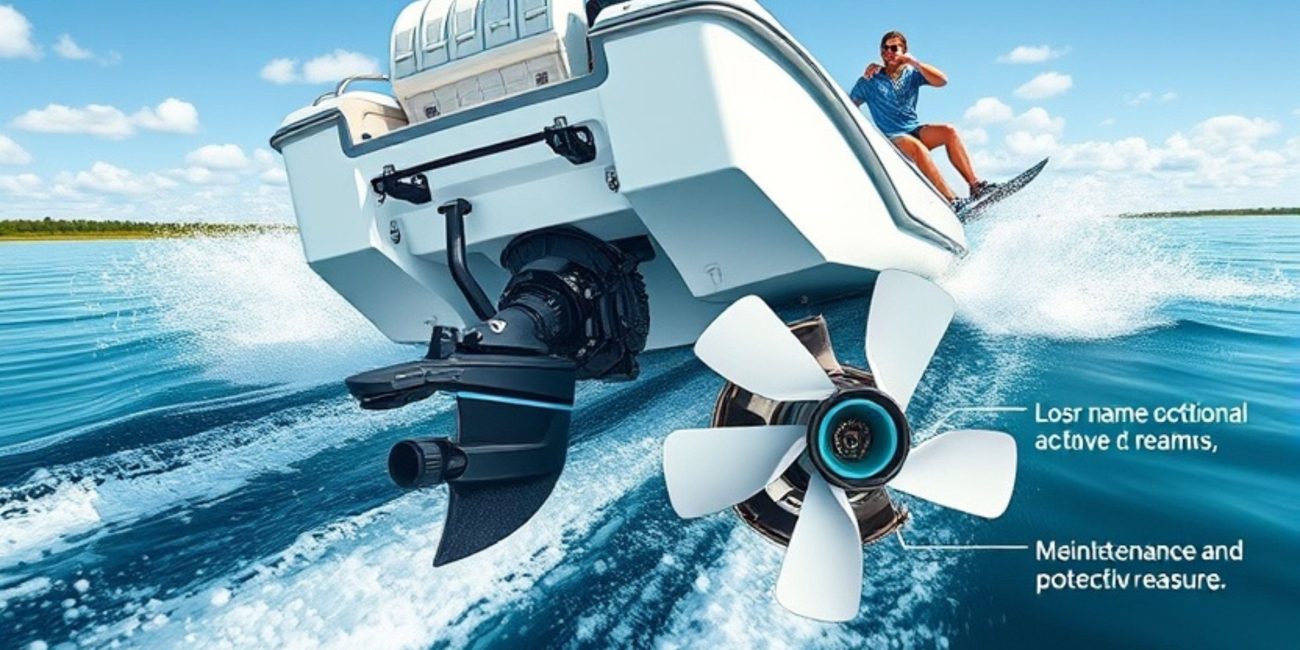
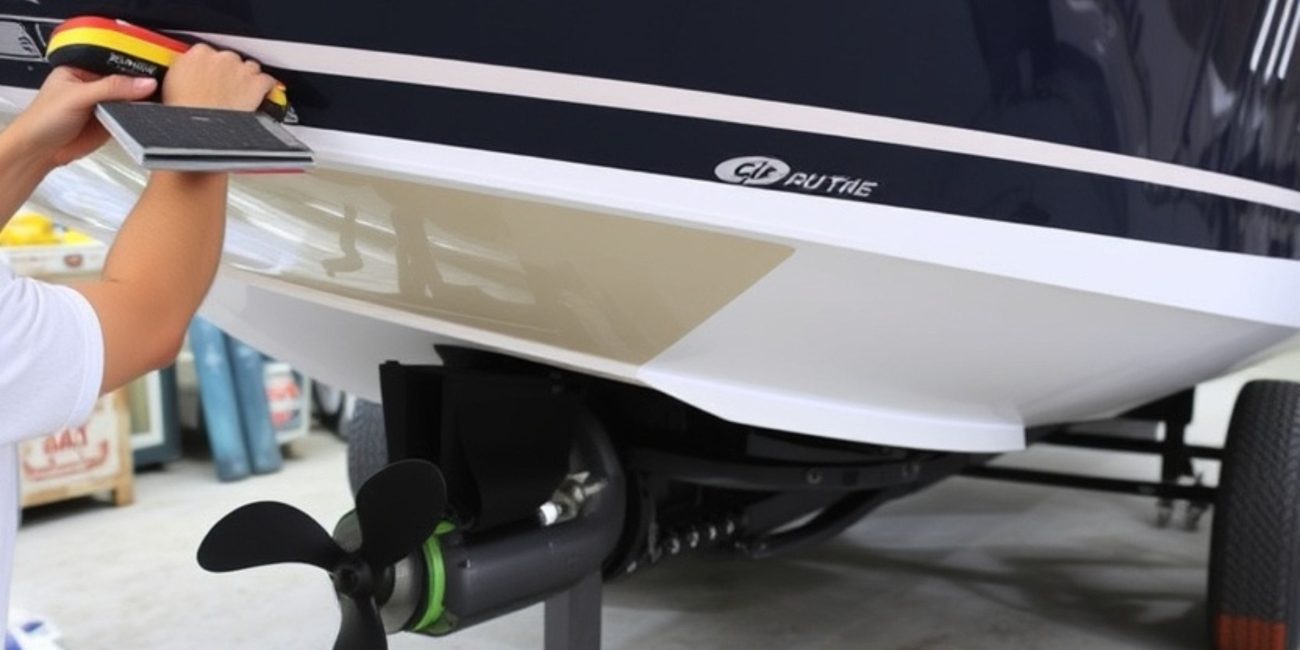
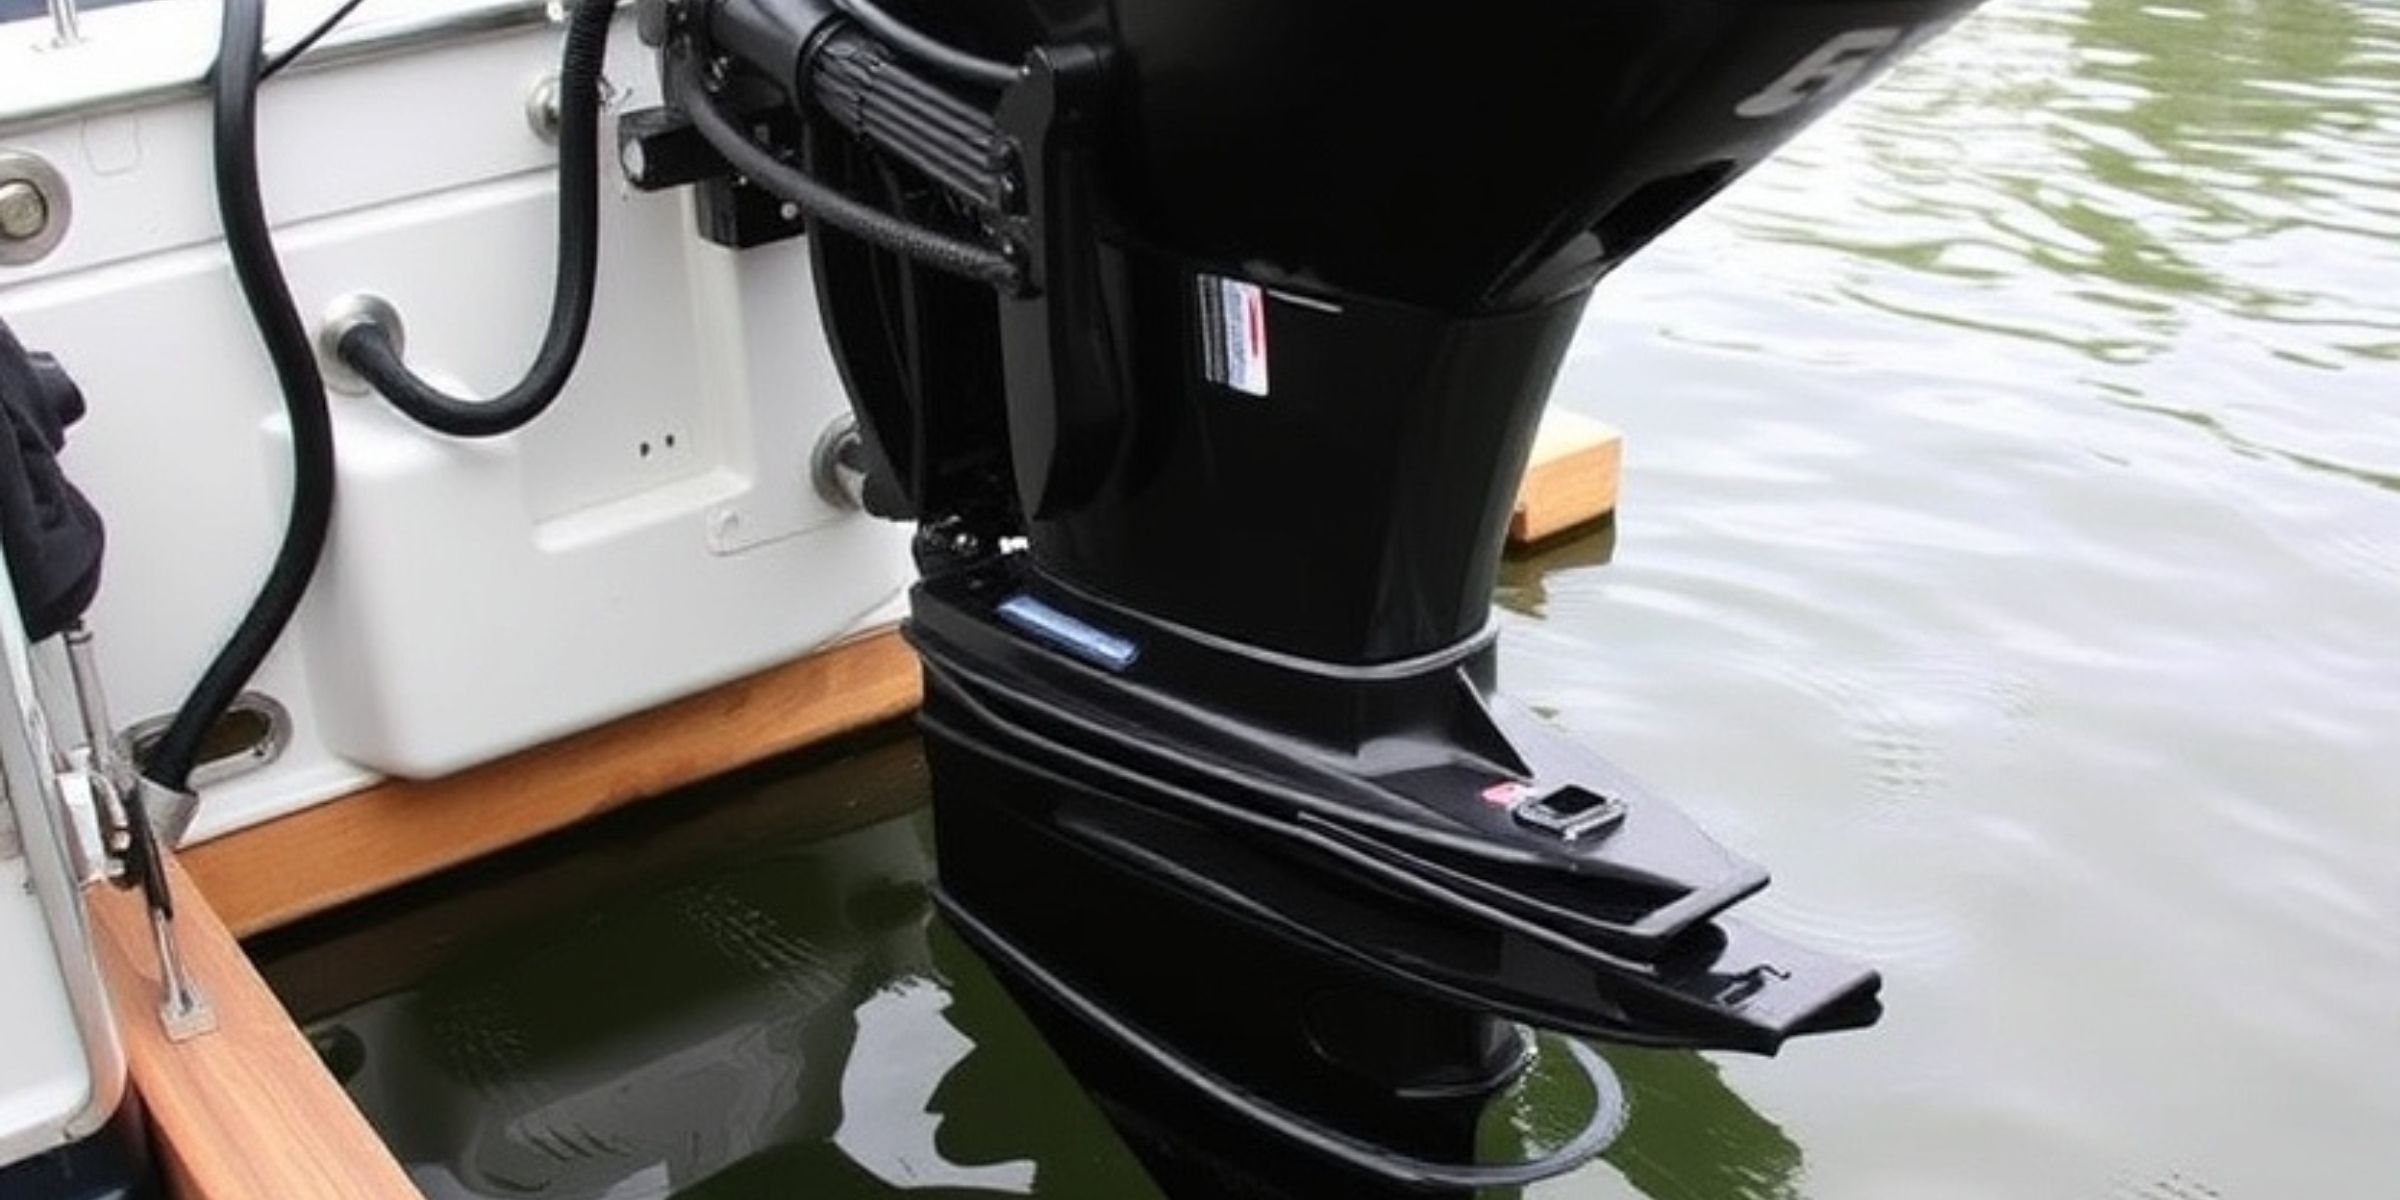
The outboard lower unit is a key component and outboard lower unit oiling is very important for maintaing the long lasting performance of yhour boat, housing essential parts like gears and the propeller shaft. Proper oiling ensures smooth operation, prevents overheating, and extends the life of your engine.
This guide to outboard lower unit oiling provides step-by-step instructions, essential tools, and expert tips to keep your marine engine in top shape. Whether you’re a beginner or an experienced boater, regular maintenance will save you from costly repairs and enhance your boat’s performance.
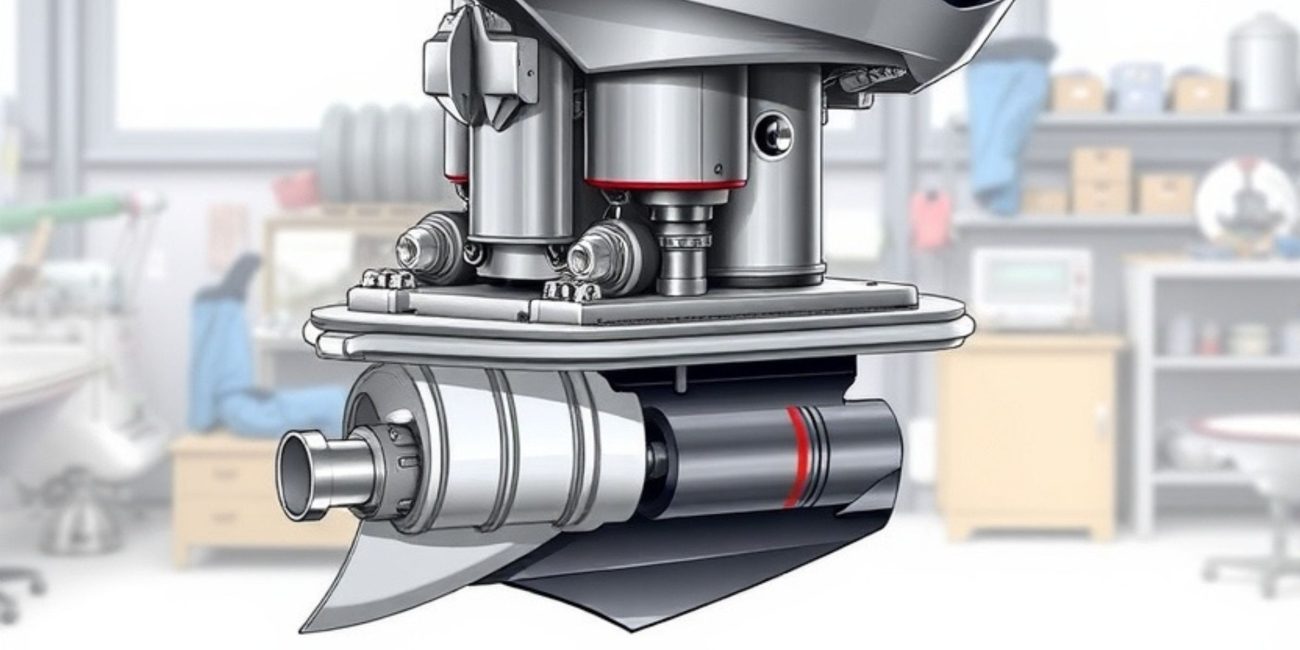
Understanding the Outboard Lower Unit
What is the Outboard Lower Unit?
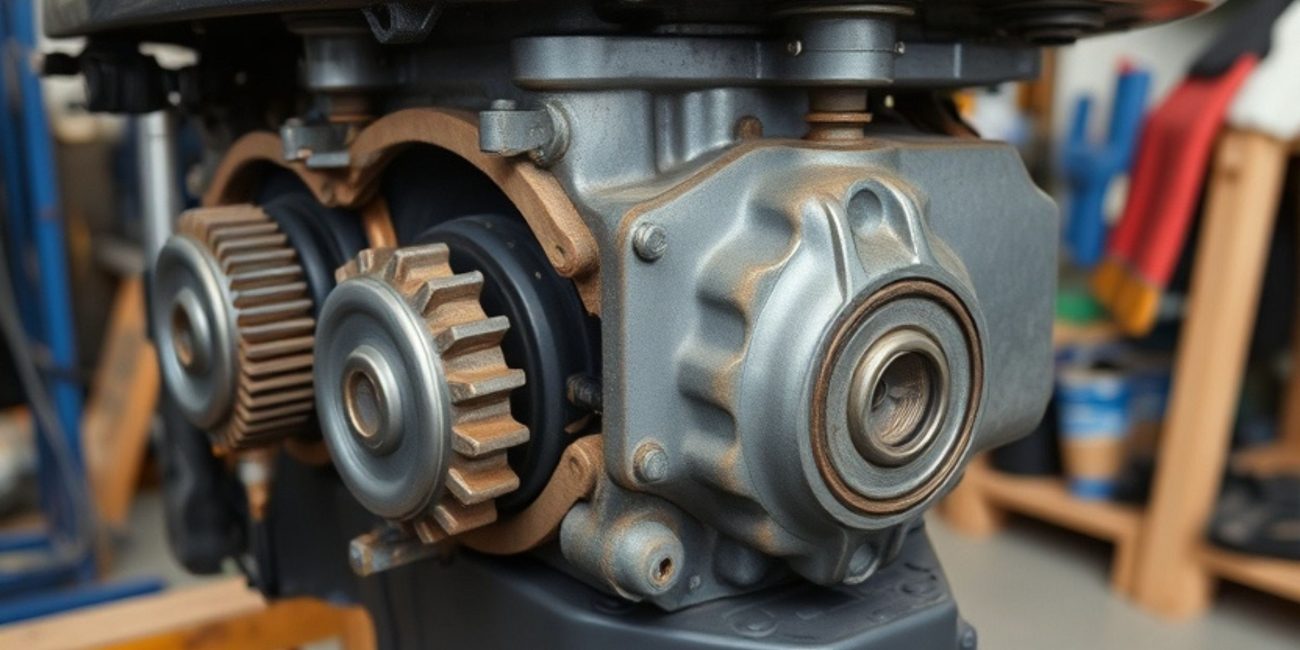
- It’s the bottom part of the outboard engine that includes:
- Gears.
- Driveshaft.
- Propeller shaft.
- Water pump.
Role of the Lower Unit
- Converts engine power into thrust via the propeller.
- Ensures smooth and efficient propulsion.
Importance of Oiling
- Reduces wear and tear.
- Prevents corrosion from saltwater.
- Keeps the gears lubricated and cool during operation.
Tools and Materials for Outboard Lower Unit Oiling
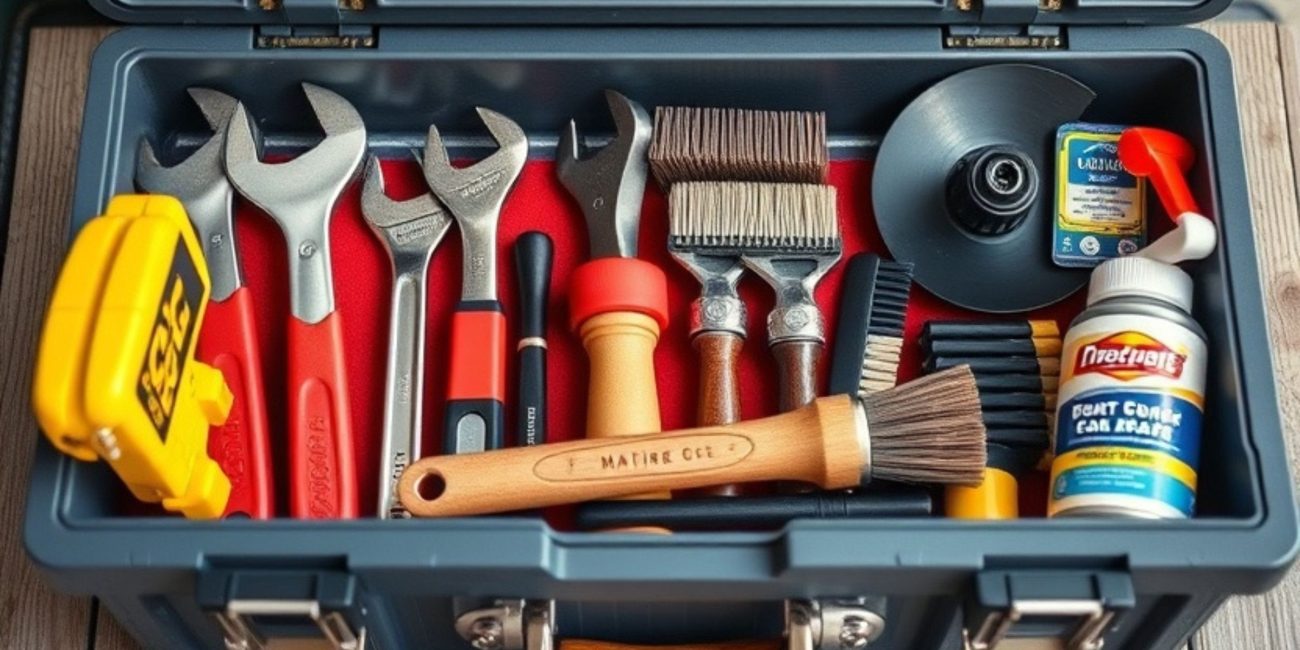
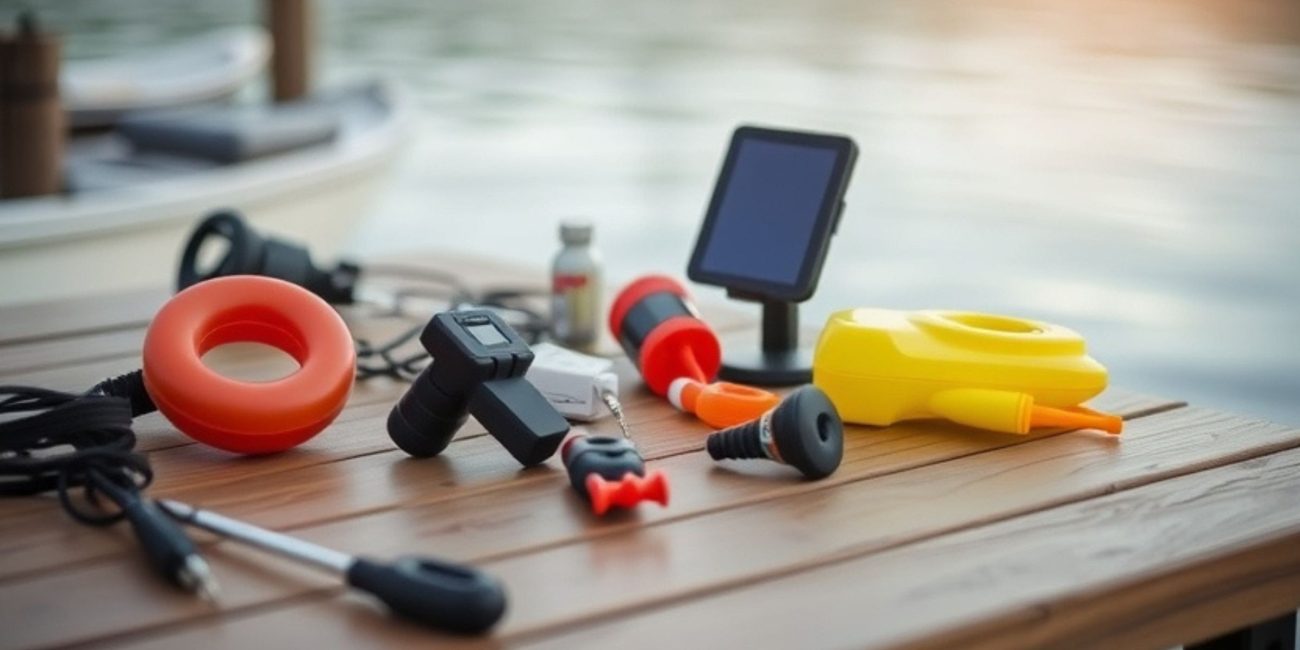
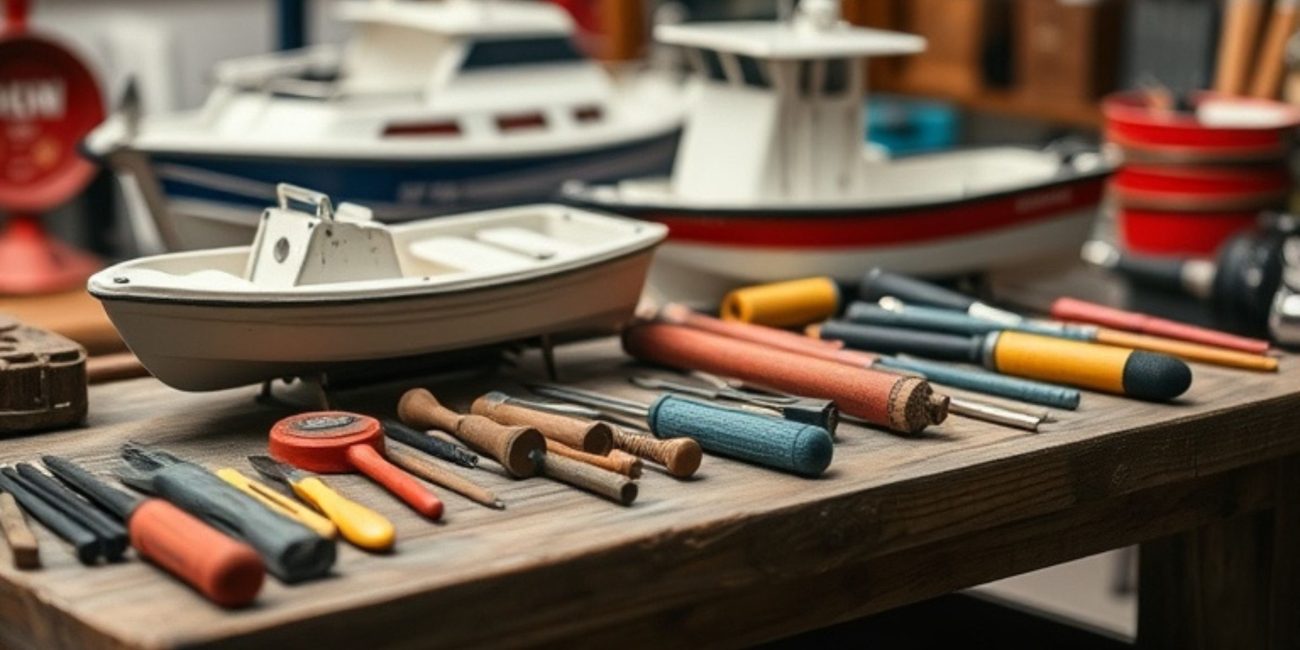
Essential Tools
- Flathead screwdriver or socket wrench.
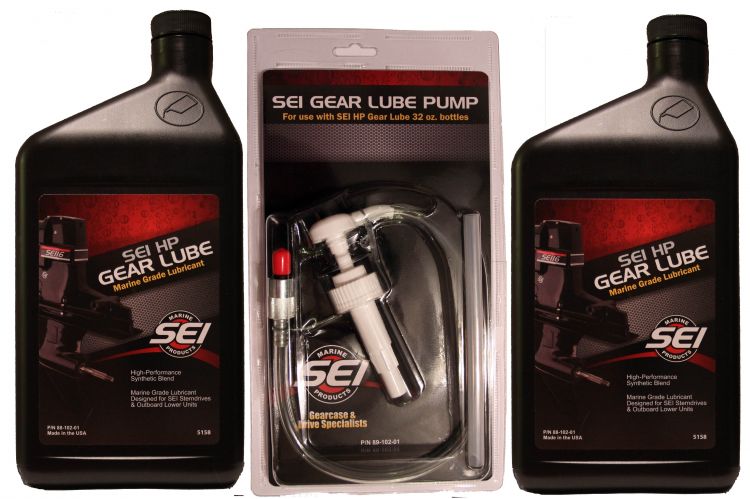
- Marine oil pump designed for lower units.
- Drain pan for collecting old oil.
- Clean rags or towels.
Recommended Materials
- Marine-grade gear oil (as specified by the manufacturer).
- Replacement washers or gaskets for screws.
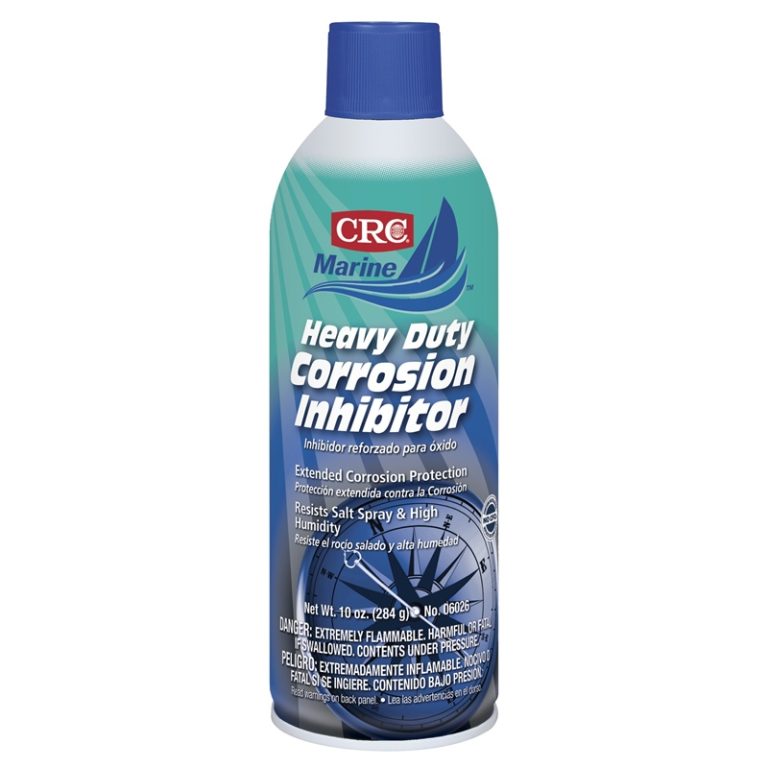
- Anti-corrosion spray for added protection.
Step-by-Step Guide to Outboard Lower Unit Oiling
1. Preparation
- Secure your boat on a stable surface or trailer.
- Tilt the outboard engine to a vertical position for proper drainage.
- Gather all necessary tools and materials.
2. Draining Old Oil
- Locate the drain screw (bottom) and the vent screw (top) on the lower unit.
- Place a drain pan under the lower unit.
- Remove the bottom screw first, followed by the top vent screw, to allow oil to flow freely.
3. Inspect the Oil
- Check the old oil for:
- Water contamination (milky appearance).
- Metal shavings or debris.
- Address any issues before proceeding.
4. Replacing Seals and Washers
- Remove old seals and washers from the screws.
- Install new ones to prevent leaks.
5. Adding New Oil
- Attach the marine oil pump to the gear oil bottle.
- Insert the pump nozzle into the lower drain hole.
- Pump oil until it flows out of the top vent hole.
- Replace the screws securely but avoid over-tightening.
6. Final Checks
- Wipe the lower unit clean of excess oil.
- Inspect for any leaks around the screws.
- Run the engine briefly to ensure proper lubrication.
Common Mistakes to Avoid
1. Using Non-Marine-Grade Oil
- Regular oils don’t provide the corrosion resistance needed for marine engines.
- Always use marine-specific gear oil.
2. Skipping Routine Oil Changes
- Neglecting this task can lead to gear damage and overheating.
- Stick to the manufacturer’s recommended schedule (usually every 100 hours or once per season).
3. Over-Tightening Screws
- This can damage threads or crush seals, leading to leaks.
4. Not Replacing Washers or Gaskets
- Old washers can degrade and fail to seal properly.
5. Filling Oil from the Vent Hole
- Always fill oil from the drain hole to avoid air pockets.
Maintenance Tips for Long-Term Performance
1. Inspect Regularly
- Check the lower unit for physical damage or corrosion after every trip.
2. Flush the Engine
- Use fresh water to flush out salt and debris after operating in saltwater.
3. Monitor the Propeller
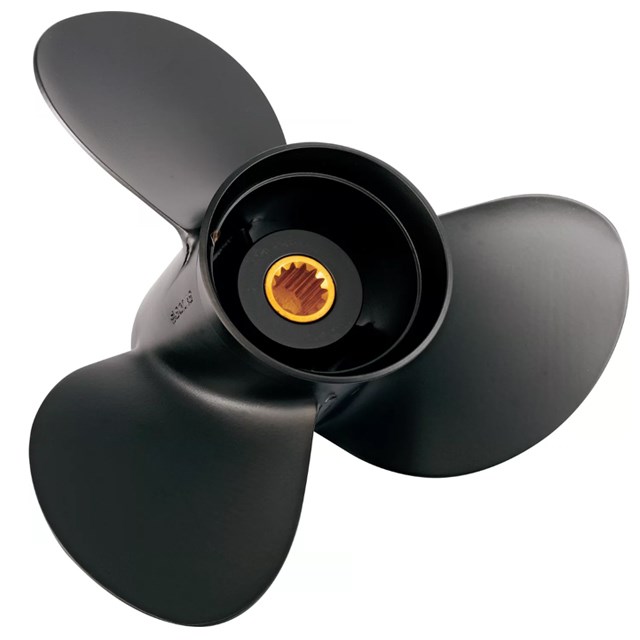
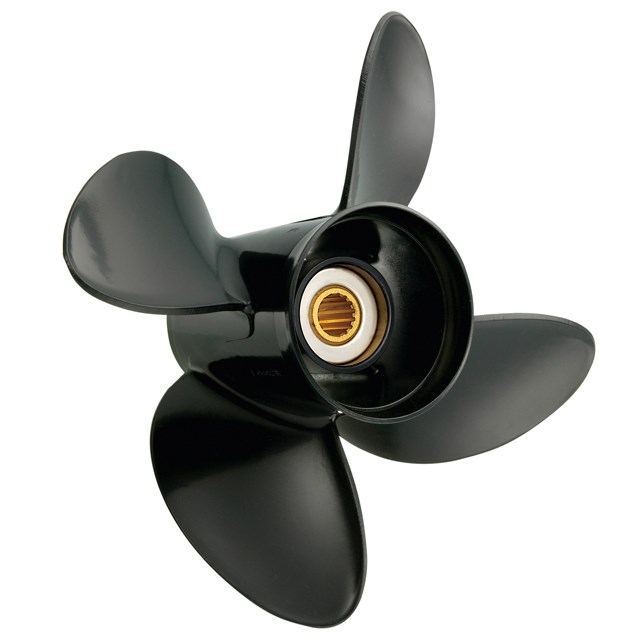
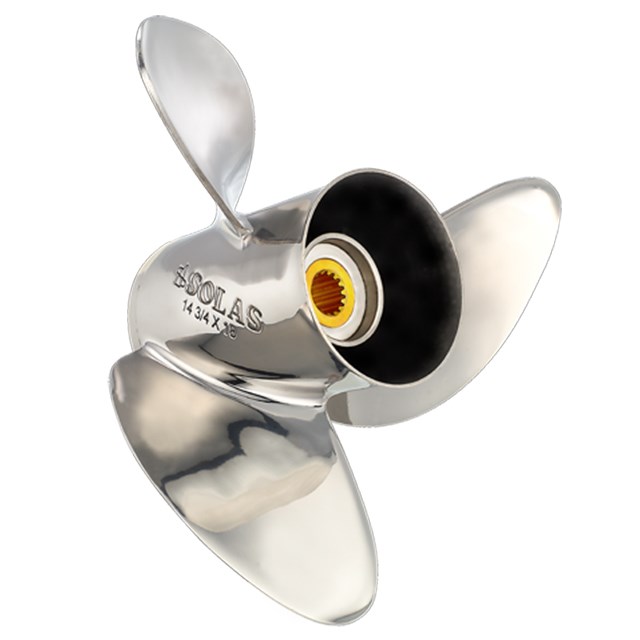
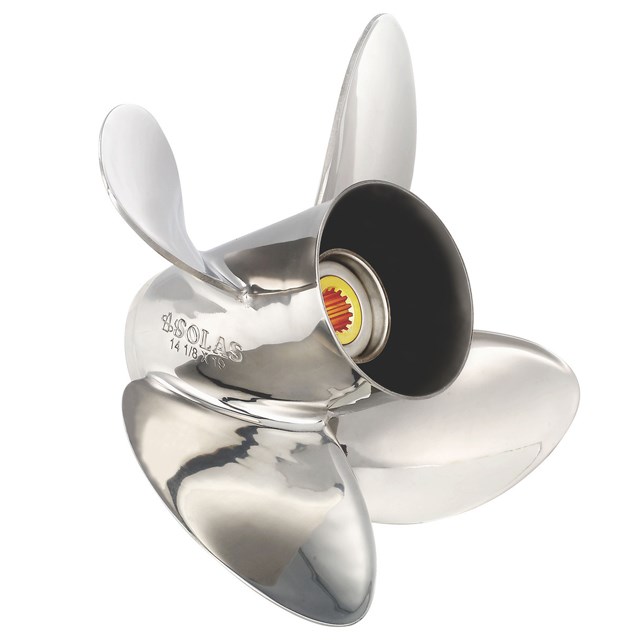
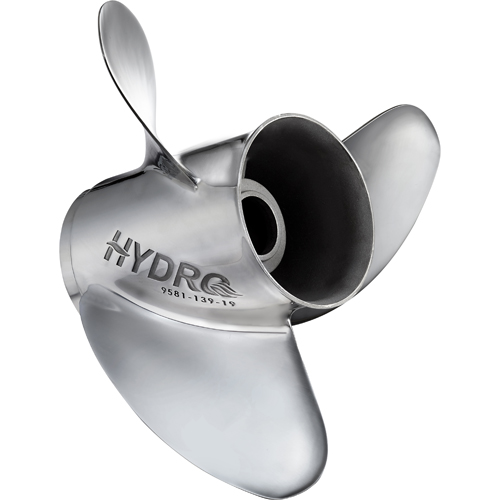
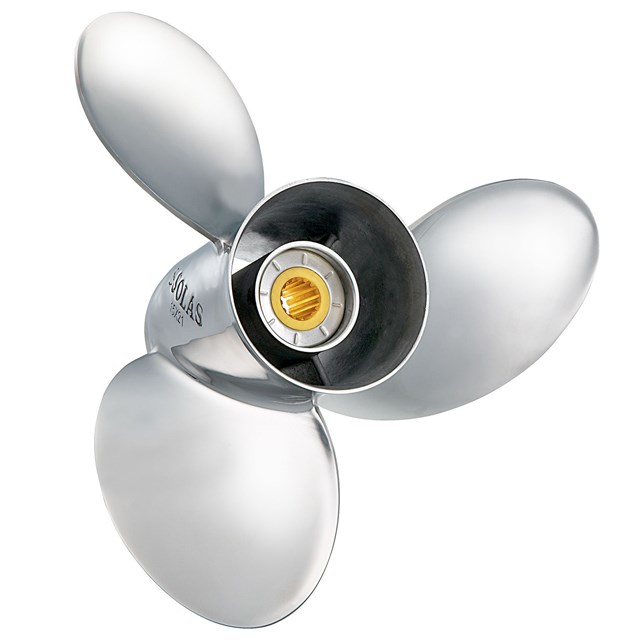
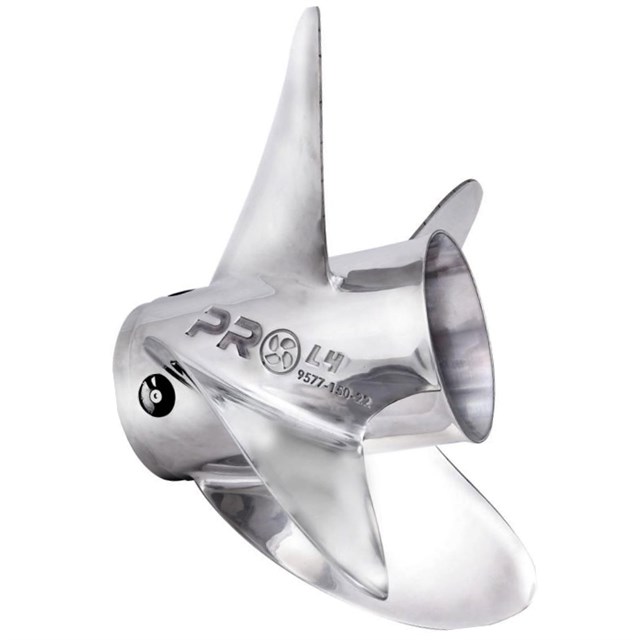
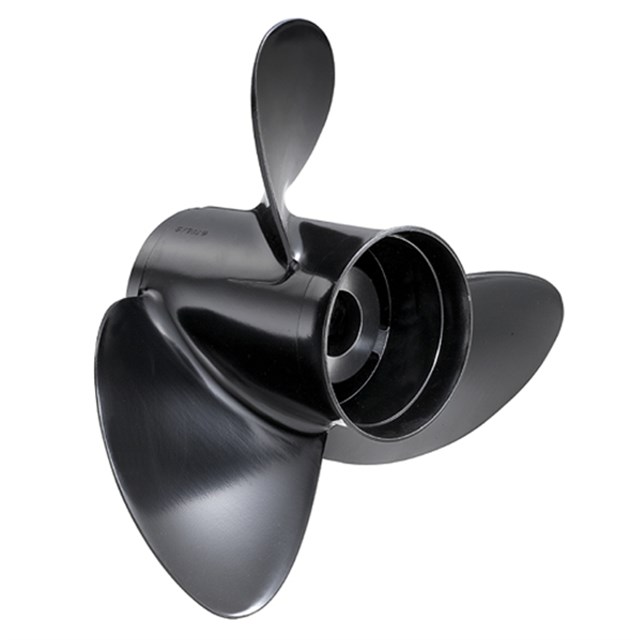
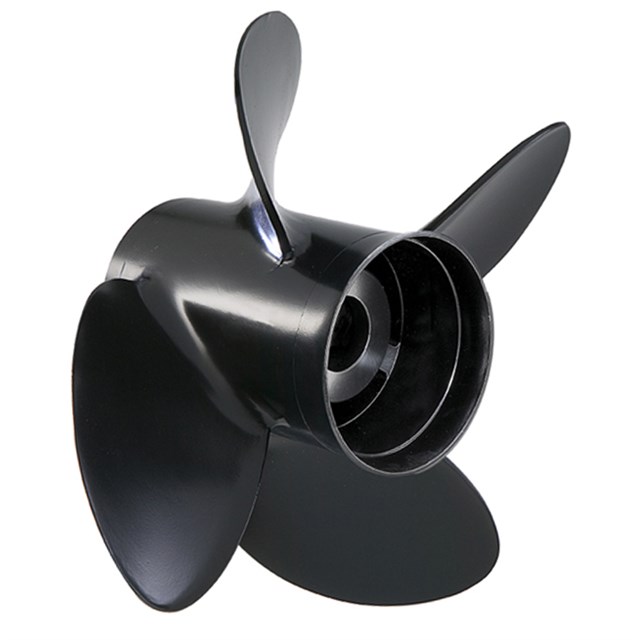
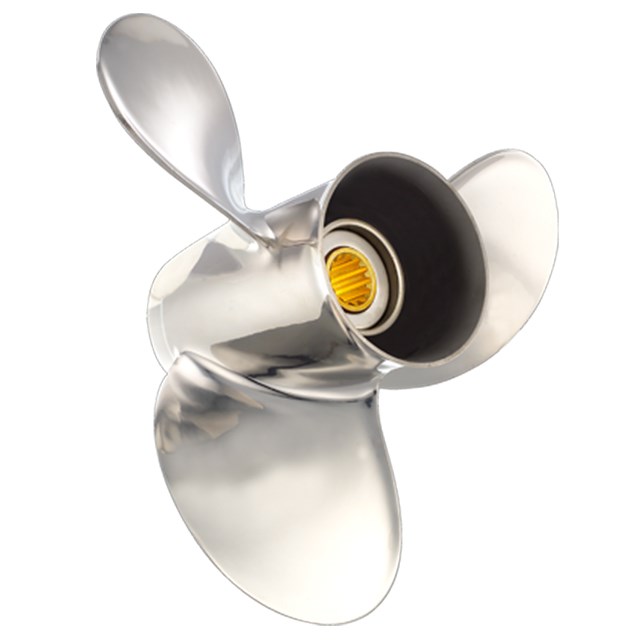
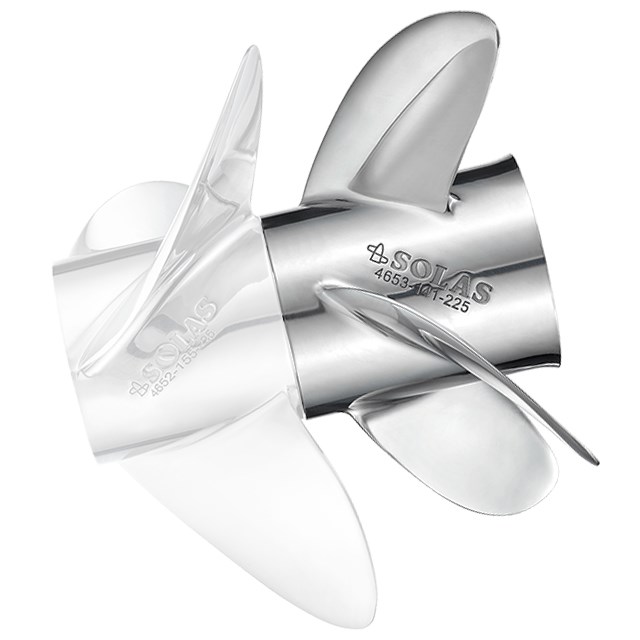
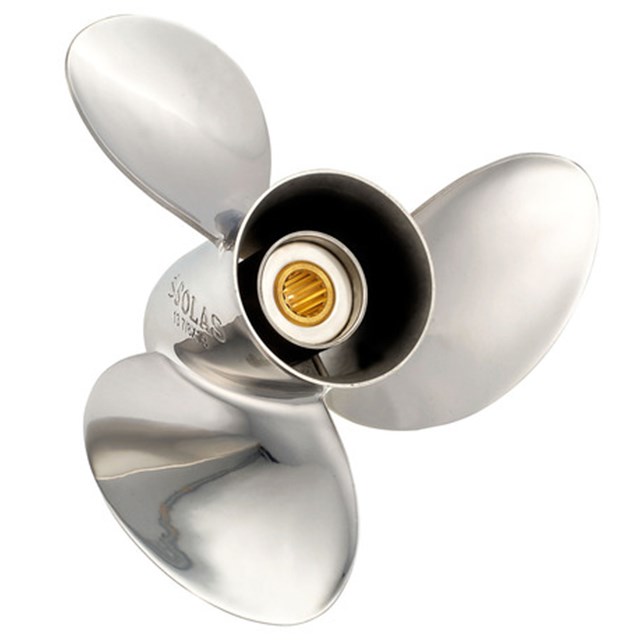
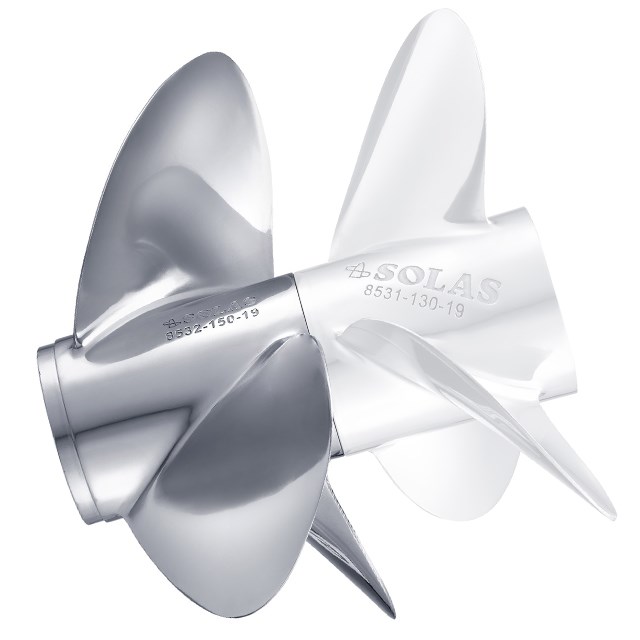
- Remove the propeller occasionally to check for fishing line or debris around the shaft.
- Ensure the propeller is undamaged for optimal performance.
4. Keep a Maintenance Log
- Record oil changes and inspections to track your engine’s condition.
How Oiling Enhances Propeller Performance
Smooth Operation
- Proper lubrication ensures the gears transfer power efficiently to the propeller.
Preventing Overheating
- Reduces friction between moving parts, keeping the lower unit cool during operation.
Corrosion Protection
- Marine-grade oil provides a protective barrier against saltwater damage.
Conclusion: Maintaining Your Outboard Lower Unit
Oiling your outboard lower unit is a simple yet essential task that protects your engine and ensures smooth operation. With the right tools, materials, and techniques, you can easily perform this maintenance and extend your engine’s lifespan. Remember to inspect regularly, use the correct oil, and follow a consistent maintenance schedule. Proper outboard lower unit oiling not only improves engine performance but also enhances your overall boating experience.
