How to Change Outboard Lower Unit Oil

Introduction
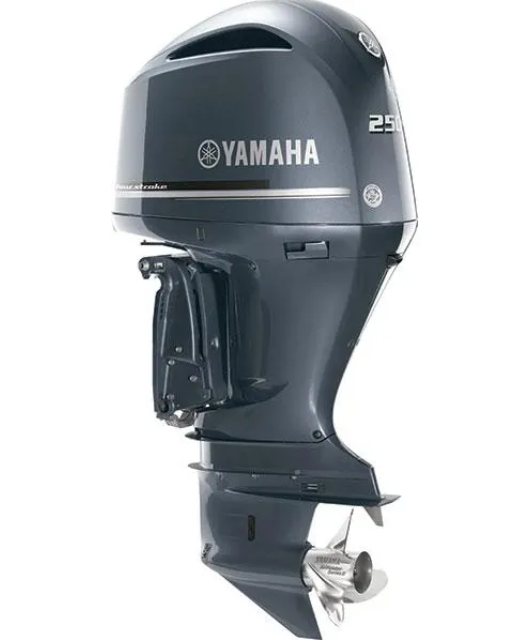
Proper maintenance of your outboard motor is critical to ensure smooth and efficient boat operation. One essential task every boat owner should know is how to change outboard lower unit oil. Neglecting this simple yet crucial maintenance can lead to expensive repairs. This detailed guide will walk you through the process step by step, providing practical advice for beginners.
Whether you’re preparing for a fishing trip or a leisurely day on the water, understanding your outboard lower unit’s maintenance ensures safety and performance.
Why Changing Outboard Lower Unit Oil is Important
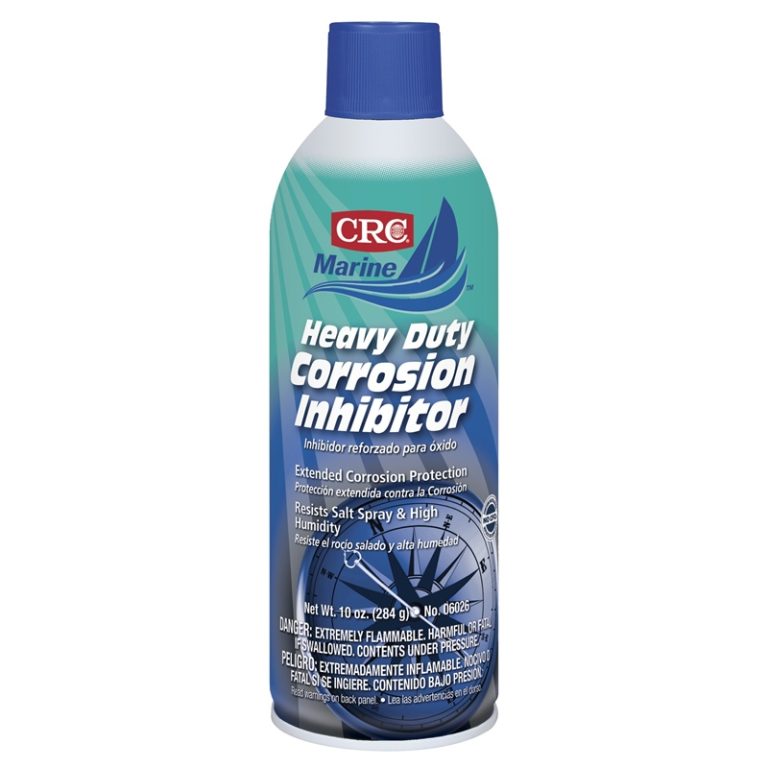
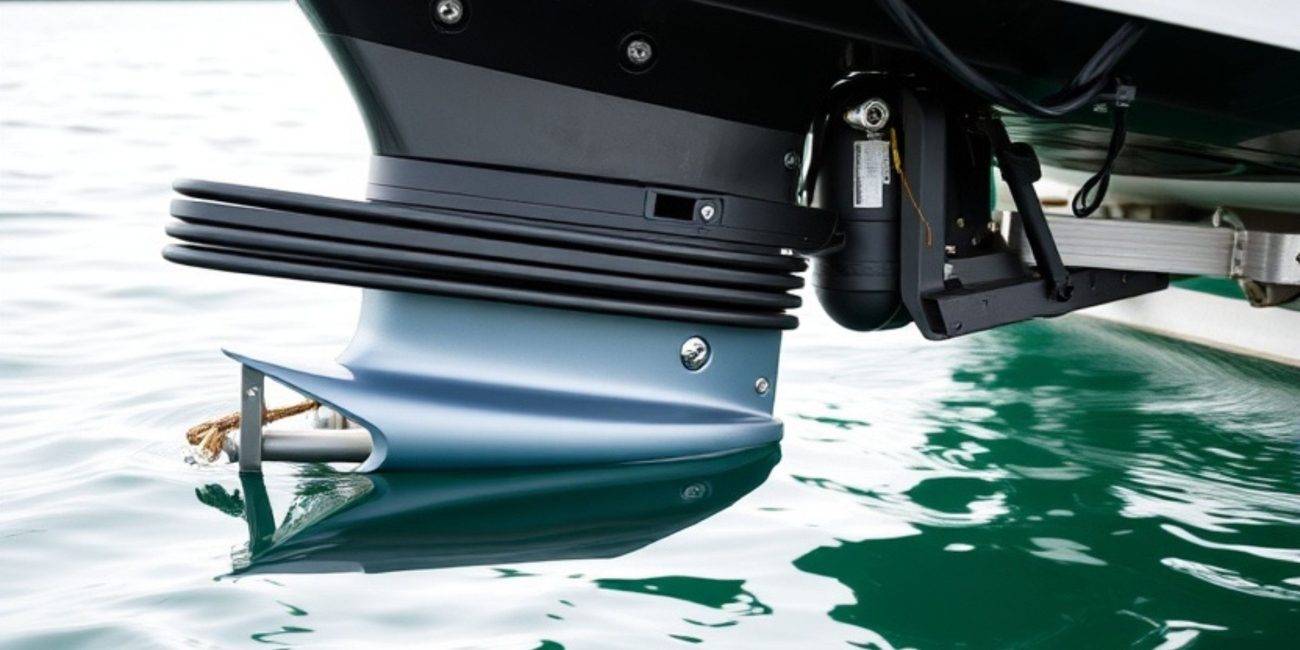
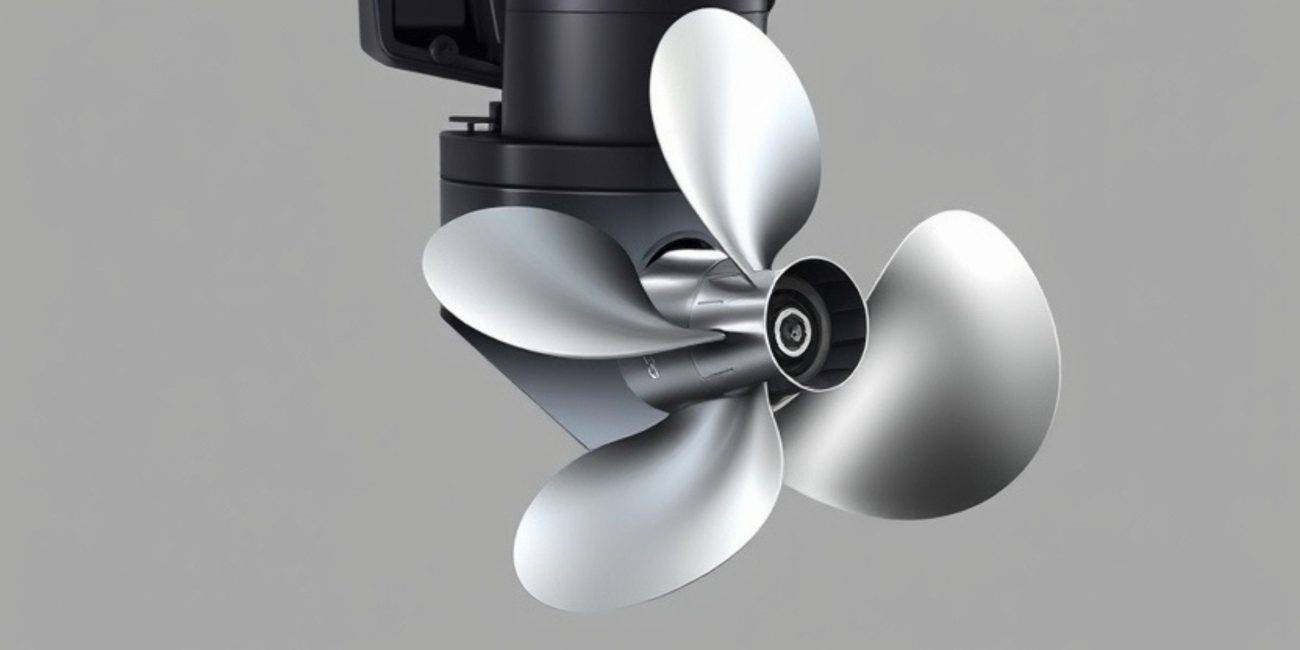
Regularly changing the oil in your outboard lower unit prevents corrosion, removes contaminants, and prolongs the life of your motor. The lower unit houses gears and components crucial for propeller movement, and clean oil ensures everything works smoothly.
Tools and Materials Needed
Before starting, gather the following tools and materials:
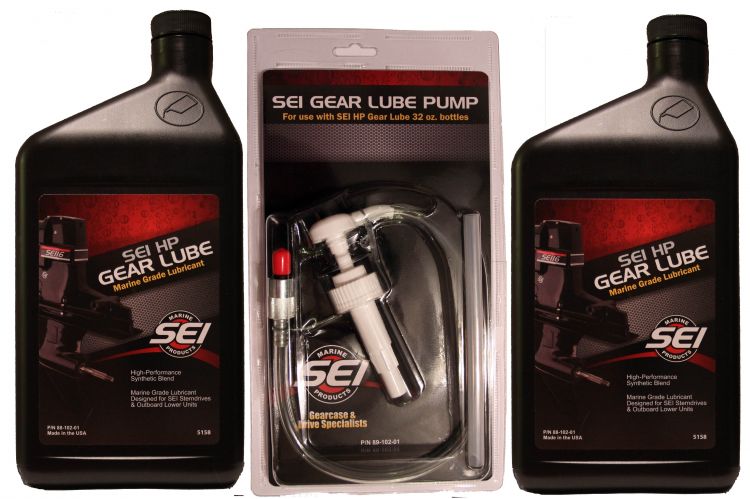
- Gearcase oil: Make sure it’s marine-grade.
- Drain plug gaskets: Replace these to prevent leaks.
- Gear oil pump: Helps with precise oil application.
- Flathead screwdriver or socket wrench: For opening the drain plug.
- Oil drain pan: To catch used oil.
- Rags or paper towels: To clean up spills.
Step-by-Step Guide to Change Outboard Lower Unit Oil
1. Prepare Your Boat and Work Area
- Park the boat on a level surface or place the outboard motor in a vertical position.
- Ensure the motor is off and cooled down to avoid burns.
2. Locate the Drain and Vent Plugs
- Identify the drain plug at the bottom of the lower unit.
- The vent plug is typically located above the drain plug to allow proper oil flow.
3. Drain the Old Oil
- Place the oil drain pan underneath the drain plug.
- Use a screwdriver or socket wrench to unscrew the drain plug.
- Remove the vent plug to allow the oil to flow freely.
Pro Tip: Check the drained oil for metal shavings or water, which could indicate internal damage.
4. Inspect and Replace Drain Plug Gaskets
- Inspect the drain plug gaskets for wear or damage.
- Always replace them with new ones to ensure a tight seal.
5. Fill with Fresh Oil
- Attach the gear oil pump to the new oil container.
- Insert the pump nozzle into the drain hole and pump oil until it flows out of the vent hole.
- Reinstall the vent plug first, then the drain plug, ensuring both are securely tightened.
6. Clean and Test
- Wipe any spilled oil off the motor.
- Test the motor in neutral gear to ensure it runs smoothly.
Common Mistakes to Avoid
1. Reusing Old Gaskets
Old gaskets can lead to leaks. Always replace them during an oil change.
2. Ignoring Metal Shavings
Metal shavings in the oil may indicate gear damage. Address this issue immediately.
3. Using the Wrong Oil
Always use marine-grade gear oil to protect against moisture and corrosion.
How Often Should You Change Outboard Lower Unit Oil?
For most outboard motors, it’s recommended to change the oil every 100 hours of operation or at the end of the boating season. Refer to your motor’s owner’s manual for specific intervals.
Maintaining Your Propeller and Lower Unit
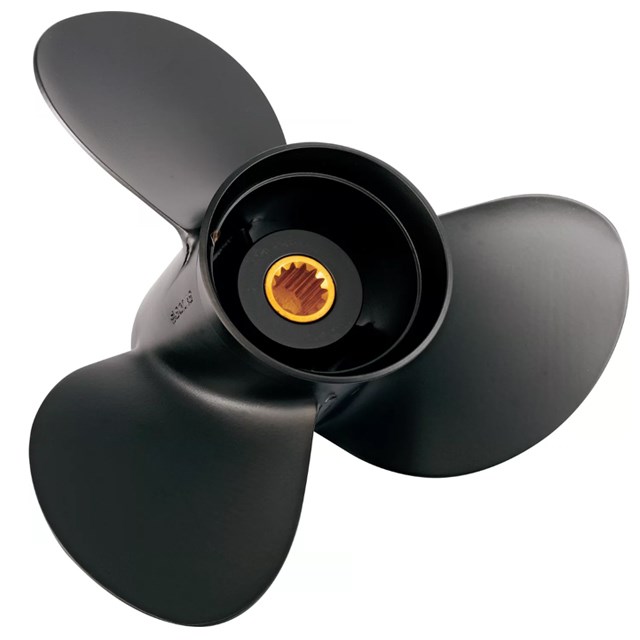
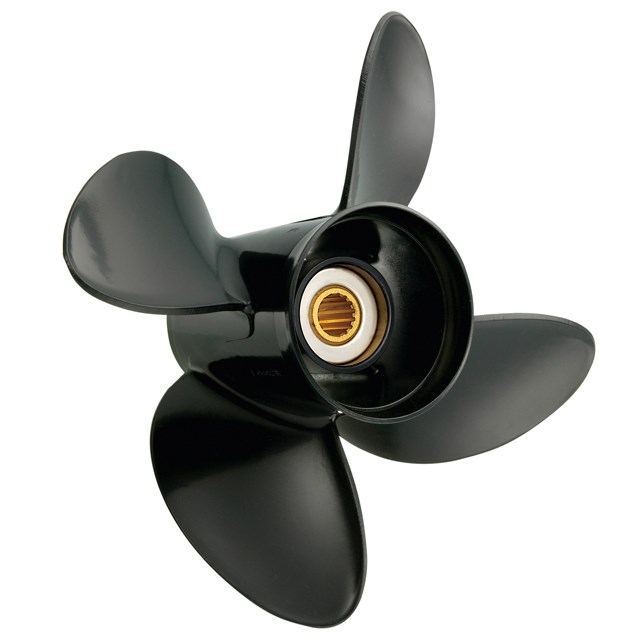
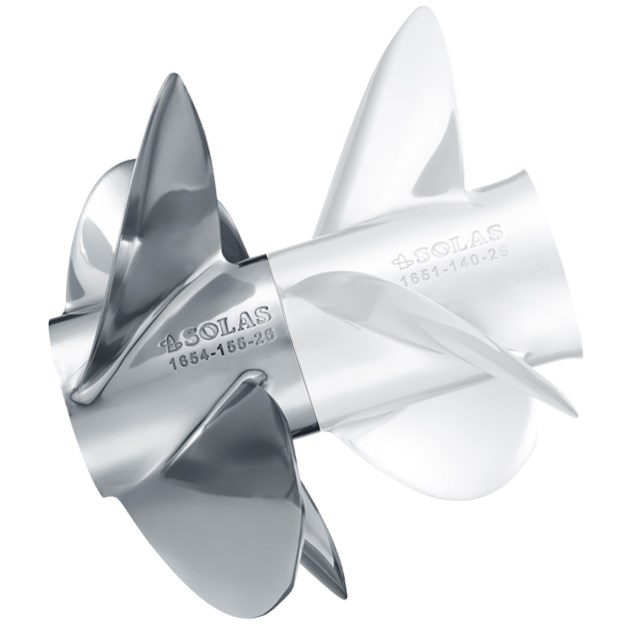
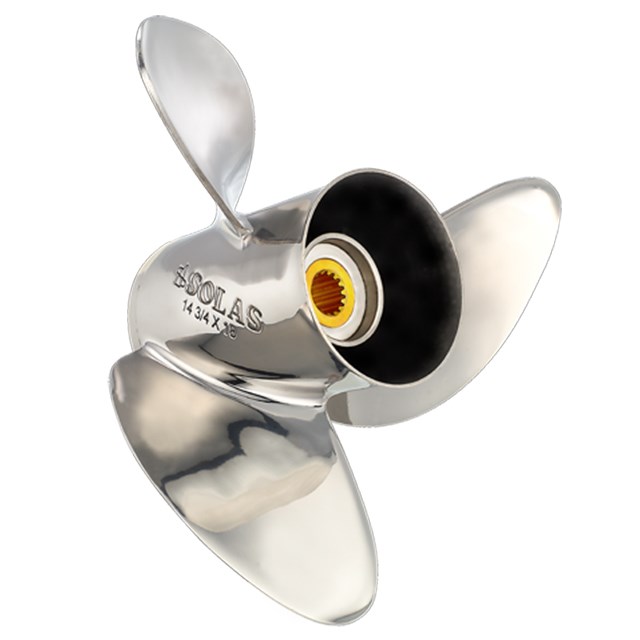
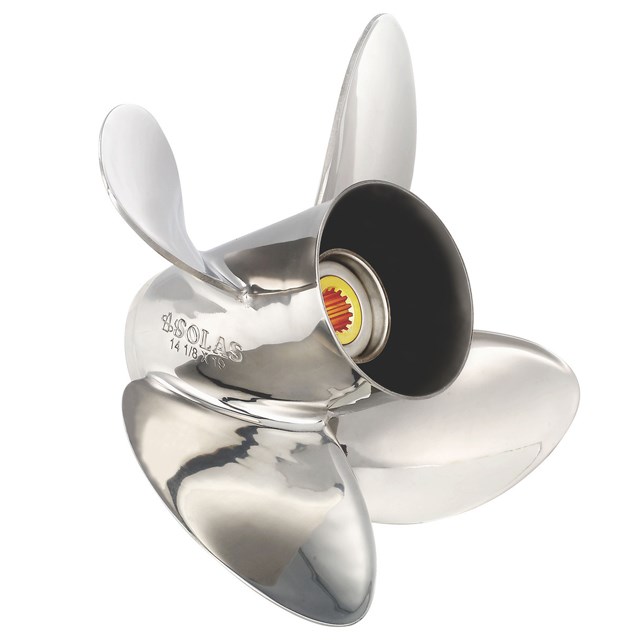
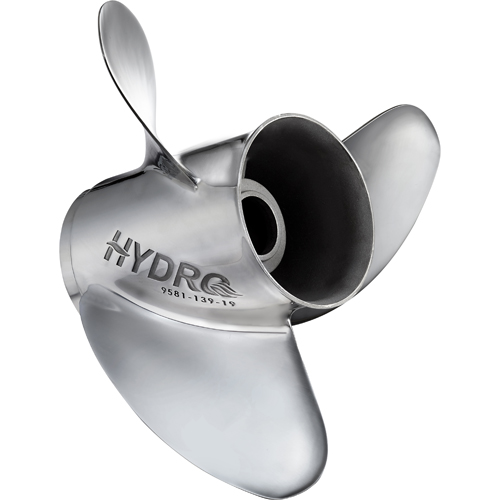
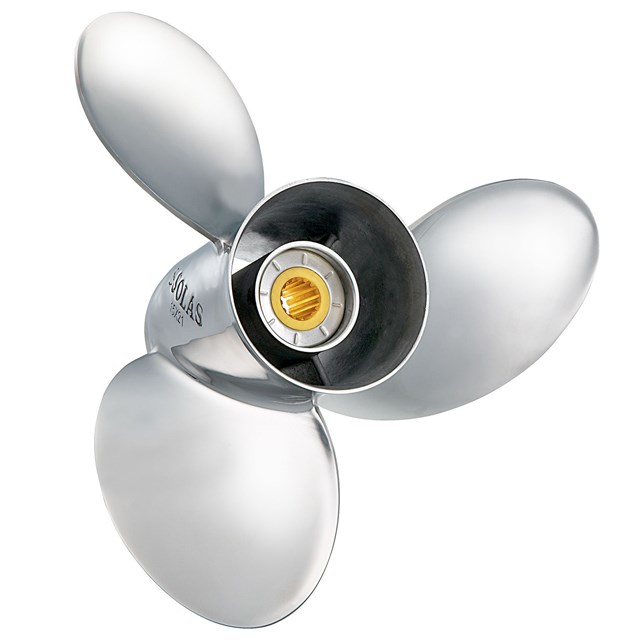
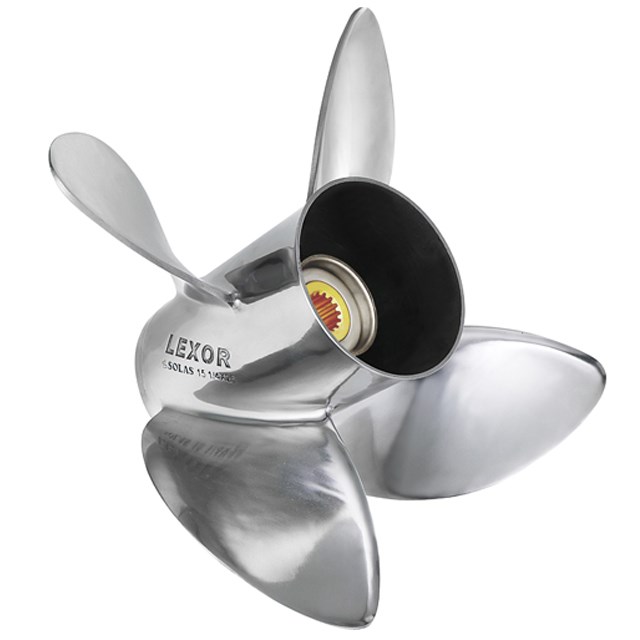
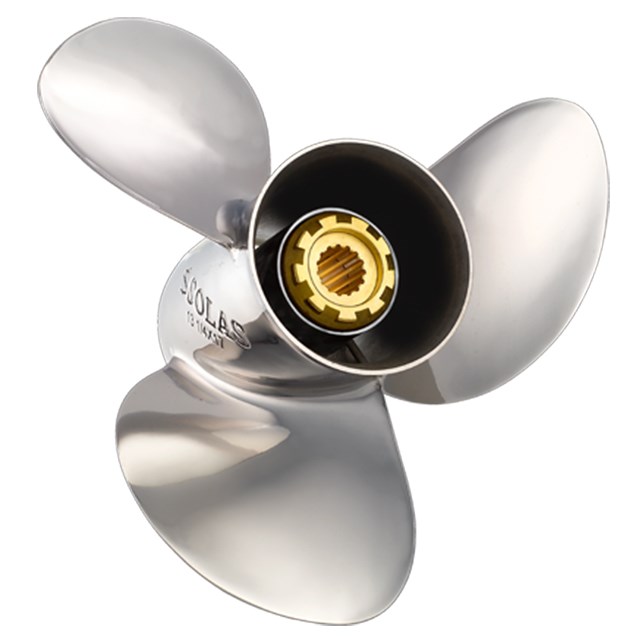
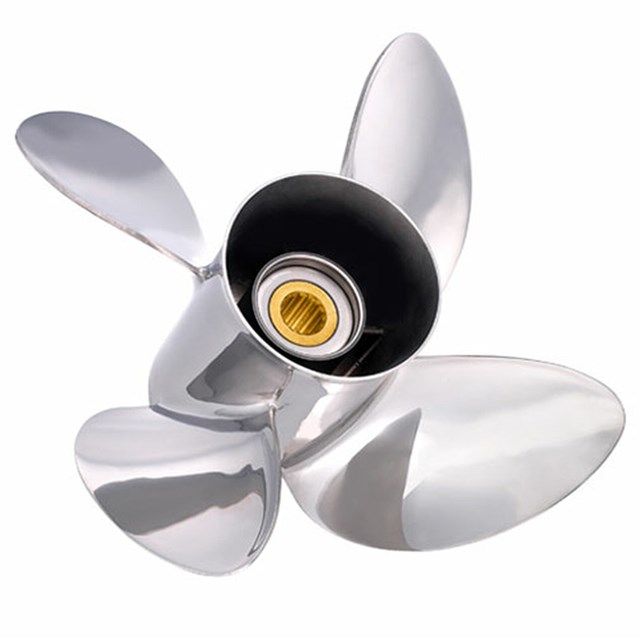
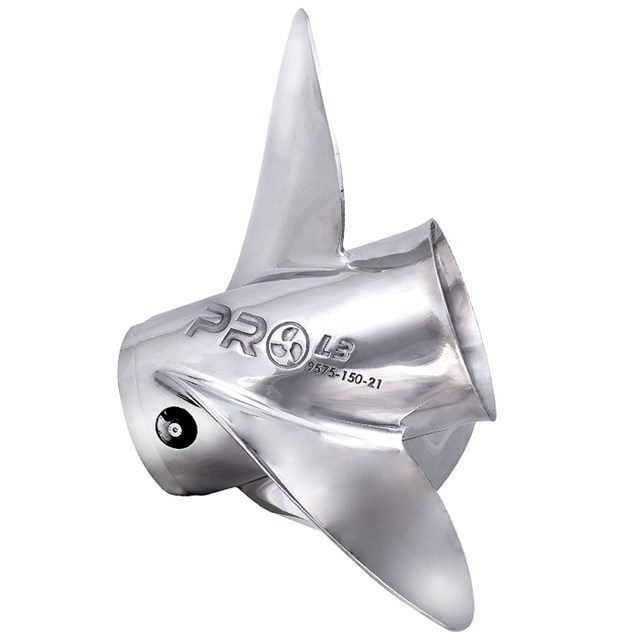
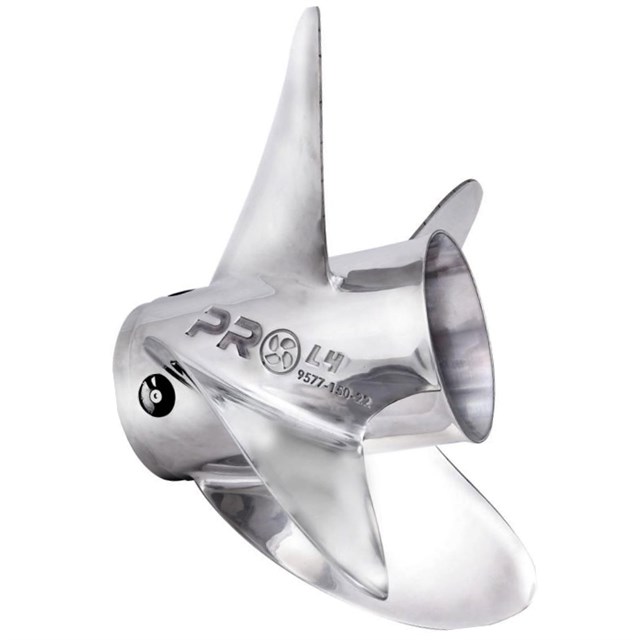
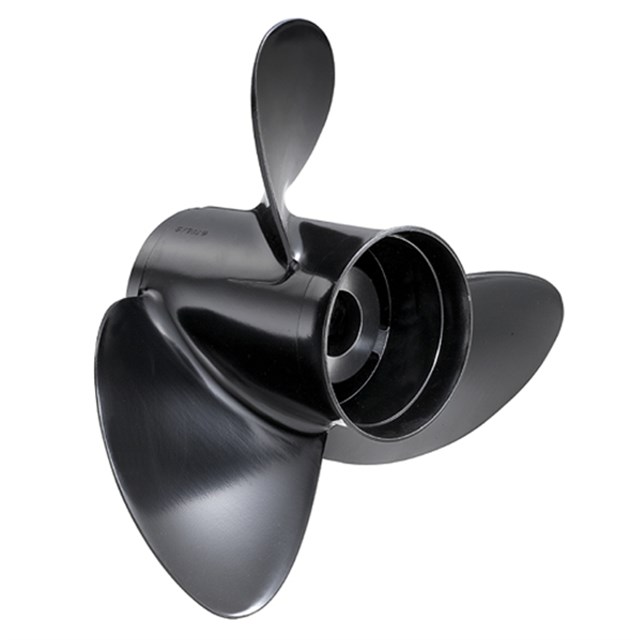
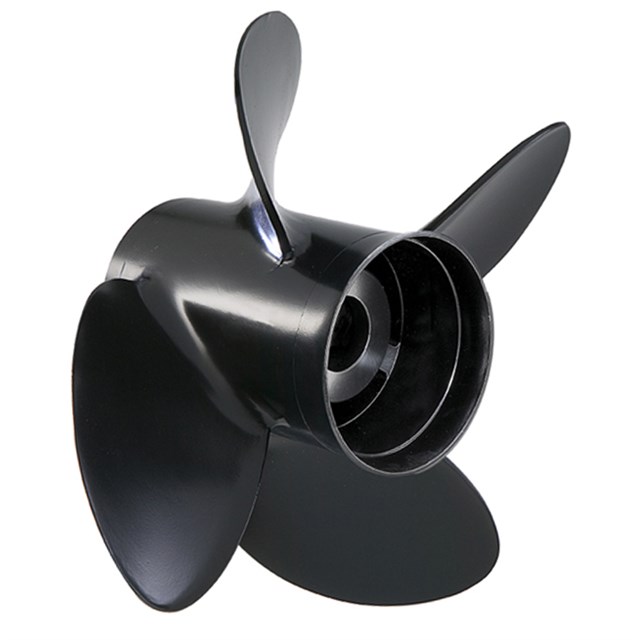
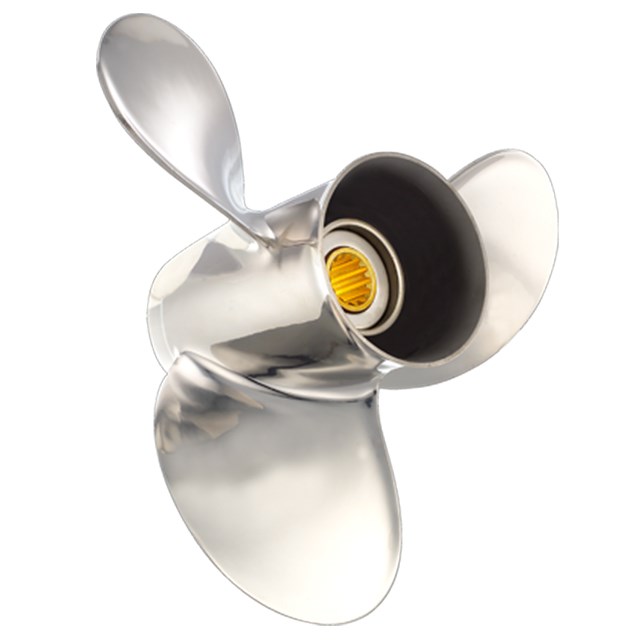
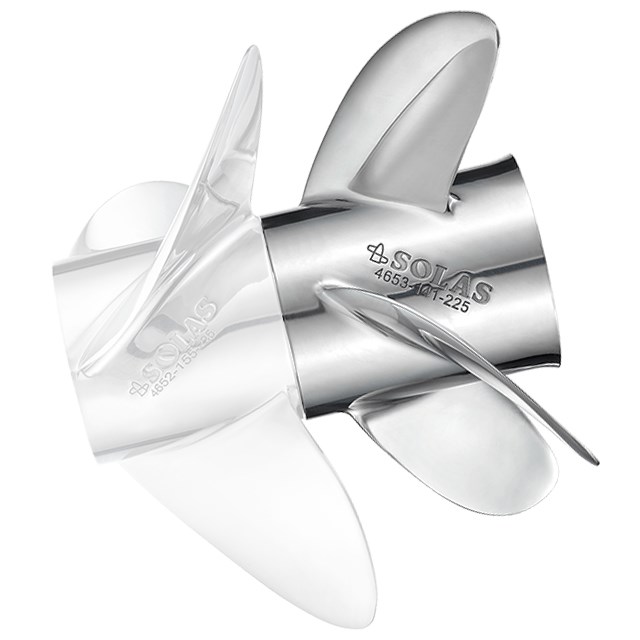
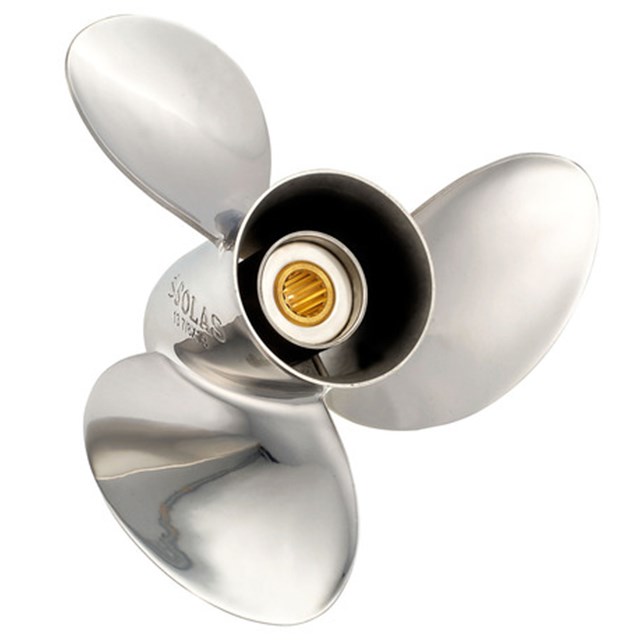
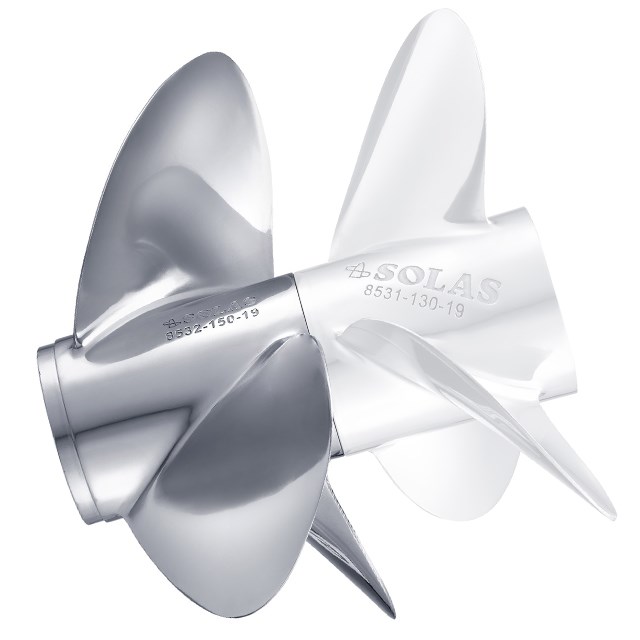
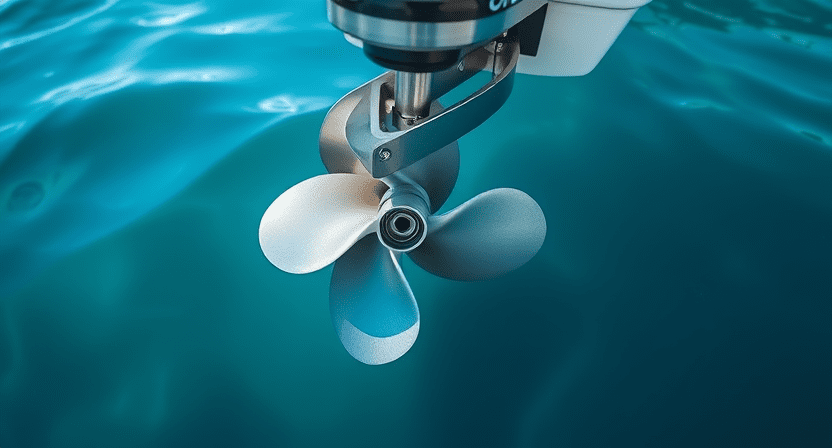
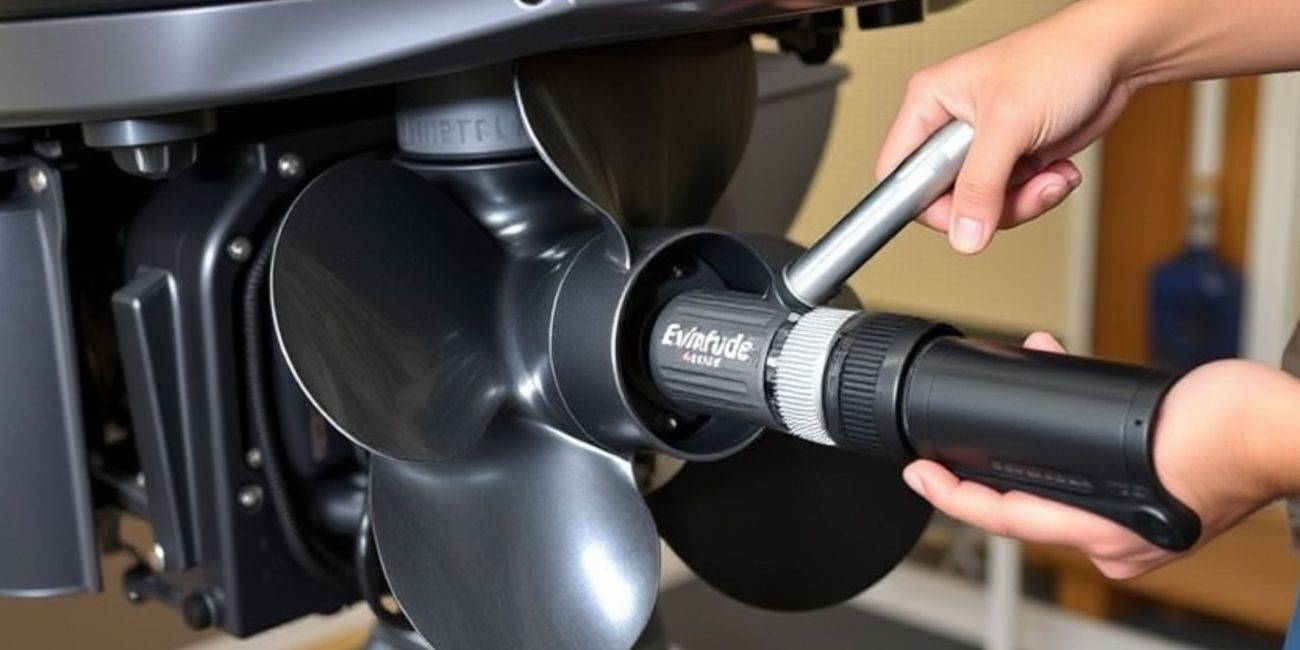
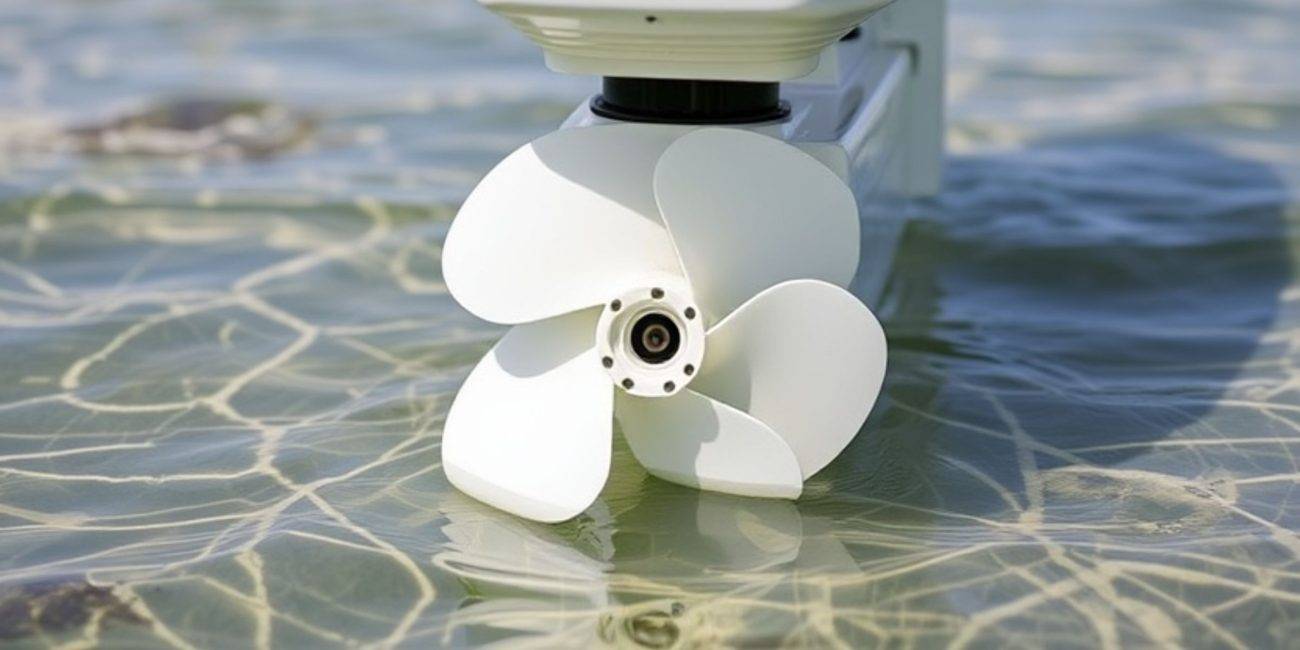
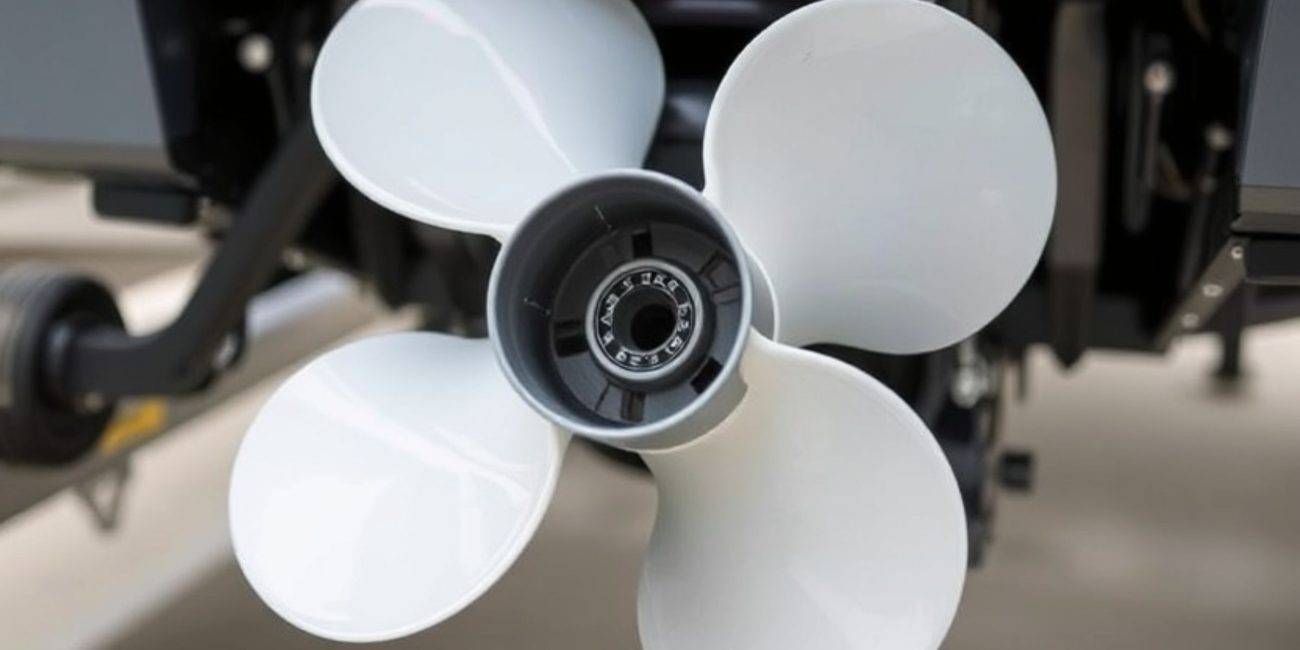
Properly maintaining your propeller complements lower unit care. Check for dings or damage that can affect performance. When reinstalling the propeller, apply marine grease to the shaft to prevent rust and make future removals easier.
Real-World Example: Avoiding Costly Repairs
One boater noticed unusual noise from their motor but ignored it. During an oil change, they found water mixed with the oil due to a damaged seal. This small issue turned into a costly repair. Regularly changing and inspecting your outboard lower unit oil can save you from such headaches.
Conclusion
Now that you know how to change outboard lower unit oil, you can confidently maintain your boat’s motor and enjoy seamless boating experiences. Follow the steps outlined in this guide to save time, money, and frustration. Regular maintenance ensures safety, performance, and the longevity of your equipment.

