How to Flush Yamaha Lower Units After Saltwater Use
Introduction
After a fun-filled day navigating salty waters, one critical task boat owners must never skip is to flush Yamaha lower units after saltwater use. Failing to do so can lead to corrosion, performance issues, and costly repairs. In this guide, we will walk you through everything you need to know—why it’s essential, how to do it, what tools you’ll need, and expert tips for maximum protection and performance. Whether you’re a new boat owner or a seasoned mariner, proper flushing ensures your Yamaha lower unit lasts as long as possible.
Overview / What Is Flushing a Yamaha Lower Unit After Saltwater Use?
Flushing a Yamaha lower unit after saltwater use involves running fresh water through the engine’s cooling system and lower unit to remove corrosive salt deposits. Saltwater can rapidly degrade metal components and clog internal passages if not removed. Regular flushing prevents salt buildup, corrosion, and premature wear.
This simple but essential procedure helps maintain engine performance, fuel efficiency, and overall reliability. Yamaha outboards are engineered for durability, but consistent maintenance is crucial to preserving their longevity, especially in saltwater environments.
Why Flushing Matters for Saltwater Use
Saltwater is highly corrosive. When left inside your outboard’s lower unit, it can eat away at metal surfaces, seals, and gaskets. Over time, this leads to water pump failure, gearcase erosion, and poor cooling. Flushing Yamaha lower units after saltwater use eliminates these threats by rinsing the internal systems with fresh water.
Additionally, salt deposits can harden over time, leading to cooling blockages and overheating issues. Flushing not only preserves your unit but improves performance and resale value.
How to Flush Yamaha Lower Units After Saltwater Use (Step-by-Step)
Flushing can be done using two methods: using flush muffs or a built-in flush port. Here’s a breakdown of both:
1. Using Flush Muffs (Ear Muffs)
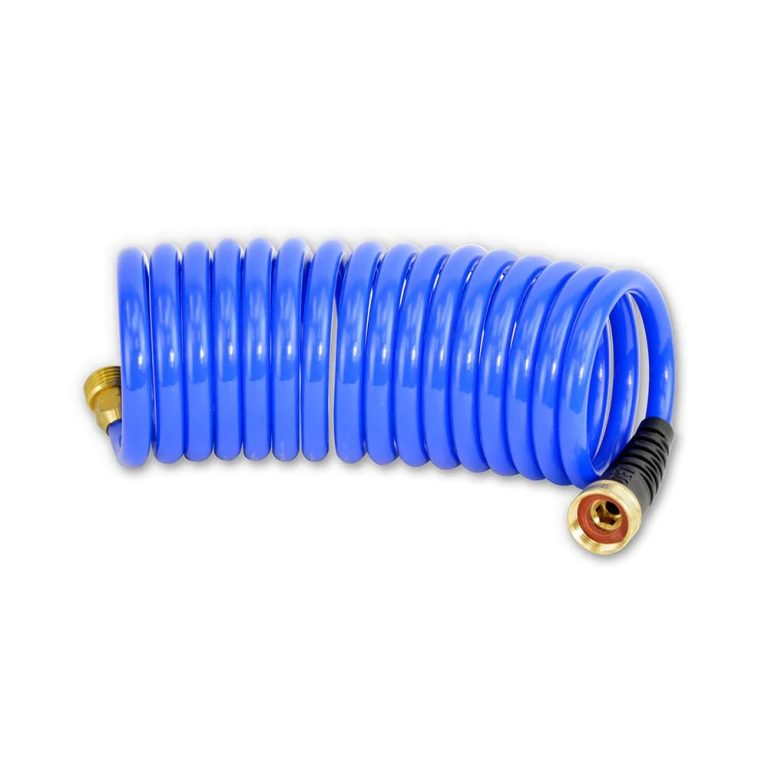
- Attach flush muffs to a garden hose.
- Position the muffs over the water intakes on the lower unit.
- Turn on the water supply first.
- Start the engine and allow it to idle for 5–10 minutes.
- Ensure water is exiting through the tell-tale (pee hole).
- Shut off the engine first, then the water.
2. Using the Flush Port (If Equipped)
- Connect a garden hose directly to the flush port.
- Turn on the water, but do not start the engine.
- Allow water to flow for 10–15 minutes.
- Turn off the water and disconnect the hose.
Note: Never run your Yamaha outboard dry. Always ensure water is flowing before starting the engine.
Common Mistakes to Avoid When Flushing
- Flushing without water flow (damages the impeller).
- Running engine too long—5 to 10 minutes is sufficient.
- Failing to flush every time after saltwater use.
- Using high-pressure hoses that may damage internal parts.
By avoiding these common mistakes, you can ensure the flushing process benefits your engine rather than harms it.
Signs Your Yamaha Lower Unit Needs Better Maintenance
Ignoring flushing can lead to several warning signs. Watch out for these red flags:
- Rust-colored water or salt residue near the pee hole.
- Weak tell-tale stream, indicating cooling blockage.
- Overheating alarms or excessive steam.
- Grinding noises from the lower unit.
Regular inspections, in combination with flushing, can help you catch and resolve issues before they become severe.
Maintenance Tips
Consistent maintenance is key to maximizing the lifespan of your Yamaha outboard. Here are proven flush Yamaha lower units after saltwater use maintenance tips:
- Flush after every saltwater trip, even short ones.
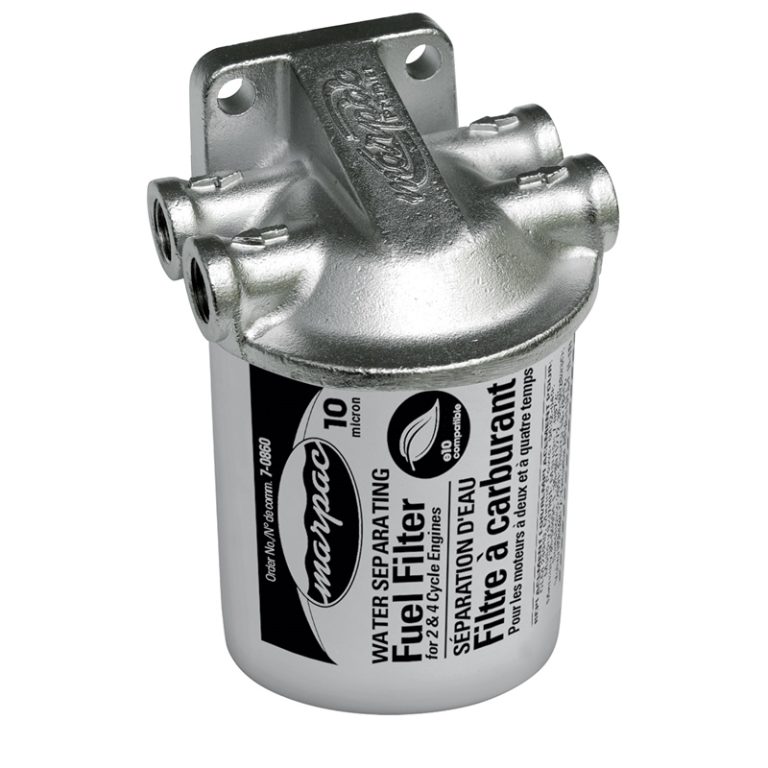
- Use a water separator fuel filter to remove water from fuel lines.
- Inspect the tell-tale stream regularly for strong, steady flow.
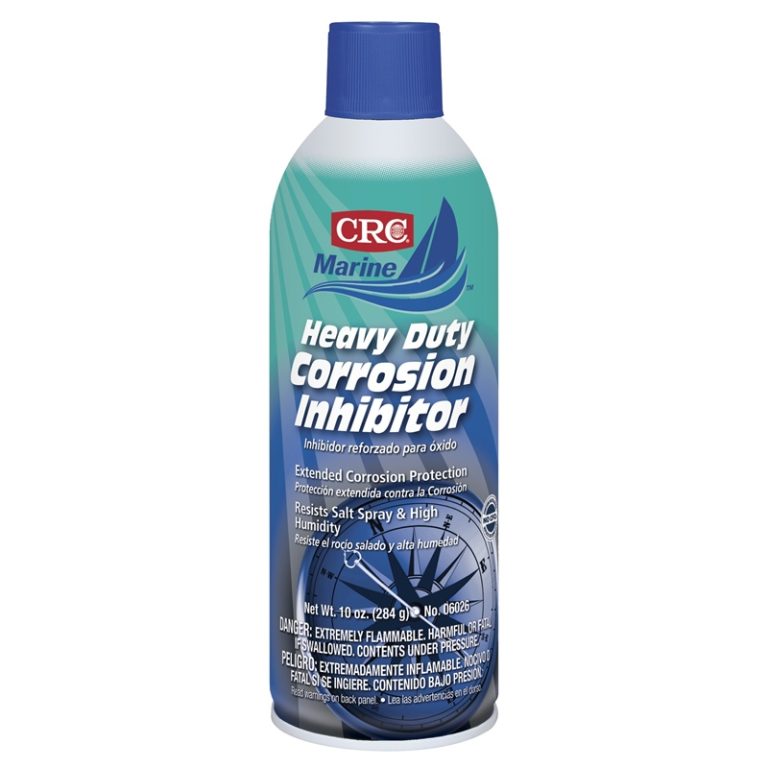
- Apply anti-corrosion spray on metal components.
- Store the outboard in a tilted-down position to fully drain water.
Keeping a post-ride checklist with flushing included ensures nothing is overlooked.
Expert Advice and Pro Recommendations
Marine technicians and Yamaha specialists consistently recommend the following:
- Flush immediately after use—don’t wait till next weekend.
- Use Yamaha-approved flushing adapters and accessories for the best results.
- For boats docked in saltwater, install an automatic flush system.
- Every 6 months, check internal cooling passages with a mechanic.
Flushing is inexpensive, fast, and one of the best things you can do to protect your marine engine investment.
Detailed FAQ Section
How often should I flush my Yamaha outboard after saltwater use?
It’s recommended to flush Yamaha lower units after every saltwater trip, regardless of duration. Even a short ride can allow salt deposits to form. The sooner you flush, the less time salt has to corrode components. If you use your boat multiple days in a row, flush after each day. Freshwater boaters may flush less frequently, but even occasional salt exposure demands prompt flushing. Maintaining this routine helps ensure your lower unit remains clean and corrosion-free, especially during peak season.
Can I flush a Yamaha outboard without starting the engine?
Yes. If your Yamaha outboard is equipped with a flush port, you can flush it without starting the engine. Simply connect a garden hose and allow freshwater to run through the cooling system. However, if you’re using flush muffs, you must start the engine to circulate water. Never start the engine unless water is flowing to avoid impeller damage. Always follow Yamaha’s model-specific instructions provided in your owner’s manual to ensure proper flushing technique and avoid warranty voids.
What type of hose or adapter is best for flushing Yamaha lower units?
Yamaha recommends using their branded flush adapters and muffs to ensure secure connections and proper water flow. Quality flush muffs provide a tight seal over the water intakes, and OEM flush ports are designed for hassle-free hookup with a standard garden hose. Avoid using universal adapters that may not fit properly, as improper flushing can be ineffective or cause damage. If unsure, consult with a certified Yamaha technician or authorized dealer for model-specific recommendations.
Is salt corrosion really that dangerous for my lower unit?
Yes, salt corrosion is highly destructive. It doesn’t just affect the surface—it attacks internal components such as the water pump, impeller, seals, and metal gears. Corroded parts can lead to reduced cooling, oil leaks, and eventually complete lower unit failure. Flushing immediately after use is your first line of defense. Long-term exposure to salt without proper flushing can result in thousands of dollars in repair or replacement costs.
What other maintenance should accompany flushing?
In addition to flushing, Yamaha owners should perform routine maintenance including:
- Checking and changing lower unit oil every 100 hours or annually.
- Inspecting the water pump impeller and replacing if worn.
- Greasing the prop shaft and linkages.
- Testing the thermostat and pressure relief valve.
These steps, combined with consistent flushing, will extend the life of your outboard and reduce the risk of unexpected breakdowns during your adventures.
Special Offer
WELCOME5 – Get 5% off storewide at allboatsupplies.com
And upto 10% additional off on all lower units
-
Yamaha Aftermarket Lower Unit Replaces 75-100HP (2 & 4 Stroke) – 2.0/2.3 Gear Ratios, 18 Spline, 20/25″ Shafts – SEI-90-404
-
Yamaha Aftermarket Lower Unit Replaces 115-130HP 4-Stroke – Fits 20/25″ Shafts – SEI-90-405
-
Yamaha 90° Aftermarket Lower Unit Replaces 150-200HP (2 & 4 Stroke) – Fits 20/25″ Shafts – SEI-90-416
-
Yamaha 150–200HP Lower Unit 4-Stroke – 20/25″ Shaft – F150/F175/F200 Series (2004–2024) – New/Remanufactured – YA-G4-06
Conclusion
Learning how to flush Yamaha lower units after saltwater use is one of the most cost-effective ways to protect your outboard motor. This simple act of maintenance can prevent corrosion, improve efficiency, and significantly extend the life of your engine. By using the right tools, following expert advice, and incorporating flushing into your routine, you’ll keep your Yamaha performing like new season after season. Don’t underestimate the power of prevention—flush it right, flush it often, and enjoy trouble-free boating for years to come.
Read More
For more helpful marine maintenance guides, check out our article on How to Fix Water in Yamaha Lower Unit Gear Oil.
