Yamaha 150 Lower Unit Installation Guide

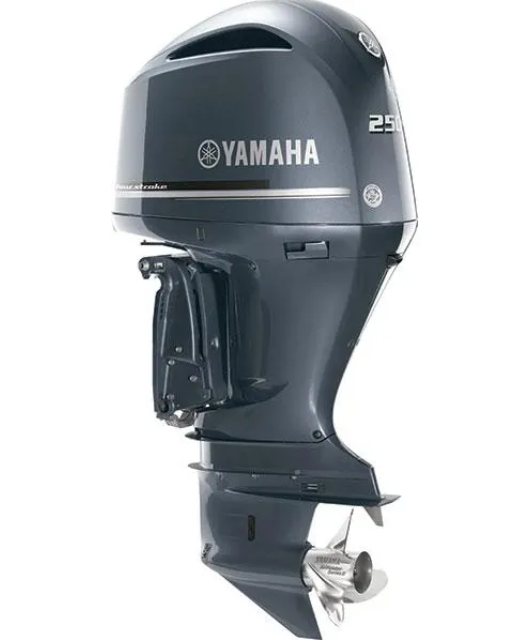
The Yamaha 150 lower unit is a vital part of your outboard motor’s drivetrain. Whether you’re upgrading, replacing a damaged one, or simply learning DIY maintenance, installing a Yamaha 150 lower unit yourself can save time and money. This guide walks you through the full process, with key tips, tools required, and expert insights to ensure a smooth installation.
If you’re a boat owner looking to save on service costs and learn more about your equipment, read on. Bonus: use code WELCOME5 at checkout on AllBoatSupplies.com to get 5% OFF your next Yamaha lower unit purchase.
Tools and Materials Needed
Before you begin the installation, gather these essentials:
- Socket set and ratchet (metric)
- Flathead screwdriver
- Marine grease
- Torque wrench
- Rubber mallet
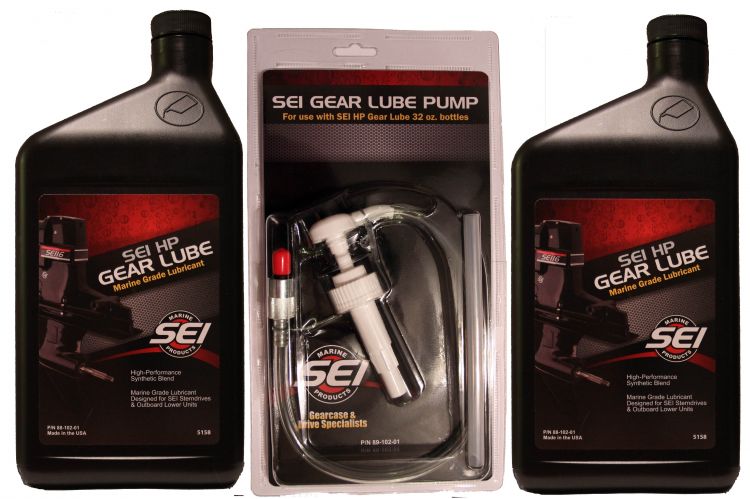
- Gear oil and pump
- Gloves and safety glasses
For a Yamaha 150 lower unit replacement, it’s crucial to have the right parts:
- New Yamaha 150 lower unit
- Water pump kit (if not included)
- Gaskets or sealing compounds (OEM recommended)
Step-by-Step: How to Install Yamaha 150 Lower Unit
Step 1: Prepare Your Work Area
- Make sure the boat is on a trailer or stand.
- Disconnect the battery.
- Tilt engine up for easy access.
Step 2: Drain Gear Oil
- Locate the drain and vent screws.
- Place a drain pan and remove screws.
- Allow all oil to fully drain.
Step 3: Remove the Old Lower Unit
- Unscrew bolts connecting the lower unit to the midsection.
- Disconnect the shift shaft carefully.
- Gently tap with a rubber mallet if stuck.
Step 4: Inspect and Clean Mating Surfaces
- Clean old gasket material or sealant.
- Inspect drive shaft and shift shaft for wear.
Step 5: Install New Yamaha 150 Lower Unit
- Align the drive shaft, water tube, and shift shaft.
- Slide the new lower unit into position.
- Hand-tighten bolts to hold it in place.
Step 6: Torque Bolts to Spec
- Use a torque wrench to tighten bolts in a crisscross pattern.
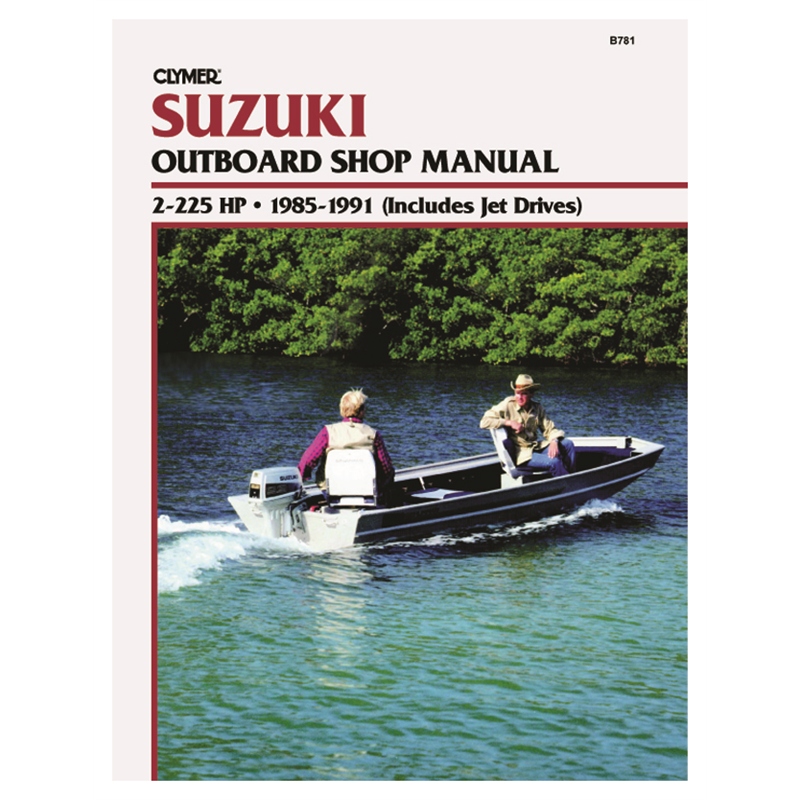
- Refer to your Yamaha service manual for exact torque specs.
Step 7: Refill with Gear Oil
- Use a marine gear oil pump to fill from the bottom drain hole.
- Stop when oil begins to flow from the top vent hole.
- Reinsert and tighten both screws.
Step 8: Test Operation
- Reconnect the battery.
- Start the engine briefly and check for leaks.
- Ensure forward, neutral, and reverse engage smoothly.
Why Choose the Yamaha SHO Lower Unit?
When upgrading or replacing your lower unit, the Yamaha SHO Lower Unit is a high-performance option. Built for durability and enhanced speed, it’s a great match for anglers and offshore boaters alike.
✅ Check out the Yamaha SHO Lower Unit
✅ View all Yamaha 150 Lower Units
Cost Breakdown: Yamaha 150 Lower Unit Replacement
- Lower unit (OEM or aftermarket): $900 – $2,000
- Tools and materials: $100 – $200
- Optional water pump kit: $75 – $150
- Labor (if done professionally): $300 – $600
Pro Tip: Save on parts and upgrades at AllBoatSupplies.com. Use code WELCOME5 for 5% OFF your Yamaha 150 lower unit order.
Long-Term Maintenance Tips
- Flush your outboard regularly (How to Flush a Yamaha Outboard)
- Check gear oil every 50 hours of use
- Grease splines during annual service
- Watch for vibration or slipping (Signs of Lower Unit Failure)
FAQs About Yamaha 150 Lower Unit Installation
How long does it take to install a Yamaha lower unit?
For experienced users, it takes about 1.5 to 2 hours. First-timers should allow 3+ hours to work carefully and double-check alignment.
Can I reuse the old water pump when replacing the lower unit?
It’s not recommended. A new water pump kit ensures reliable cooling and avoids costly overheating issues.
What signs tell me my Yamaha 1 lower unit needs replacing?
Common signs include:
- Milky or low gear oil
- Knocking or whining noises
- Inability to shift gears
- Excessive vibration
Should I use OEM or aftermarket parts?
OEM parts guarantee compatibility. However, high-quality aftermarket units like the Yamaha SHO Lower Unit can offer performance benefits at lower cost.
Do I need to program or reset anything after installing the new lower unit?
No programming is needed. Just ensure all connections are secure and gear shifts are working smoothly.
Conclusion: Ready to Upgrade Your Yamaha 150 Lower Unit?
Installing your own Yamaha 150 lower unit isn’t just possible—it’s empowering. With the right tools, clear instructions, and a high-quality unit like the Yamaha SHO Lower Unit, you can save hundreds in labor and enjoy peak performance.
🛒 Shop now at AllBoatSupplies.com and use promo code WELCOME5 to get 5% OFF your Yamaha lower unit today.
Happy boating! ⚓
