How to Install a Yamaha 150 Lower Unit [Step-by-Step Guide]
Introduction
The Yamaha 150 lower unit installation process is a critical task for any boat owner or marine technician. Whether you’re replacing a damaged unit or performing routine maintenance, installing the lower unit correctly ensures the longevity and performance of your outboard motor. This comprehensive guide provides an expert-level, step-by-step breakdown of how to install a Yamaha 150 lower unit, including common challenges, tools required, expert tips, and frequently asked questions.
Improper installation can lead to costly repairs, operational issues, or even engine failure. This guide aims to eliminate guesswork, providing valuable insights so you can confidently tackle the process. If you’re searching for reliable replacement parts, visit allboatsupplies.com for a wide range of lower units and marine gear.
Use code WELCOME5 to get 5% OFF instantly at allboatsupplies.com!
What Is a Yamaha 150 Lower Unit?
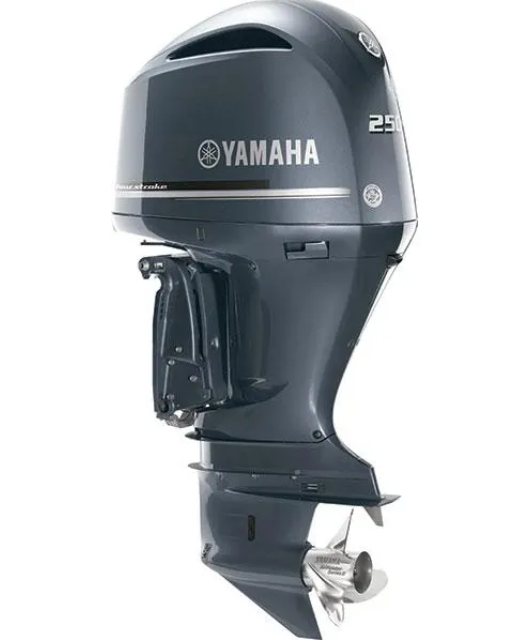
The lower unit of a Yamaha 150 outboard motor is the gearcase housing that includes the drive shaft, water pump, shift shaft, and propeller shaft. It’s responsible for transmitting power from the engine to the propeller. When installing or replacing this component, several considerations should be kept in mind:
- Compatibility: Ensure the lower unit matches your Yamaha 150 model year and shaft length.
- Condition: Decide between OEM (Original Equipment Manufacturer) and aftermarket units based on budget and durability.
- Gearing: Proper gear alignment is critical to avoid performance issues.
- Cooling System: Double-check the water pump impeller is functional during the installation.
- Torque Specs: Always follow the recommended torque settings for bolts to prevent cracks or leaks.
- Corrosion Protection: Apply marine grease to avoid rusting of internal components.
- Shift Shaft Alignment: Misalignment can result in gear shifting failure post-installation.
- Testing: Always water-test the boat after installation before taking it into open water.
- Maintenance Guide: Clean and grease spline shafts regularly post-installation.
- Replacement Timing: Plan replacement during off-season or downtime to avoid disruption.
Step-by-Step Guide: How to Install a Yamaha 150 Lower Unit
- Preparation and Safety
- Disconnect the battery and ensure the outboard is securely mounted on a stand or boat.
- Place the gear shift in neutral.
- Drain Lower Unit Oil
- Remove the drain and vent screws and allow the gear oil to fully drain into a pan.
- Remove the Old Lower Unit
- Unscrew the bolts holding the lower unit to the midsection. Keep track of washers and bolts.
- Lower the unit carefully to avoid damaging the drive shaft or shift shaft.
- Prepare the New Lower Unit
- Apply marine-grade grease to the drive shaft splines.
- Ensure water pump impeller is properly seated and in good condition.
- Install the Lower Unit
- Align the drive shaft and shift shaft carefully into their respective sockets.
- Gently push the lower unit up while rotating the propeller shaft to help engage gears.
- Tighten Bolts and Refill Oil
- Secure all bolts using a torque wrench to manufacturer specs.
- Refill gear oil from the bottom up until it overflows from the vent screw.
- Reconnect Battery and Test
- Reconnect battery and start engine while running water through the cooling system.
- Test forward, neutral, and reverse gears.
Use code WELCOME5 to get 5% OFF instantly at allboatsupplies.com!
Detailed FAQ Section (5 Questions, 200+ Words Each)
How do I know if I need a new Yamaha 150 lower unit?
Common signs that your Yamaha 150 needs a new lower unit include metallic grinding noises, gear slipping, water intrusion in the oil (milky oil), and failure to engage gears. If you notice severe vibration at higher speeds or visible cracks in the casing, it’s a strong indicator of mechanical failure. In some cases, replacing individual components (like bearings or the prop shaft) may resolve the issue, but if the damage is extensive or affects multiple components, a full replacement is more cost-effective.
Be sure to inspect gear oil regularly. Presence of metal shavings, noise from the gear case, or shifting difficulty are warning signs. We recommend browsing OEM or aftermarket options at allboatsupplies.com for reliable replacements.
What tools are needed for installing a Yamaha 150 lower unit?
You’ll need a basic set of marine tools for the installation, including:
- Socket wrench set
- Flat-head screwdriver
- Torque wrench
- Marine grease
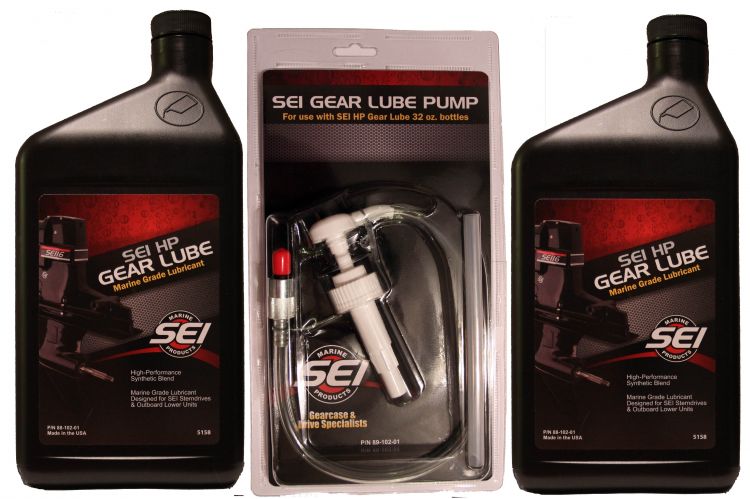
- Gear oil pump
- Oil pan
- Rubber mallet
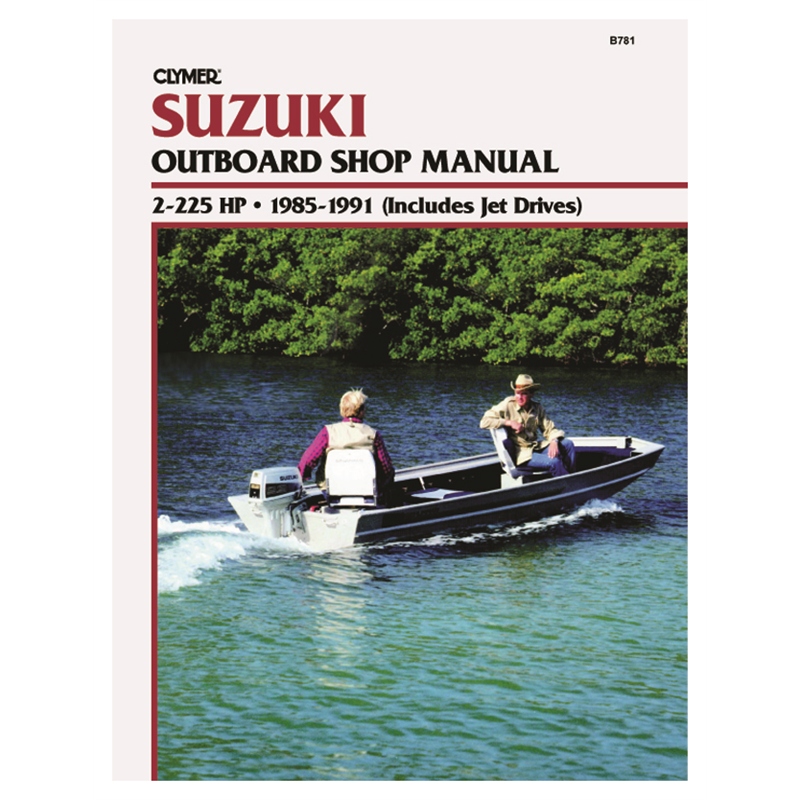
- Service manual (for torque specs)
These tools ensure accurate and safe installation. A torque wrench is especially important to avoid over-tightening bolts which could crack the housing. Consider getting a complete DIY marine tool kit from allboatsupplies.com.
Can I install the lower unit myself or should I hire a mechanic?
If you have mechanical experience and the right tools, installing the Yamaha 150 lower unit yourself can save hundreds in labor costs. However, due to the precision required in shaft alignment and torque application, it’s not advisable for beginners. Mistakes can cause irreversible damage to your outboard.
Hiring a certified marine mechanic ensures the job is done correctly, and many shops offer a warranty on installation. If you’re confident in your skills and follow a guide like this, DIY is definitely possible and rewarding.
How much does it cost to replace a Yamaha 150 lower unit?
The cost of replacing a Yamaha 150 lower unit can range from $900 to $2,000 depending on whether you choose a new OEM part, a remanufactured one, or an aftermarket unit. Labor charges can add another $300–$600. Doing the job yourself significantly reduces overall costs.
You can explore competitively priced units and accessories at allboatsupplies.com, which offers both new and rebuilt options with warranty coverage.
What are the signs of a failing Yamaha 150 lower unit?
Signs include water contamination in gear oil (milky appearance), hard shifting, excessive vibration, gear slippage, and unusual noises. You might also notice a loss of propulsion or overheating due to a failing impeller. These signs suggest it’s time to inspect or replace the lower unit.
Regular maintenance and inspection can help prevent unexpected failures. Check the oil every 100 hours of use and replace the impeller annually to extend the life of your lower unit.
Conclusion
Installing a Yamaha 150 lower unit doesn’t have to be intimidating. With the right tools, steps, and safety precautions, even DIYers can accomplish this crucial maintenance task. Ensure your outboard motor performs at peak condition by using quality parts and adhering to factory specifications. For all your marine parts and installation kits, visit allboatsupplies.com.
Use code WELCOME5 to get 5% OFF instantly at allboatsupplies.com!
