Hull Shield Installation Tips for First-Time Boat Owners
Introduction
Installing a hull shield is one of the smartest decisions for first-time boat owners. Not only does it protect your hull from damage, but it also enhances the lifespan of critical components like the outboard lower unit. By following these beginner-friendly tips, you’ll ensure a smooth installation process and enjoy long-term benefits for your boat.
Why Install a Hull Shield?
1. Protect Against Impacts
Hull shields are designed to absorb and deflect damage from debris, rocks, and underwater obstacles. This makes them essential, especially for boats navigating shallow or rocky waters.
2. Prevent Corrosion
Marine-grade hull shields act as a barrier, preventing saltwater and environmental factors from corroding the hull. Furthermore, they contribute to maintaining the boat’s structural integrity over time.
3. Safeguard the Outboard Lower Unit
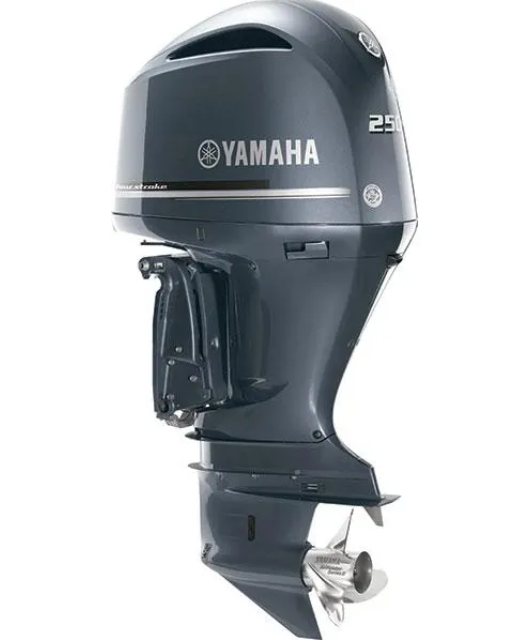
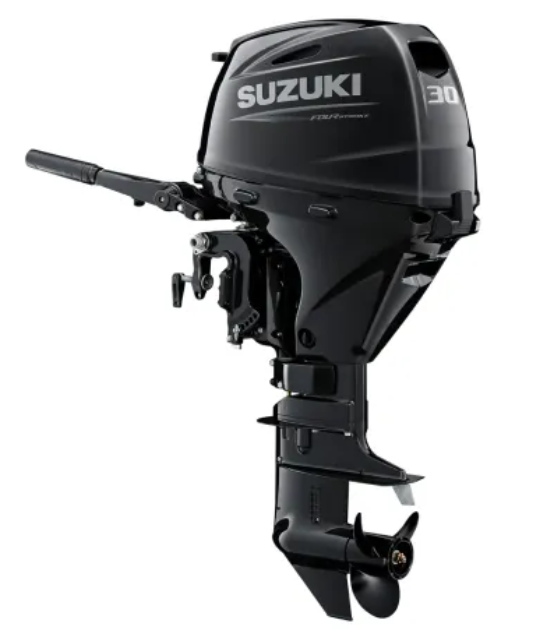
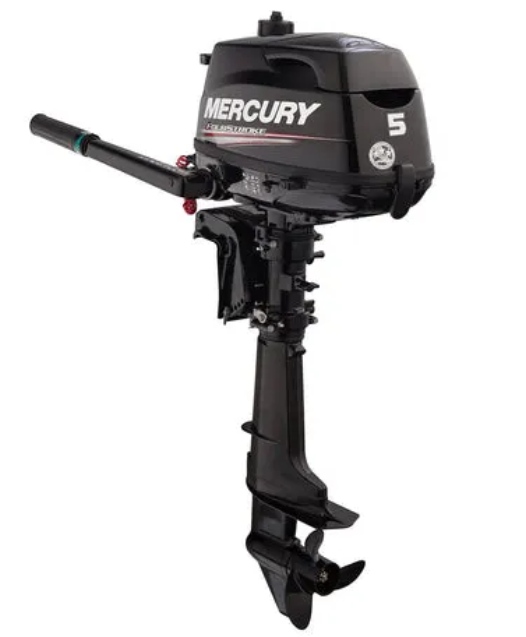
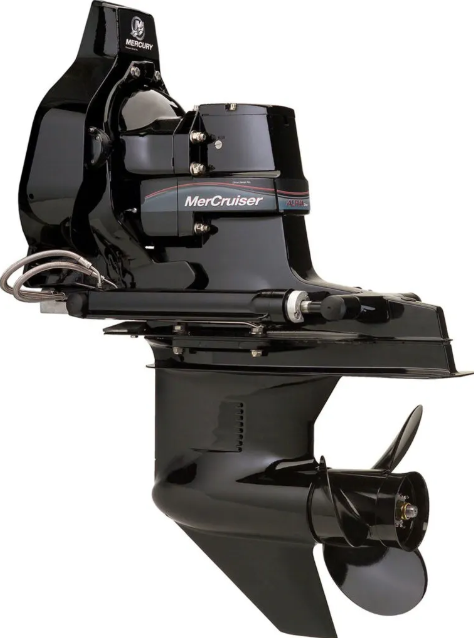
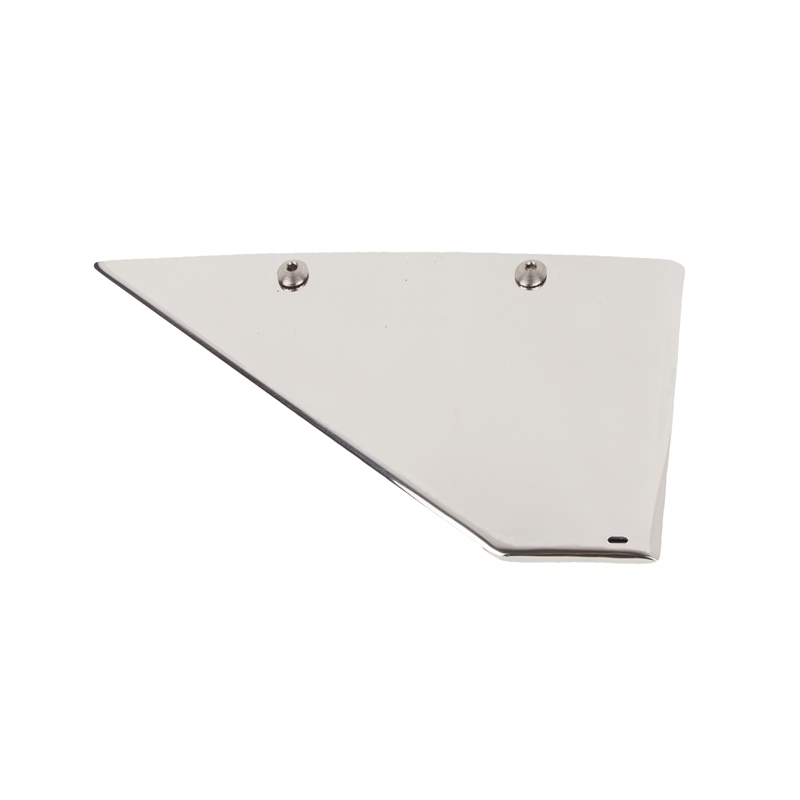
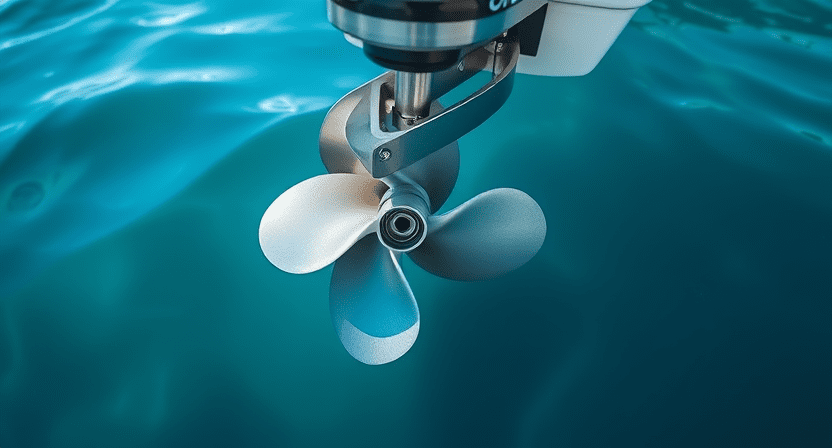
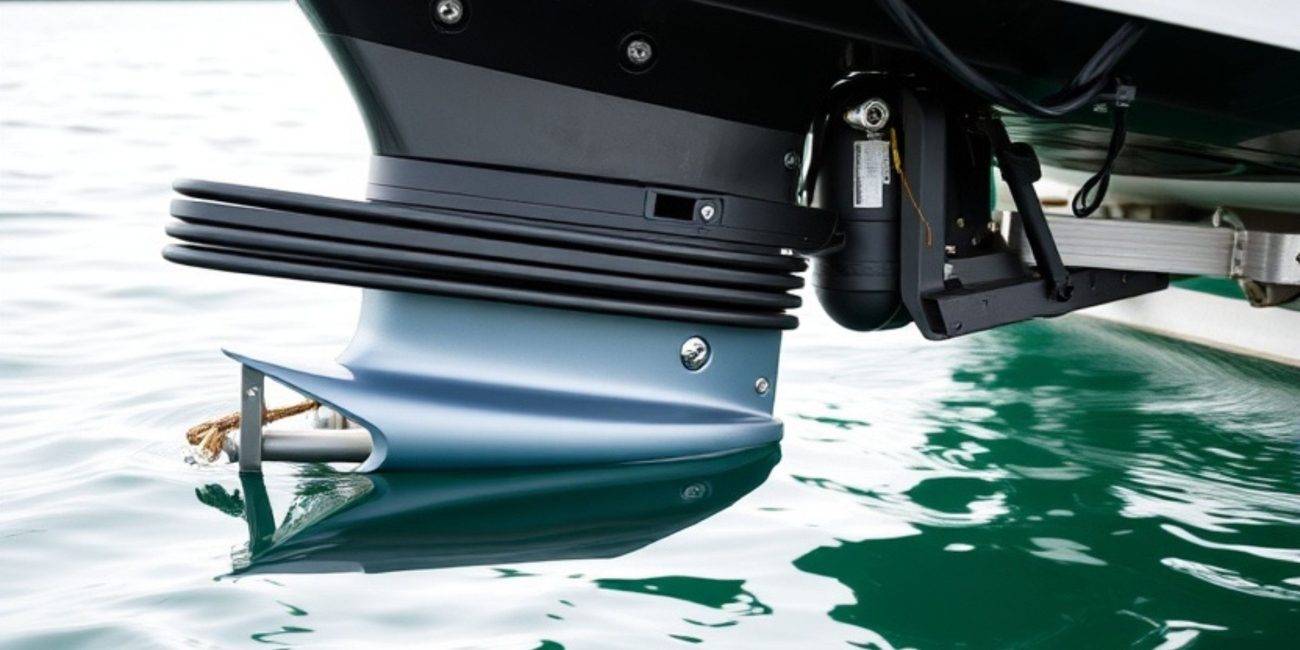
An extended hull shield can reduce wear on the outboard lower unit by shielding it from impacts and abrasions. Consequently, this results in fewer repairs and a longer lifespan.
4. Save on Maintenance Costs
By preventing common forms of damage, hull shields significantly reduce the need for costly repairs. Additionally, they minimize downtime, allowing you to spend more time enjoying your boat.
Preparing for Hull Shield Installation
1. Select the Right Shield
It is crucial to choose a shield that matches your boat’s size, hull design, and intended use. Marine-grade materials like stainless steel or rubberized composites are ideal for durability. Moreover, hydrodynamic designs help maintain speed and efficiency.
2. Gather Necessary Tools
To ensure a smooth installation, have these items ready:
- Hull shield and adhesive kit
- Sandpaper
- Masking tape
- Cleaning supplies (soap, water, and alcohol)
- A drill for bolt-on shields
3. Clean and Prepare the Surface
Before starting, clean the hull thoroughly to remove dirt, grease, and old coatings. A clean surface ensures the adhesive bonds properly. Sanding the area lightly can also improve adhesion.
Step-by-Step Hull Shield Installation Tips
Step 1: Plan the Placement
Begin by marking the area where the shield will be installed. Use masking tape to outline the position and ensure it is centered and straight.
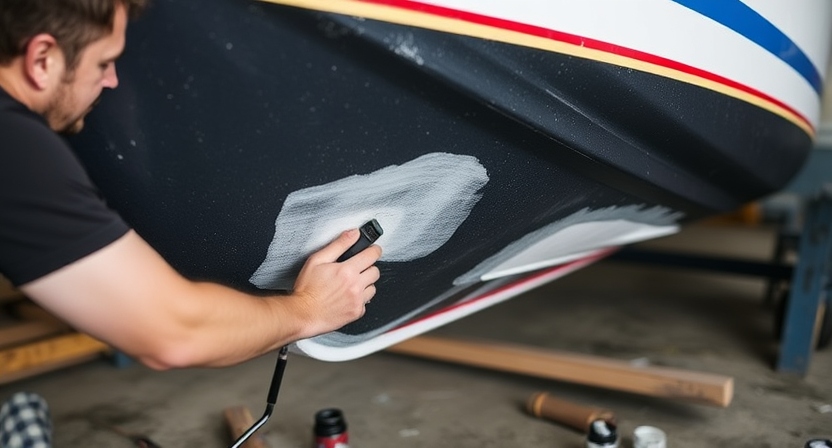
Step 2: Apply the Adhesive
Evenly spread adhesive on the back of the hull shield. Be cautious not to overapply, as excess adhesive can seep out during installation.
Step 3: Secure the Shield
Press the shield firmly onto the hull, aligning it with the marked area. Maintain consistent pressure to eliminate any air bubbles. Using a roller can help achieve a smooth bond.
Step 4: Bolt for Extra Security
If your shield includes pre-drilled holes, use screws or bolts for added stability. Tighten these evenly to avoid distorting the shield’s shape.
Step 5: Allow Time to Cure
Follow the adhesive manufacturer’s curing time before using your boat. During this period, keep the boat in a dry area to ensure the adhesive sets properly.
Tips for a Successful Installation
1. Follow Manufacturer Instructions
Every hull shield has unique requirements. Adhering to the manufacturer’s guidelines ensures optimal results.
2. Protect the Outboard Lower Unit
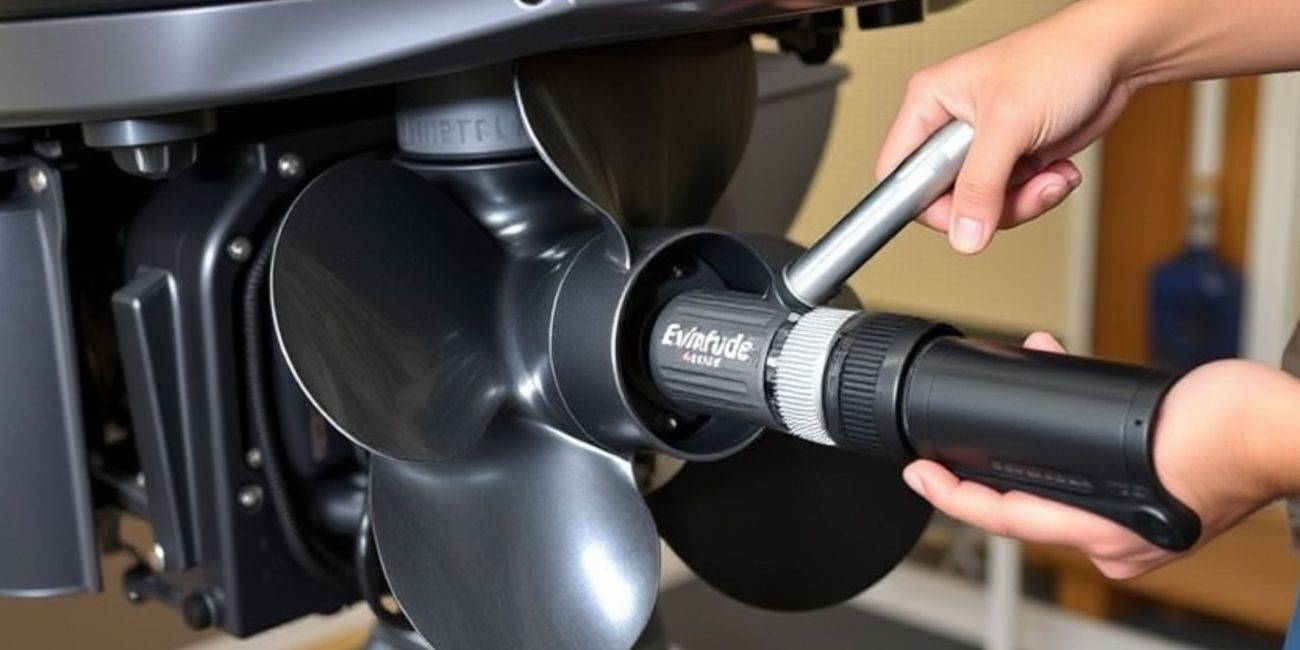
Extend the shield’s coverage to safeguard your outboard lower unit, which is particularly vulnerable to damage.
3. Test Fit Before Adhesion
Place the shield on the hull before applying adhesive to confirm the fit. Adjustments at this stage can save time and effort later.
4. Check for Air Bubbles
Use a roller to smooth out the shield and remove any trapped air, as bubbles can weaken the bond.
Maintaining Your Hull Shield
1. Inspect Regularly
After each trip, check for signs of wear, such as cracks, loose edges, or corrosion. Addressing minor issues promptly prevents further damage.
2. Clean Properly
Rinse the shield with freshwater to remove salt and debris. Additionally, use a soft brush to clean hard-to-reach areas.
3. Reapply Adhesive When Needed
Over time, the adhesive may weaken. Reapply as necessary to ensure the shield remains securely attached.
FAQs
How do hull shields protect boats?
Hull shields provide a protective barrier that absorbs impacts and prevents abrasion and corrosion, keeping the hull and outboard lower unit safe.
Can I install a hull shield myself?
Yes, with proper tools and preparation, installing a hull shield is straightforward and beginner-friendly.
Do hull shields affect boat speed?
Hydrodynamically designed shields have minimal impact on speed. In fact, some designs improve fuel efficiency by reducing drag.
How often should I check my hull shield?
Inspect your shield regularly, ideally after each trip, to identify and address potential issues.
What materials are best for hull shields?
Marine-grade stainless steel and rubberized composites are highly durable and resistant to saltwater corrosion.
Conclusion
Installing a hull shield is a must for first-time boat owners. Not only does it protect the hull and outboard lower unit, but it also saves time and money on repairs. By following these tips and performing regular maintenance, you’ll ensure your boat remains in top condition for years to come.

