How to Prevent Yamaha Lower Unit Corrosion in Saltwater
Introduction
Yamaha outboards are known for their durability and reliability, but even the toughest equipment can fall victim to saltwater’s corrosive effects. If you’re operating your Yamaha engine in marine environments, learning how to prevent Yamaha lower unit corrosion in saltwater is crucial. Without proper care, saltwater can eat away at your lower unit’s housing, compromise seals, and destroy internal components. This guide covers proven methods, maintenance strategies, and expert insights to help you protect your investment and extend the life of your outboard.
Overview / What Is Yamaha Lower Unit Corrosion?
Corrosion in Yamaha lower units typically occurs when saltwater reacts with metal components, initiating oxidation and causing pitting, flaking, or structural deterioration. This can affect gears, seals, bearings, and the lower unit casing. Left unchecked, it compromises engine performance and safety. The main cause is prolonged saltwater exposure without timely rinsing or protective coatings.
Modern Yamaha engines are built with corrosion-resistant materials and coatings, but they are not invincible. Understanding Yamaha lower unit corrosion and how it manifests is the first step in preventing costly repairs and replacements.
How Saltwater Accelerates Corrosion
Saltwater is a powerful conductor of electricity, which accelerates electrochemical reactions, especially in aluminum and steel. When your outboard’s lower unit is submerged in saltwater, galvanic corrosion may occur between different metals. This problem is exacerbated if protective anodes are worn out or missing.
Other contributing factors include high temperatures, barnacle accumulation, and lack of flushing after use. All these speed up the degradation process of the lower unit’s exterior and internal systems.
Signs of Lower Unit Corrosion to Watch For
Recognizing early signs of Yamaha lower unit corrosion can help you take preventative action before serious damage occurs:
- Paint bubbling or flaking on the lower unit
- Rust-colored stains or powdery white residue
- Water in lower unit gear oil (milky or discolored)
- Unusual vibration or grinding noises while in gear
- Visible pitting or rough texture on metal surfaces
If you notice any of these issues, take immediate action to inspect and mitigate corrosion before it spreads further.
Maintenance Tips
Regular maintenance is your first line of defense against Yamaha lower unit corrosion in saltwater. Here are the top tips:
Flush the Engine After Every Use
Use fresh water to flush the cooling system and rinse the entire lower unit. Yamaha recommends flushing with a hose connector or muffs on the water intake. This removes salt residue that promotes corrosion.
Inspect and Replace Anodes
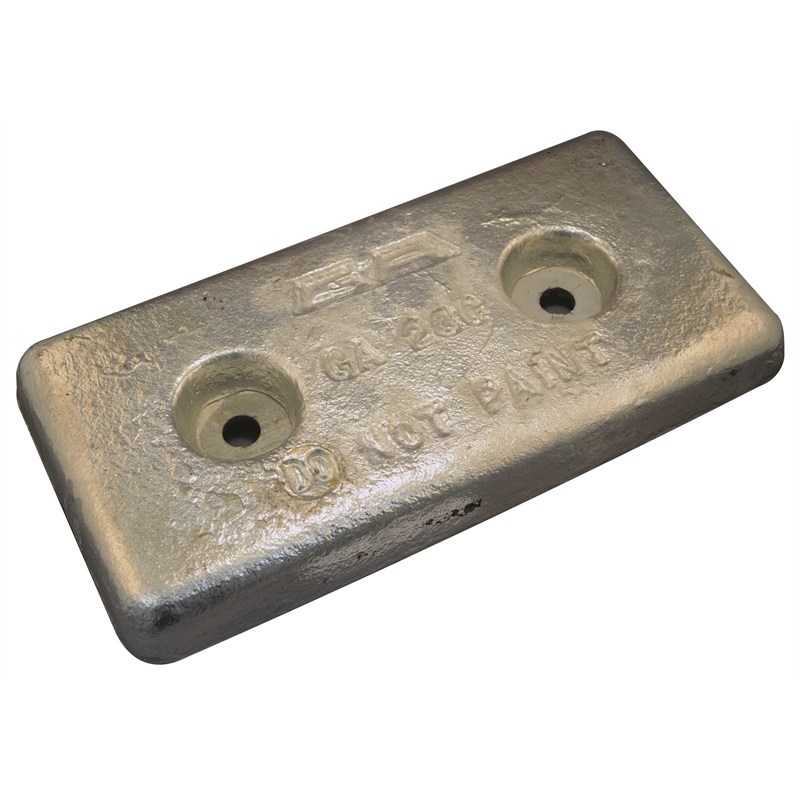
Yamaha lower units are equipped with sacrificial anodes, which corrode in place of the motor’s metal parts. Inspect them monthly and replace them when they’re more than 50% worn.
Apply Anti-Corrosion Spray
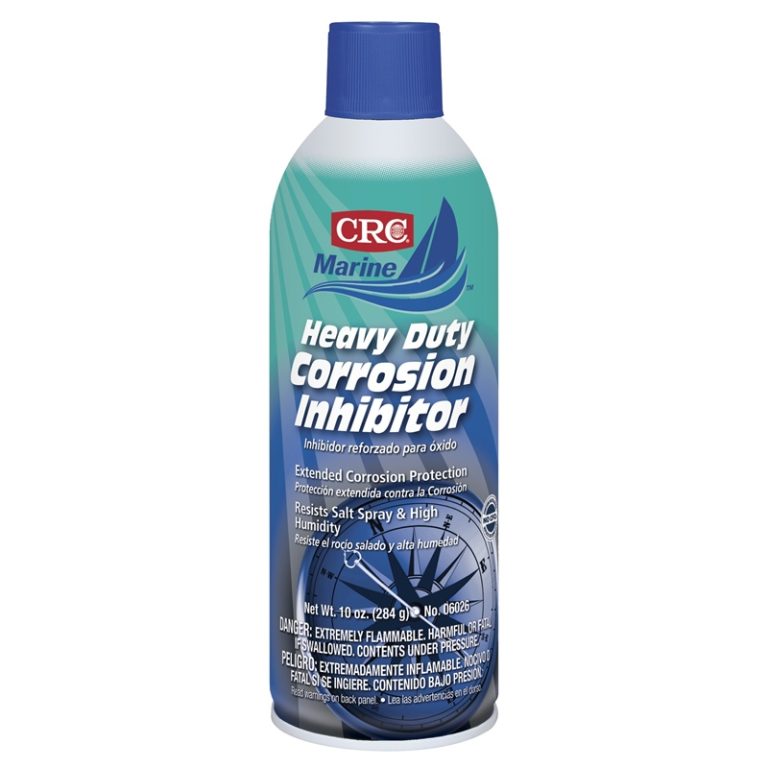
Use marine-grade anti-corrosion sprays on the lower unit, trim tabs, and prop shaft. Products like CRC Corrosion Inhibitor or Yamaha’s own Yamalube ensure a protective layer resists salt damage.
Use Saltwater-Resistant Paint
If the factory paint is chipped, sand and touch up the area using OEM-approved anti-corrosion paint. This prevents salt from making direct contact with metal.
Expert Advice and Pro Recommendations
We consulted marine technicians and Yamaha service pros to collect the best insights on preventing lower unit corrosion:
Use Your Boat Regularly
Boats that sit idle in saltwater for long periods are more prone to corrosion. Running your motor flushes salt and keeps seals lubricated, reducing corrosion potential.
Install a Galvanic Isolator
If your boat is docked or uses shore power, galvanic corrosion can occur via the grounding system. A galvanic isolator helps break the electrical path, reducing lower unit decay.
Keep Propeller Shaft Greased
Remove and grease the propeller shaft regularly. This prevents rust and corrosion in one of the most exposed and overlooked parts of the lower unit.
Use Freshwater Rinse Systems
Install onboard freshwater rinse kits to make post-use flushing fast and consistent. These systems help remove salt internally and externally even at remote docks.
How to Store Your Yamaha Motor in Saltwater Areas
When storing your Yamaha outboard near the ocean, follow these practices to reduce corrosion risk:
- Store the motor in an upright position to allow full drainage.
- Use a motor cover that allows air circulation but keeps out salt mist.
- Apply dielectric grease to all electrical connectors.
- Fog internal components if storing long-term.
Never leave the engine tilted in saltwater for extended periods—it keeps salt trapped against the gear housing and exhaust system.
Best Products for Preventing Yamaha Lower Unit Corrosion
Based on reviews and expert usage, the following products offer the best protection against Yamaha lower unit corrosion:
- Yamalube Anti-Corrosion Spray – OEM solution with superior bonding
- Boeshield T-9 – Penetrates and seals metal to prevent oxidation
- Salt-Away Flush System – Breaks down salt crystals in internal cooling pathways
- OEM Yamaha Zinc Anodes – Ensure compatibility and effective galvanic protection
Using the right products alongside routine maintenance forms a complete corrosion prevention strategy.
Detailed FAQ Section
How often should I inspect my Yamaha lower unit for corrosion?
Regular inspection of your Yamaha lower unit is essential—ideally once a month if used regularly in saltwater environments. After every outing, do a quick rinse and visual check for any paint flaking, rust spots, or white chalky deposits. Every three months, conduct a deeper inspection that includes removing the propeller, checking anodes, examining gear lube condition, and using a flashlight to inspect hidden surfaces. Routine inspections can help you catch early signs of corrosion before they lead to severe damage and expensive repairs.
What’s the best way to flush my Yamaha outboard after saltwater use?
The most effective method is using a flush attachment with a garden hose. Yamaha provides a flush port on most models, making it easy to flush without starting the engine. Simply attach the hose, turn on the water, and let it run for 10-15 minutes. Alternatively, use ear muffs over the water intake and run the engine in neutral. Always flush immediately after use to prevent salt from hardening and blocking cooling passages. For added protection, consider using a salt-neutralizing solution like Salt-Away or Salt Terminator during the flush process.
Can corrosion void my Yamaha outboard warranty?
Yes, Yamaha’s standard warranty may not cover corrosion damage if it’s due to neglect or improper maintenance. Failing to flush your engine, replace anodes, or using the motor in a way not recommended for saltwater can all lead to denied claims. Always follow Yamaha’s guidelines outlined in the owner’s manual, maintain detailed service records, and use OEM parts to preserve your warranty. Regular preventative maintenance not only extends engine life but also safeguards your warranty coverage.
Are stainless steel propellers more resistant to saltwater corrosion?
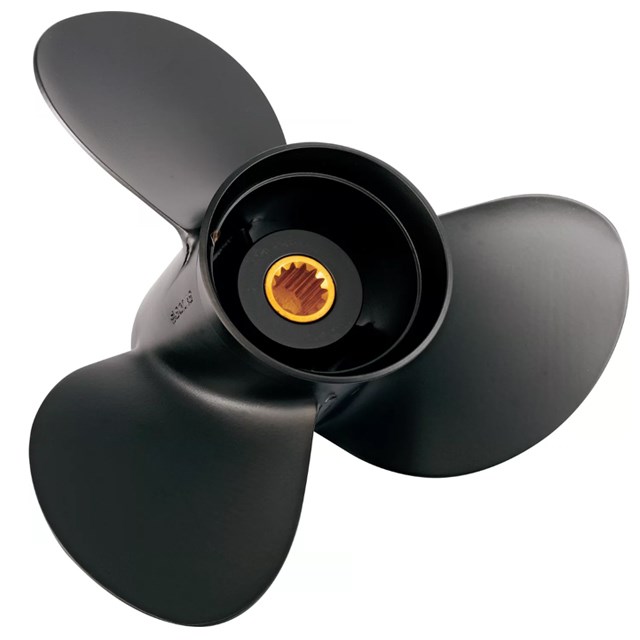
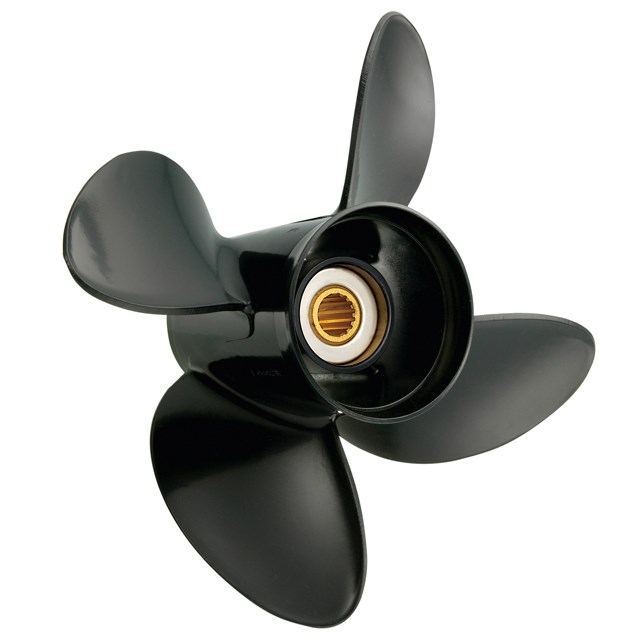
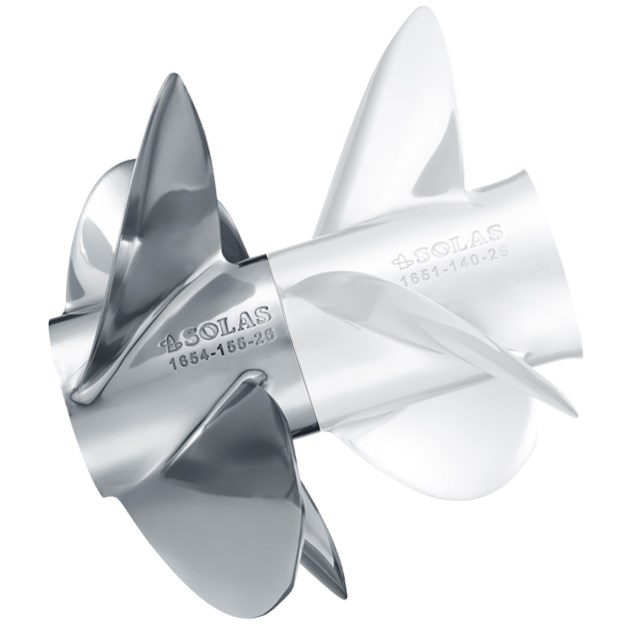
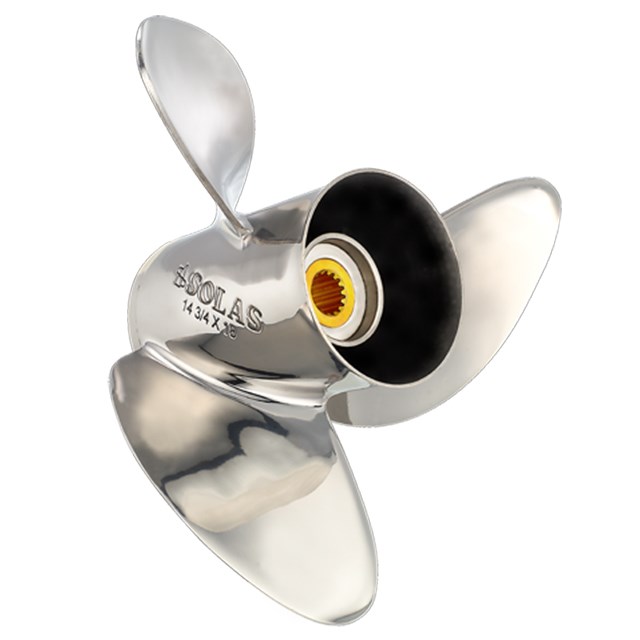
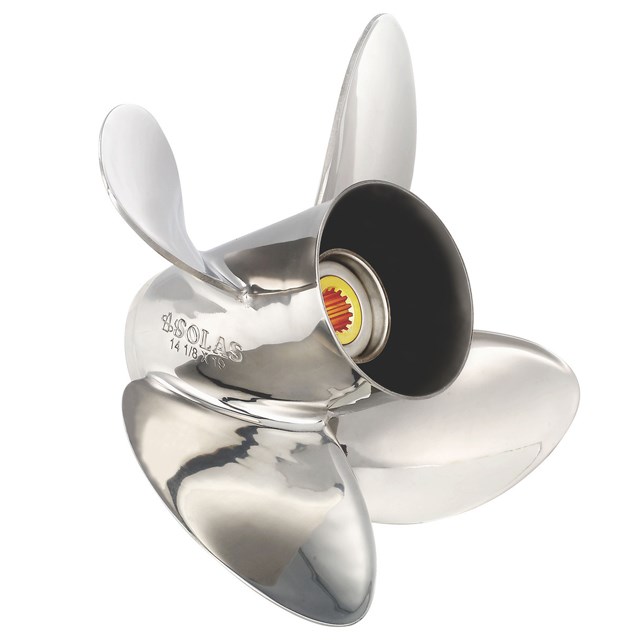
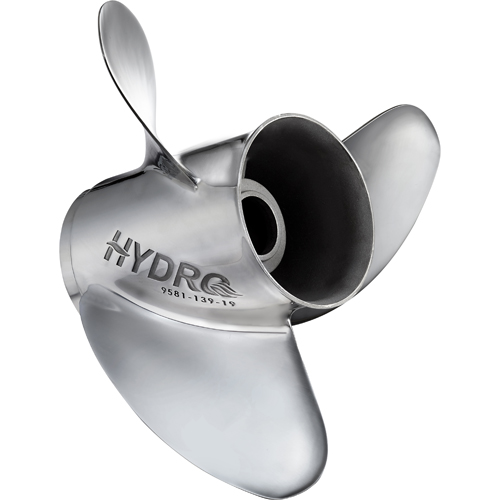
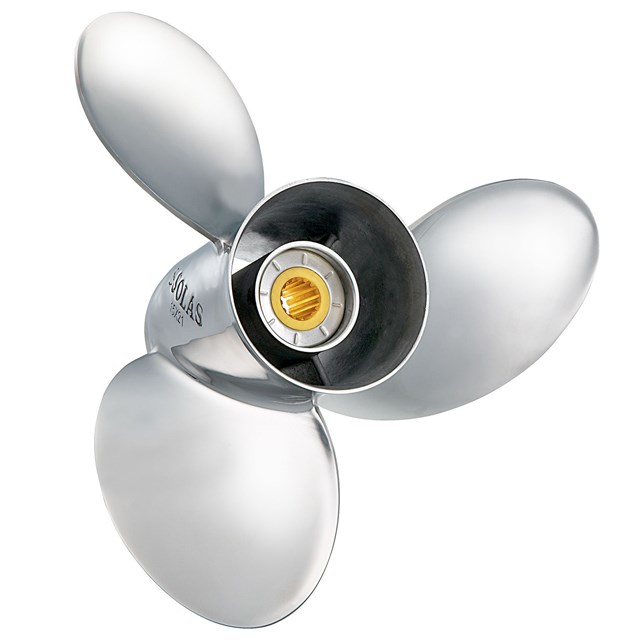
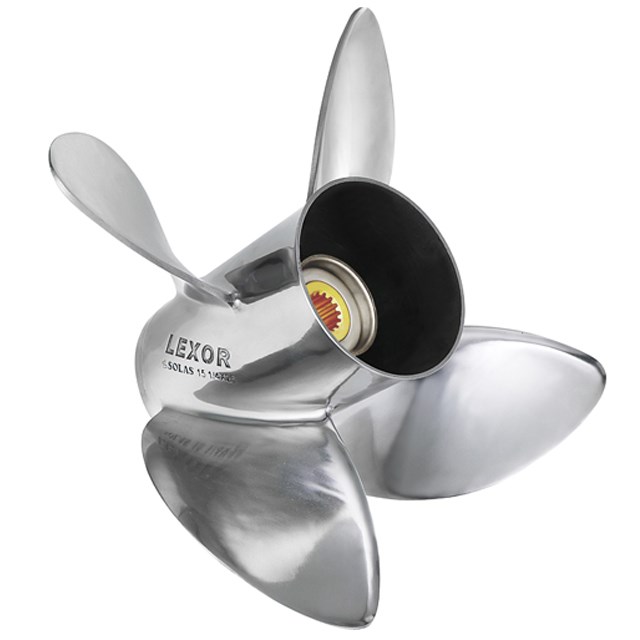
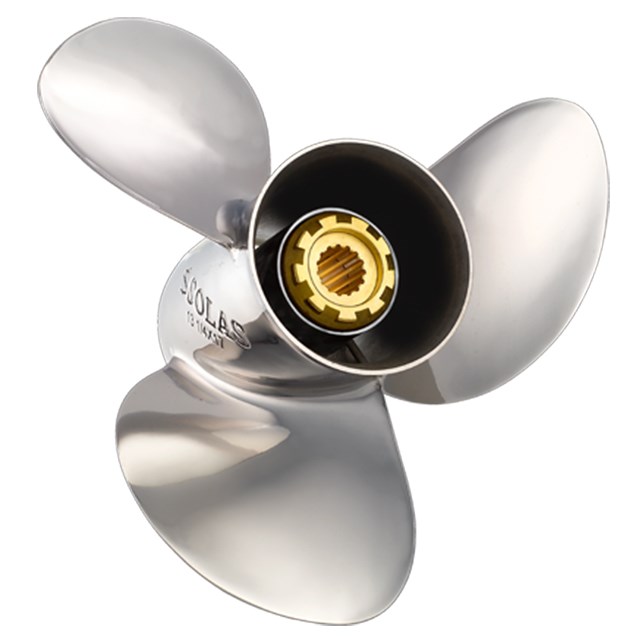
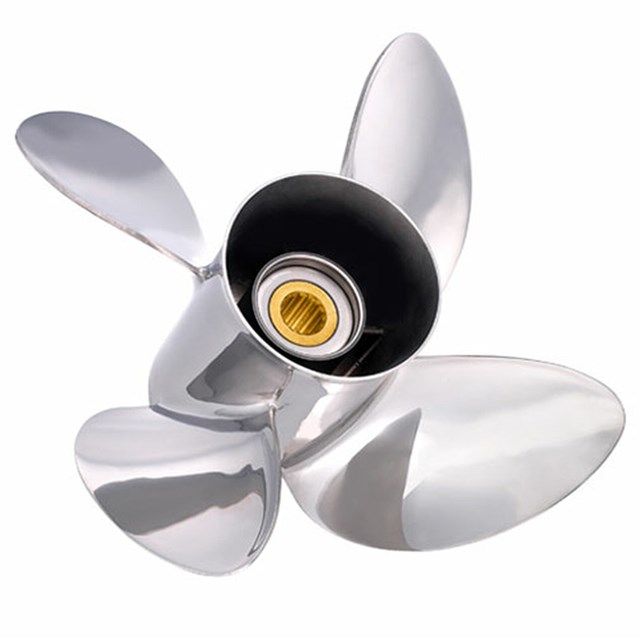
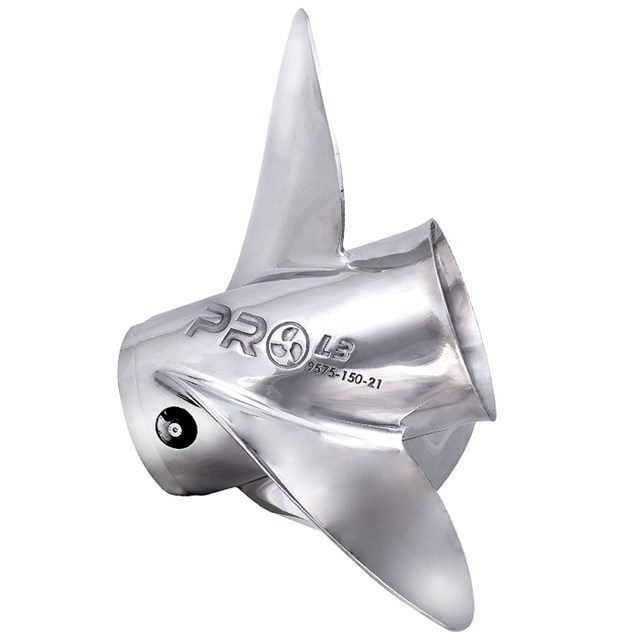
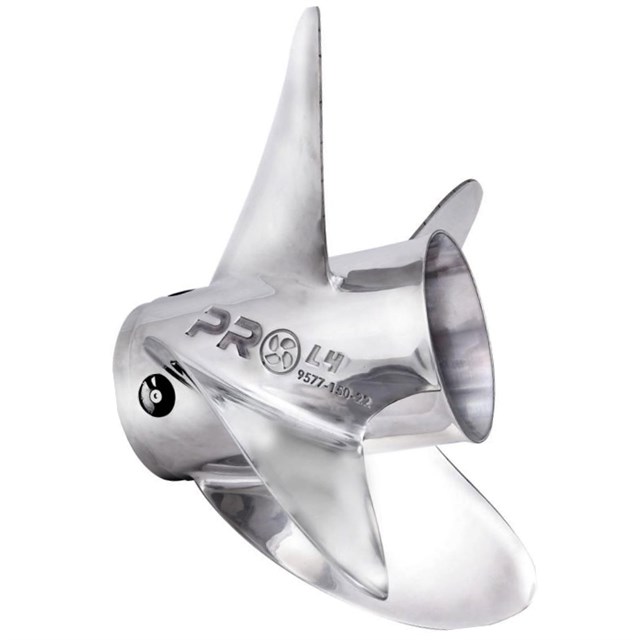
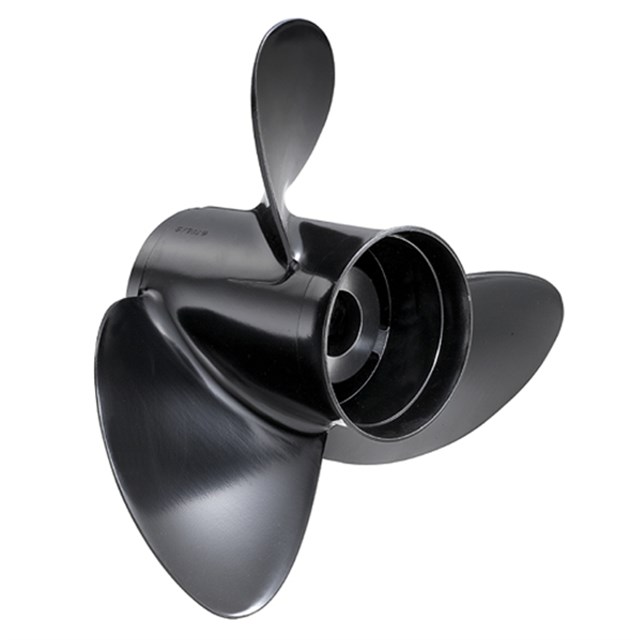
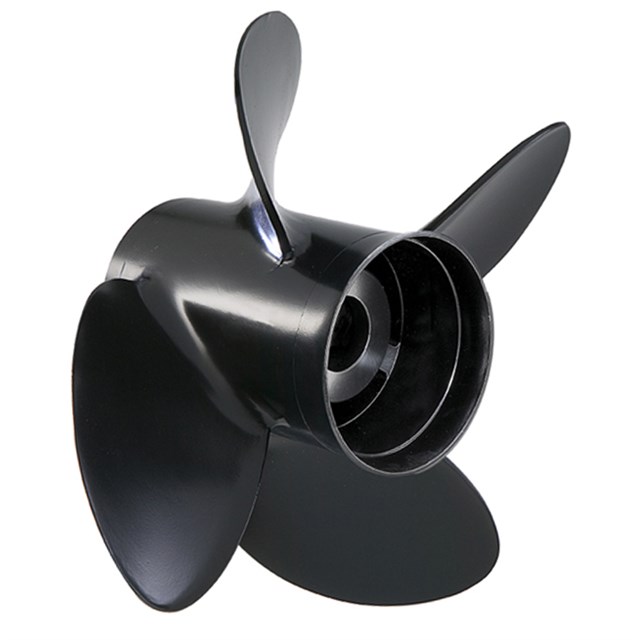
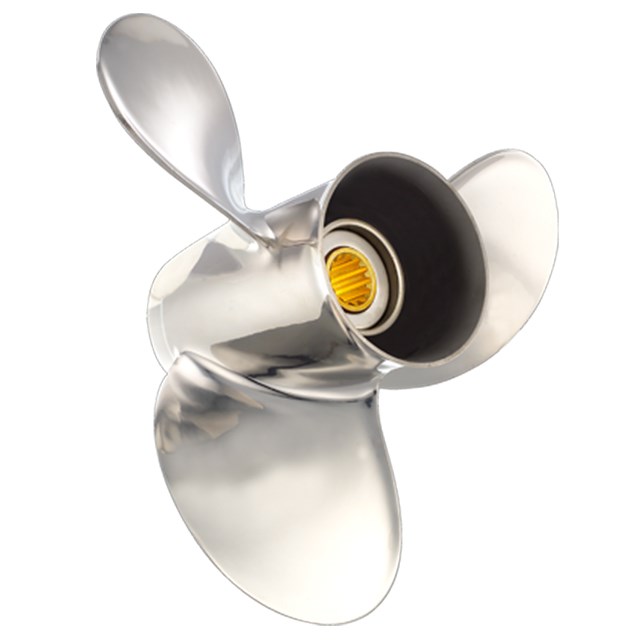
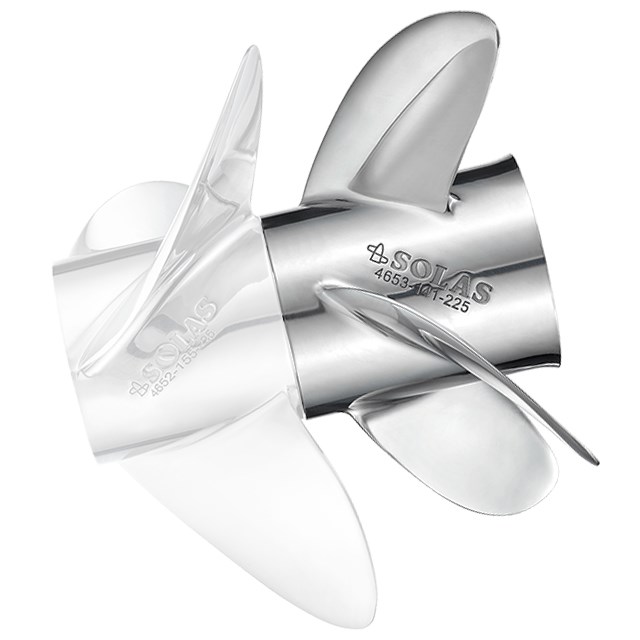
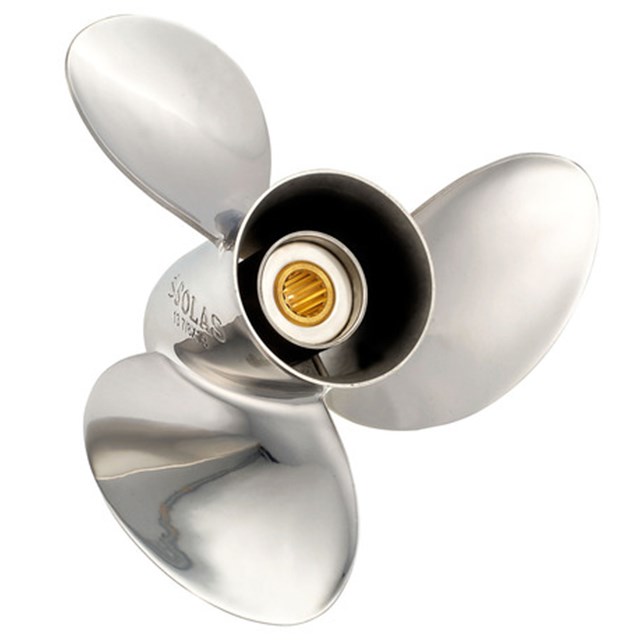
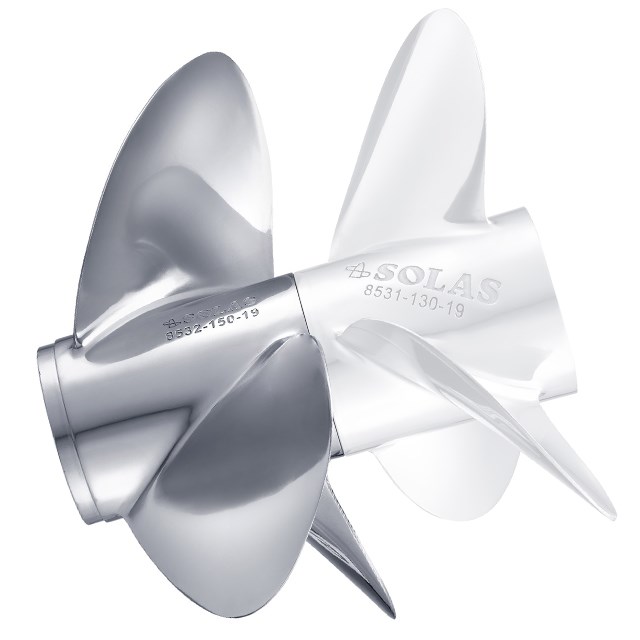
Yes, stainless steel propellers are significantly more resistant to saltwater corrosion compared to aluminum ones. Stainless steel is less reactive to saltwater, which makes it an excellent choice for boaters who operate frequently in marine environments. However, this doesn’t mean it’s immune to corrosion—especially if galvanic corrosion is present. Always ensure proper anode placement, and periodically grease the shaft regardless of the propeller type. Stainless steel also offers better strength and performance, making it a dual benefit for saltwater use.
Is painting the lower unit a good idea for preventing corrosion?
Absolutely. Repainting your Yamaha lower unit with high-quality, marine-grade anti-fouling or anti-corrosion paint is an effective way to extend its life. Saltwater exposure can chip factory paint, allowing salt to penetrate and start corrosion. Sand the affected area, apply primer, then finish with an OEM-matched paint for full protection. Make sure the paint does not cover anodes or interfere with water inlets. Regular inspections and touch-ups are part of good maintenance practices, especially for boats stored in water or used frequently in saltwater environments.
Special Offer
WELCOME5 – Get 5% off storewide at allboatsupplies.com
And upto 10% additional off on all lower units
-
Yamaha Aftermarket Lower Unit Replaces 75-100HP (2 & 4 Stroke) – 2.0/2.3 Gear Ratios, 18 Spline, 20/25″ Shafts – SEI-90-404
-
Yamaha Aftermarket Lower Unit Replaces 115-130HP 4-Stroke – Fits 20/25″ Shafts – SEI-90-405
-
Yamaha 90° Aftermarket Lower Unit Replaces 150-200HP (2 & 4 Stroke) – Fits 20/25″ Shafts – SEI-90-416
-
Yamaha 150–200HP Lower Unit 4-Stroke – 20/25″ Shaft – F150/F175/F200 Series (2004–2024) – New/Remanufactured – YA-G4-06
Conclusion
Preventing Yamaha lower unit corrosion in saltwater requires a proactive maintenance routine, proper storage, and the use of marine-grade protective products. With regular flushing, anode replacement, and corrosion-prevention sprays, you can dramatically extend the lifespan of your Yamaha outboard. Don’t let saltwater ruin your boating adventures—take action today and keep your motor running like new for years to come.
Read More
For more helpful marine maintenance guides, check out our article on How to Pressure Test Your Yamaha Lower Unit.


