How Do You Test a Lower Unit Before Installation?
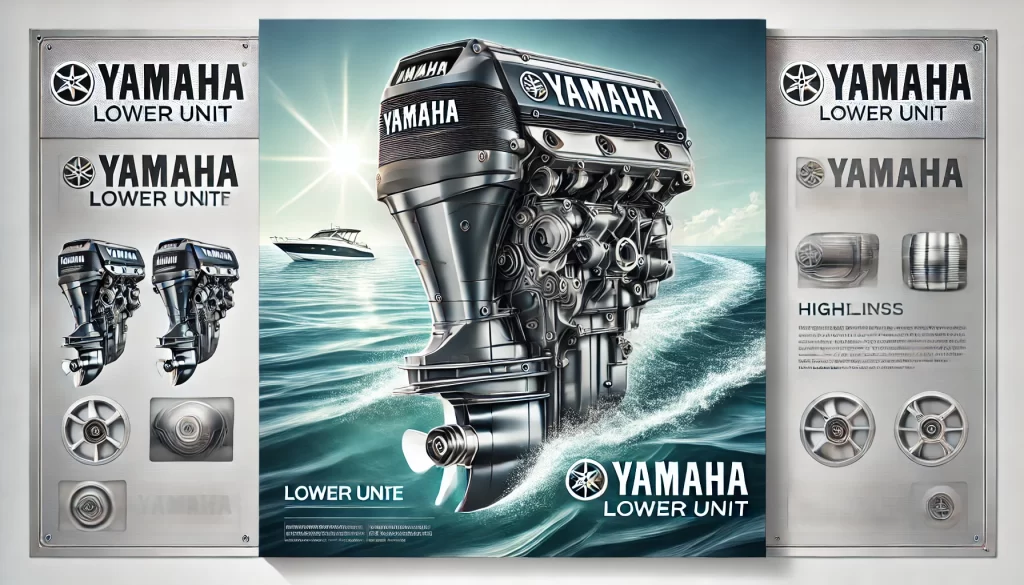
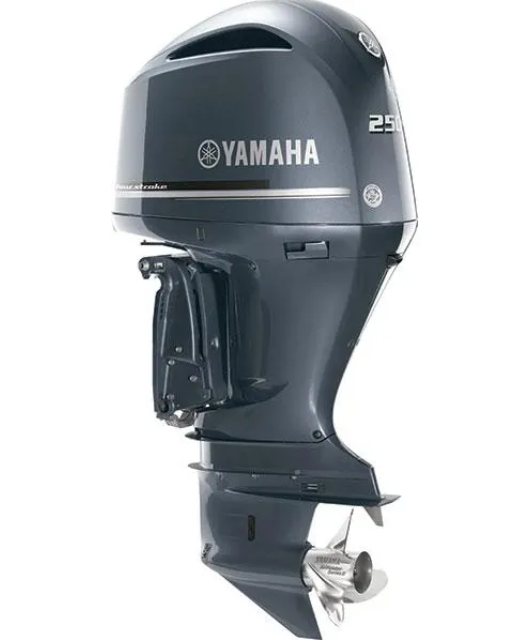
Yamaha Lower unit for Your Boat ~ Grab Now
For expert advice and high-quality lower units designed to withstand water pressure, visit AllBoatSupplies.com and find the perfect solution for your boat today!
Introduction
The lower unit of your boat’s engine is vital for transferring power to the propeller, making it an essential part of your boating experience. However, before installing a lower unit—whether it’s new, rebuilt, or used—it’s critical to ensure it’s in perfect working condition. Testing a lower unit before installation can help you avoid costly repairs, operational inefficiencies, and even accidents on the water.
In this blog, we’ll walk you through a detailed process to inspect and test your lower unit. By the end, you’ll know exactly what to look for to ensure a seamless installation and a trouble-free boating experience.
Why Test a Lower Unit Before Installation?
Testing the lower unit ensures:
- Early Detection of Faults: Identifying potential problems before installation saves time and repair costs.
- Improved Performance: A thorough test ensures the lower unit operates efficiently and smoothly.
- Safety Assurance: Functional lower units help avoid accidents caused by mechanical failure while on the water.
- Prolonged Lifespan: Proper checks and maintenance reduce premature wear and tear.
Tools You’ll Need for Testing a Lower Unit
Before testing, gather the following tools:
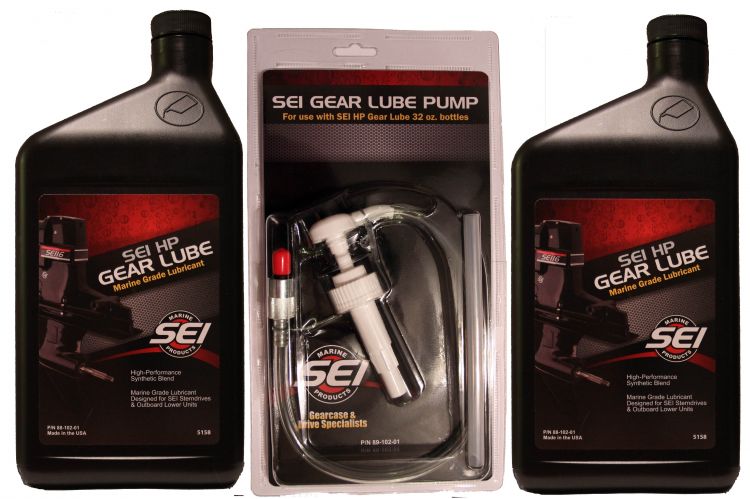
- Gear oil pump
- Marine-grade gear oil
- Torque wrench
- Propeller (optional for testing)
- Air pressure/vacuum tester
- Basic hand tools (screwdrivers, pliers, etc.)
- Safety gloves and goggles
Step-by-Step Guide to Testing a Lower Unit
Step 1: Visual Inspection
Before performing any technical tests, visually inspect the lower unit for:
- Cracks or Damage: Examine the housing for cracks, dents, or corrosion.
- Seal Integrity: Check all seals and gaskets to ensure they are intact.
- Propeller Shaft: Ensure the shaft is straight and free of corrosion.
- Drain Plug Threads: Inspect the gear oil drain plug for damage.
Step 2: Check Gear Oil Condition
- Drain the Gear Oil: Remove the drain plug and check the oil for contaminants like water (milky appearance), metal shavings, or dirt.
- Replenish the Gear Oil: If the oil is clean, refill the lower unit with marine-grade gear oil.
Step 3: Perform a Pressure and Vacuum Test
A pressure and vacuum test ensures the seals are functioning properly and the gearcase is watertight.
- Pressure Test:
- Attach the pressure tester to the drain plug.
- Pump air into the gearcase (up to 15 PSI) and check for pressure loss. If it loses pressure, a seal may be leaking.
- Vacuum Test:
- Use the same setup but create a vacuum instead. The gearcase should hold the vacuum without dropping levels.
Step 4: Inspect the Gear System
Rotate the propeller shaft manually to check for smooth operation. Any grinding or stiffness could indicate issues with internal gears or bearings. For a thorough inspection:
- Disassemble the gearcase and inspect the gears and bearings for wear.
- Ensure proper alignment and lubrication of all components.
Step 5: Test the Shift Mechanism
The lower unit must shift smoothly between forward, neutral, and reverse. To test:
- Manually Rotate the Driveshaft: Shift the unit into forward, neutral, and reverse while rotating the driveshaft.
- Listen for clicks or grinding sounds, which indicate shifting issues.
Step 6: Run a Water Pump Check
The water pump in the lower unit is responsible for cooling the engine. Test its performance:
- Inspect the Impeller: Remove the water pump housing and check the impeller for wear or cracks.
- Dry Test: Reassemble the water pump, attach a hose, and test the flow. Replace the impeller if necessary.
Step 7: Check for Electrical Connections (If Applicable)
If your lower unit includes electrical components such as sensors or trim/tilt systems, ensure the connectors are secure and corrosion-free. Test functionality using a multimeter to verify proper voltage.
Common Issues Identified During Testing
- Leaking Seals:
- Causes water intrusion, leading to corrosion and gear damage.
- Solution: Replace all damaged seals immediately.
- Gear Misalignment:
- Causes grinding or difficulty shifting gears.
- Solution: Rebuild the gearcase or replace faulty gears.
- Damaged Driveshaft or Propeller Shaft:
- Leads to vibration and reduced efficiency.
- Solution: Replace the damaged shaft and ensure proper alignment.
- Worn Impeller:
- Reduces cooling efficiency and causes engine overheating.
- Solution: Replace the impeller during testing.
Pro Tips for Better Testing Results
- Always use marine-grade tools and lubricants for testing and maintenance.
- If you’re buying a used lower unit, request test results or perform these checks with a trusted mechanic.
- Keep a maintenance log to track inspections, repairs, and replacements.
Final Check: Simulate Installation
Before fully installing the lower unit:
- Attach it loosely to your engine to test fitment.
- Start the engine and run it at low RPM in a test tank.
- Observe for leaks, vibrations, or unusual noises.
- Ensure proper cooling water flow through the exhaust ports.
Conclusion
Testing a lower unit before installation is a vital step to ensure your boat operates safely and efficiently. From visual inspections to advanced pressure and vacuum tests, taking the time to perform these checks will save you from costly repairs and downtime on the water. Whether you’re a seasoned boater or a beginner, following this comprehensive guide will give you the confidence to install your lower unit with peace of mind.
So, next time you’re preparing for a boat outing, remember: A few hours of testing could save you countless hours of troubleshooting later. Enjoy smooth sailing!


