Water Intrusion in Lower Unit: What to Do
Introduction
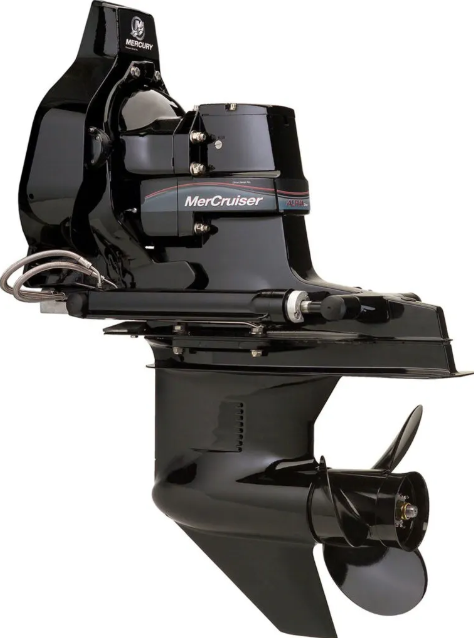
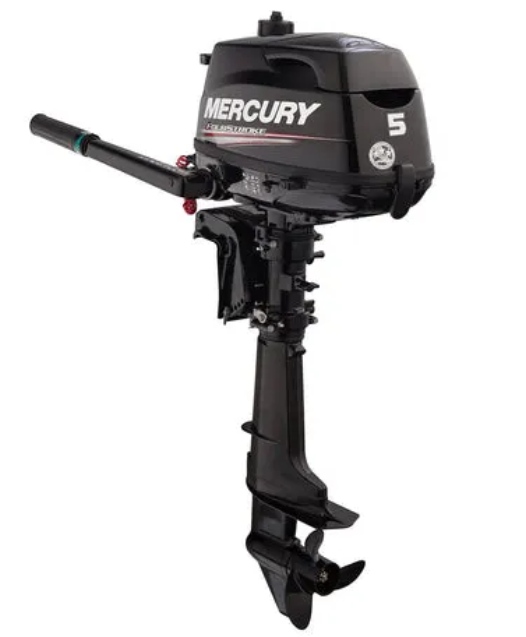
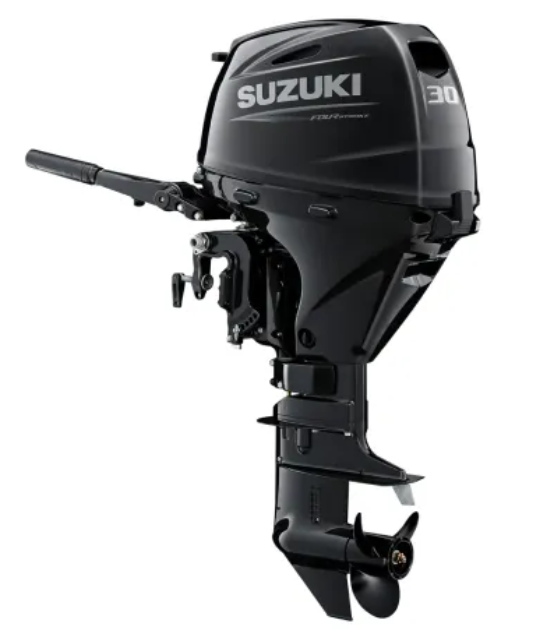
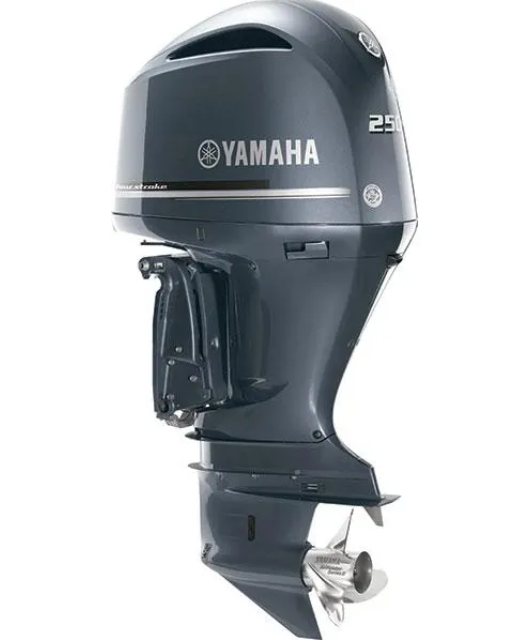
Water intrusion in the lower unit is one of the most damaging and commonly overlooked issues boat owners face. It may start quietly, but over time, it leads to severe internal corrosion, gear failure, and costly repairs. Whether you’re operating an outboard, sterndrive, or inboard-outboard setup, keeping your lower unit sealed and dry is essential for performance and longevity. In this complete guide, we’ll dive into what causes water intrusion, how to detect and fix it, and how to keep it from coming back.
Overview / What Is Water Intrusion in Lower Unit?
Water intrusion refers to the unwanted entry of water into the lower unit — the gearbox portion of your outboard or sterndrive engine. This unit houses critical components like gears, bearings, and shafts, which are lubricated by gear oil. When water seeps into this sealed area, it mixes with the gear oil, forming a milky, frothy substance that drastically reduces lubrication efficiency and accelerates wear.
Typical causes include damaged prop seals, loose drain plugs, worn gaskets, or corroded O-rings. Early detection is vital, as continued use of a lower unit with contaminated oil can quickly lead to irreversible damage.
Step-by-Step Guide
- Inspect gear oil: Remove the lower drain plug and observe the oil’s color and consistency. Milky or gray oil means water intrusion.
- Drain fully: Let all contaminated oil drain out. Inspect for metal shavings or debris that indicate internal damage.
- Pressure test the lower unit: Use a pressure and vacuum pump to check for leaks. This test reveals seal failures invisible to the eye.
- Replace faulty seals: Common culprits include the prop shaft seal, driveshaft seal, and shift shaft seal.
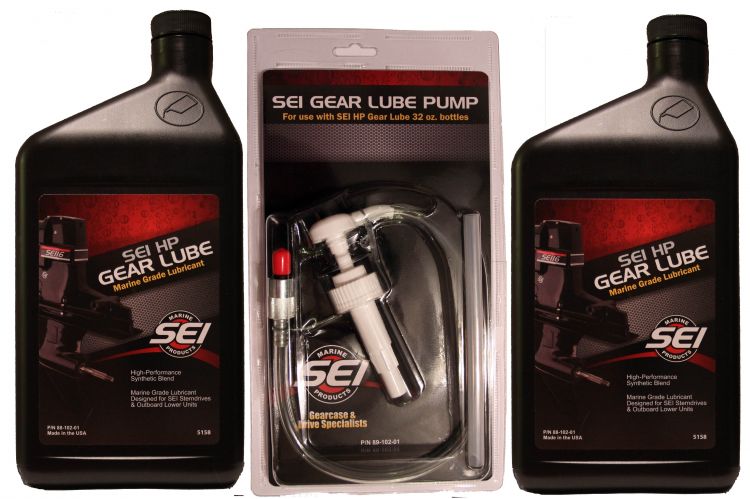
- Reassemble and refill: Use high-quality marine gear oil to refill the lower unit after repairs are complete.
- Test on water: After reassembly, test the boat at idle and full throttle. Reinspect gear oil after your outing.
Common Issues and Fixes
Worn Prop Shaft Seal
The prop shaft seal is the most frequent point of failure. Fishing lines, sand, and corrosion can damage it over time, allowing water to seep in. To replace it, the prop and bearing carrier must be removed using a special puller. Clean all surfaces, install a new seal, and apply marine grease to ensure longevity.
Loose Drain or Vent Screws
Old or poorly tightened drain and vent screws often leak. Always use new gaskets when changing gear oil. If the threads are damaged, re-tap and clean before reinserting screws. Applying marine-grade thread sealer prevents leaks and ensures tight seals.
How to Repair Water Intrusion in Lower Unit
Fixing water intrusion in the lower unit can be a DIY task if caught early. For basic repairs, follow these steps:
- Remove the lower unit if necessary for better access to seals.
- Use a flashlight to examine the seal seating surfaces for pitting or damage.
- Install a seal puller to remove worn seals without harming the shaft.
- Clean and polish the shaft and housing with fine emery cloth before installing new seals.
- Use marine-grade sealants to ensure water-tightness around gaskets.
If you’re not confident, it’s wise to consult a certified marine mechanic, especially if water intrusion has been ongoing for an extended period.
How to Detect Water Intrusion Early
Early detection saves money and prevents engine failure. Here’s how to spot it:
- Milky gear oil: Check gear oil every 10-15 hours of use.
- Oil leaks near prop: A telltale sign of a broken seal.
- Sudden loss of performance: Slipping gears or overheating may indicate internal water damage.
- Pressure testing: As part of seasonal maintenance, this is the gold standard for checking for intrusion points.
Modern tools like vacuum/pressure pumps and dye tracers can help detect even minor breaches before they become catastrophic.
Maintenance Tips
- Replace drain plug gaskets every oil change: They degrade faster than you think.
- Flush and check oil regularly: Especially after rough water or fishing trips.
- Keep a seal replacement kit onboard: It’s a lifesaver during emergencies.
- Don’t over-tighten screws: This can strip threads and create gaps.
- Perform annual pressure tests: Especially before or after winterization.
Routine attention to your lower unit helps you catch water intrusion before it leads to costly rebuilds or full replacements.
Expert Advice and Pro Recommendations
Professional marine technicians agree: most water intrusion problems stem from overlooked routine maintenance. Here are expert tips:
- Use only OEM seals and gaskets. Aftermarket options can be inferior in material quality and fit.
- If your boat has more than 100 hours of use in a season, check gear oil monthly.
- Winterize properly. Freezing water inside a lower unit can crack the housing and destroy internal components.
- Watch for fishing line near the prop shaft. Always remove it immediately to avoid seal damage.
Following these simple habits extends the life of your lower unit, boosts performance, and reduces the chance of emergency repairs during your boating season.
Detailed FAQ Section
How do I know if water has entered my lower unit?
The most reliable way is to check the gear oil. Remove the drain plug — if the oil appears milky, frothy, or off-color, water has likely mixed with it. Additionally, any oil leaks around the prop or vent plug area are signs of potential water intrusion. A pressure test is the definitive method for finding leaks and should be part of your seasonal inspection.
Can I still use my boat if there’s water in the lower unit?
No, using your boat with water in the lower unit can lead to catastrophic damage. Water degrades the gear oil’s ability to lubricate and protect internal gears and bearings. Continuing to run the engine in this condition can cause overheating, gear failure, or even total gearbox seizure. Always drain and repair before heading back out on the water.
What causes water to get into the lower unit?
Water intrusion is typically caused by faulty or worn seals, especially around the prop shaft, driveshaft, and shift shaft. Fishing line wrapped around the shaft, corrosion, or impact damage can also lead to breaches in the unit’s watertight integrity. Loose or missing drain plug washers and cracked housings are other common causes that allow water to seep in over time.
How much does it cost to repair water intrusion in a lower unit?
It depends on the extent of the damage. If caught early, seal replacements might cost around $100–$200 in parts and labor. However, if water has damaged gears or bearings, a full lower unit rebuild can range from $800 to over $2,000. This is why routine inspections and early intervention are essential for keeping costs down.
How can I prevent water intrusion in the future?
Preventative maintenance is your best defense. Always use new gaskets when changing gear oil, and perform pressure testing annually. Avoid running the boat in shallow, debris-filled waters, and routinely check for fishing line around the prop. After each outing, inspect the lower unit and perform a visual check for oil leaks. Flushing and properly winterizing your engine also prevent seal damage and cracking due to freezing.
Special Offer
WELCOME5 – Get 5% off storewide at allboatsupplies.com
Conclusion
Water intrusion in the lower unit is a problem you simply can’t ignore. From subtle oil contamination to catastrophic gear failure, the risks and repair costs are high. Fortunately, with timely detection, smart maintenance, and a little technical know-how, you can repair seal damage, restore performance, and keep your lower unit dry for seasons to come. Whether you’re a DIY enthusiast or rely on a trusted marine technician, the key to avoiding disaster lies in early action and routine care.
Read More
For more helpful marine maintenance guides, check out our article on Overheating Issues in Lower Units – Causes & Fixes.


