When Should You Check Your Lower Unit? – Lower Unit Care

If you own a Yamaha 150 lower unit, timely inspections are essential to ensure safety, extend engine life, and avoid unexpected breakdowns. This comprehensive guide covers everything from seasonal checks to post-impact inspections, and provides a detailed DIY checklist to keep your outboard in optimal shape. Whether you’re an experienced boater or just starting out, knowing when and how to inspect your lower unit will save you time, money, and hassle.
Looking to replace or upgrade your lower unit? AllBoatSupplies offers premium options like the Yamaha SHO Lower Unit. Don’t forget to use code WELCOME5 for a 5% instant discount on your order!
Why Lower Unit Inspection is Crucial
The Yamaha 150 lower unit is responsible for transferring engine power to the propeller, allowing your boat to move efficiently. Without regular inspection and maintenance, the following issues can arise:
- Water intrusion: Causes milky oil and eventual gear failure.
- Damaged seals: Leads to leaking oil and inefficient lubrication.
- Worn bearings or shafts: Can cause vibrations and performance issues.
- Voided warranty: Skipping recommended maintenance might void Yamaha’s warranty.
Early detection and preventive action help reduce repair costs and maintain peak engine performance.
Recommended Inspection Schedule
1. Seasonal Inspection
Before the start of each boating season and during winterization, perform a full check of your Yamaha 150 lower unit. Look for visible damage, rust, and oil quality. Replace worn parts or oil immediately.
2. After Grounding or Impact
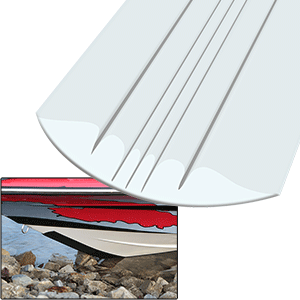
If you hit a sandbar, rock, or any underwater object, inspect the lower unit immediately—even if the impact was minor. Damage can occur to the skeg, propeller, and internal gearcase without visible signs.
3. Every 100 Hours or Once Annually
According to Yamaha’s official service recommendations, inspect the lower unit after every 100 hours of engine use or at least once per year—whichever comes first. This includes checking the seals, replacing the gear oil, and verifying shaft alignment.
DIY Yamaha 150 Lower Unit Inspection Guide
Tools You’ll Need:
- Clean drain pan
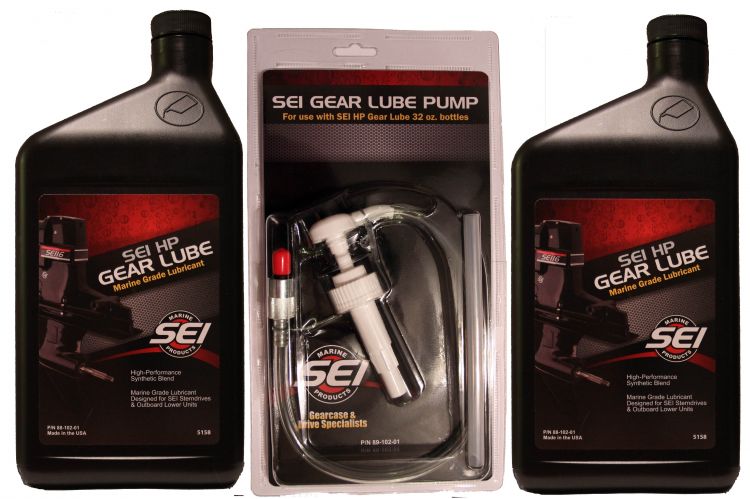
- Yamaha gear oil and gear lube pump
- Torque wrench
- Flathead screwdriver
- Prop puller (if needed)
- Gloves, flashlight, rags
Step-by-Step Process:
- Visual Check: Inspect for rust, leaks, or dings. Look at the skeg, propeller, and external casing.
- Drain Oil: Remove drain and vent screws. Let oil drain completely and observe the color. Milky = water intrusion.
- Check Seals: Look for cracked or dry seals around the prop shaft and shift shaft.
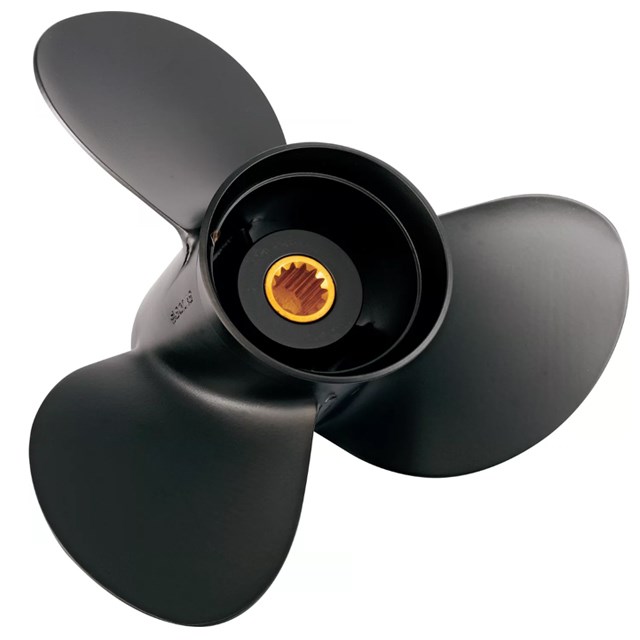
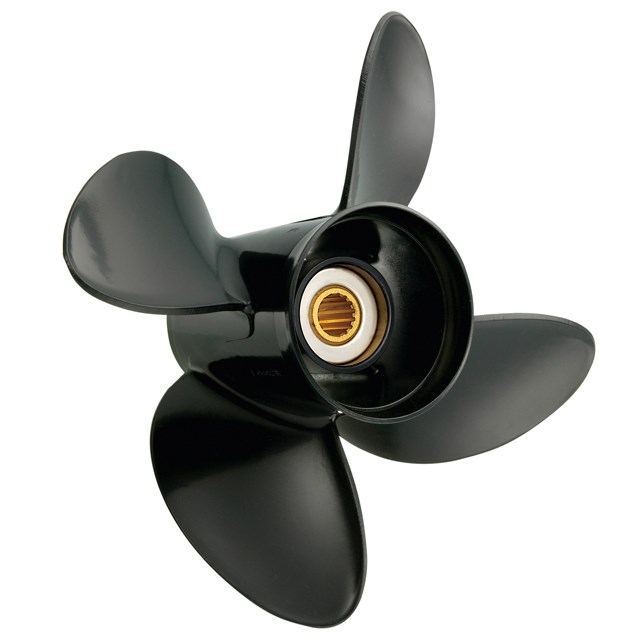
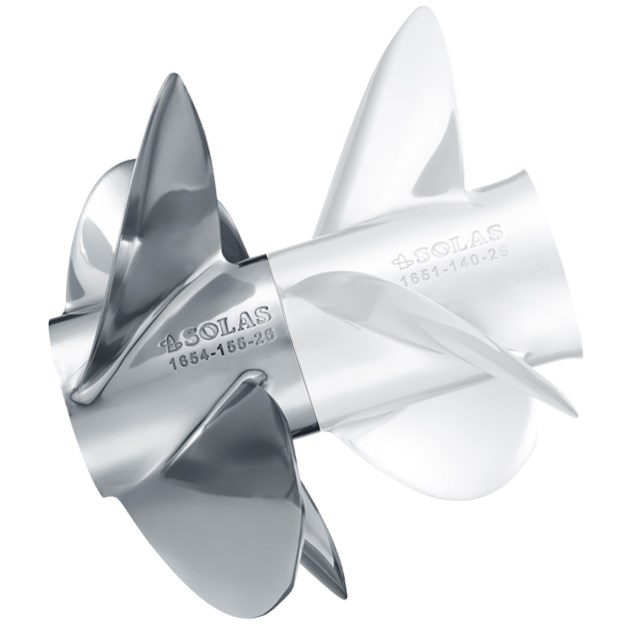
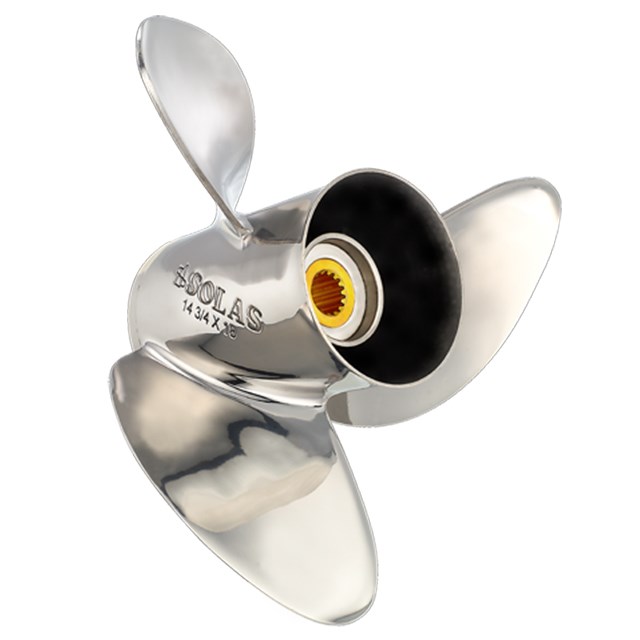
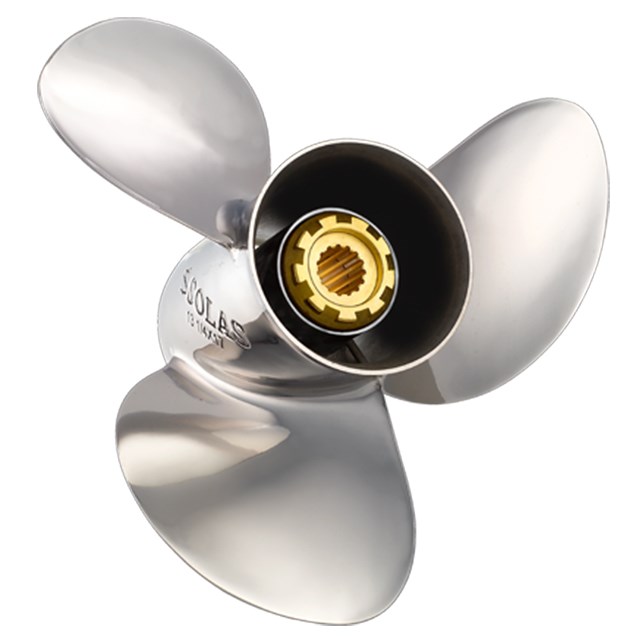
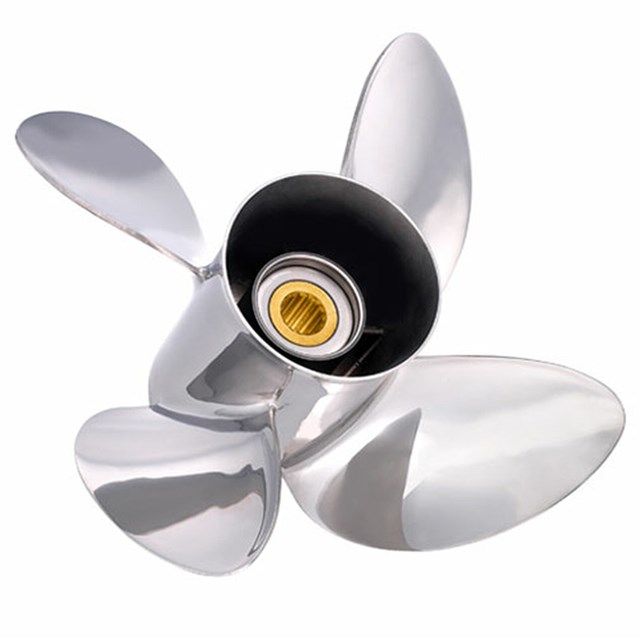
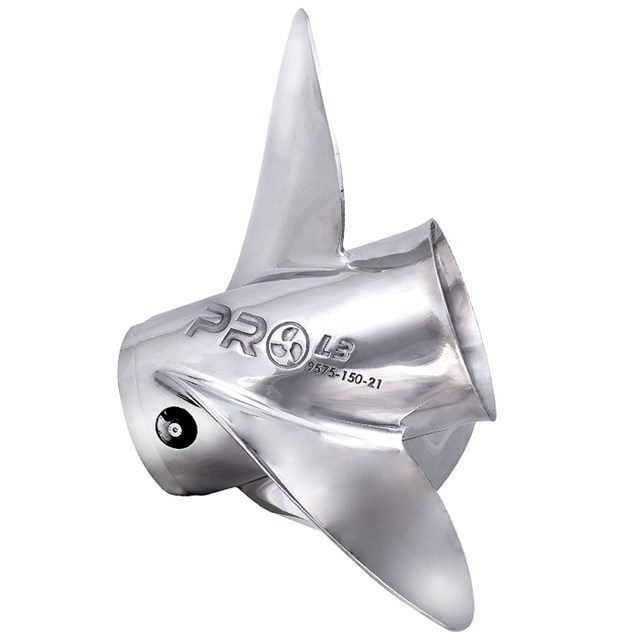
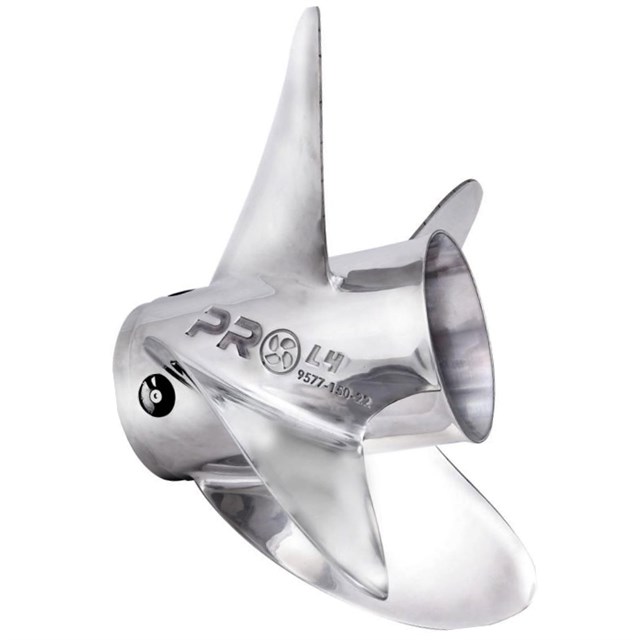
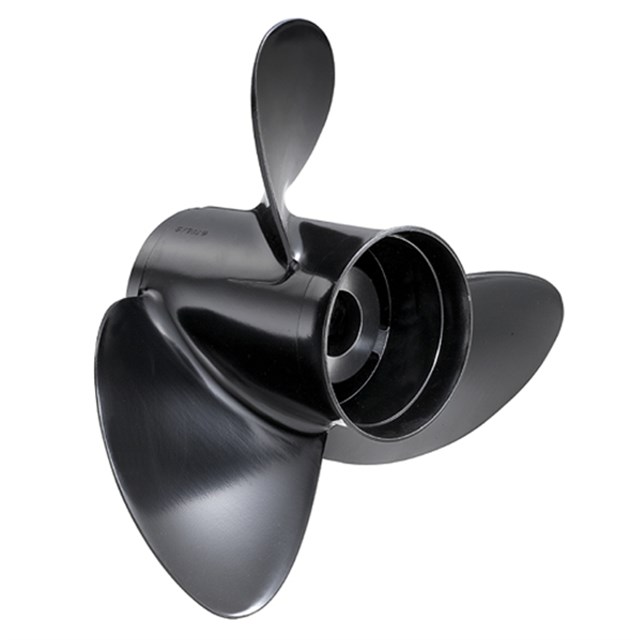
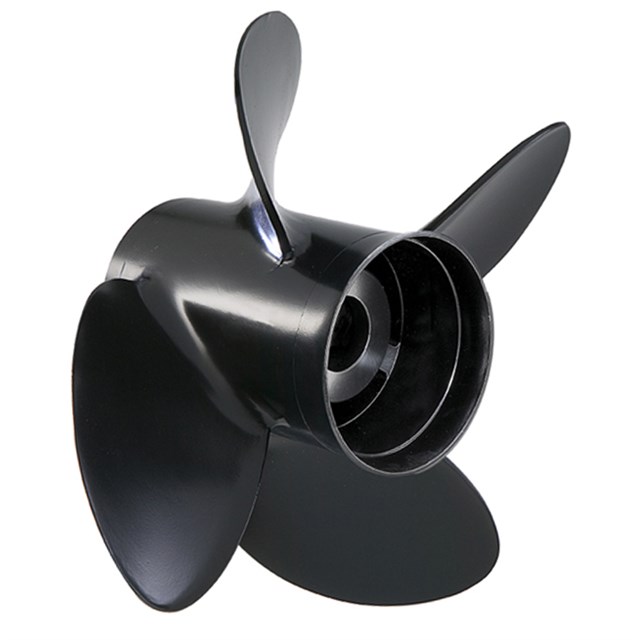
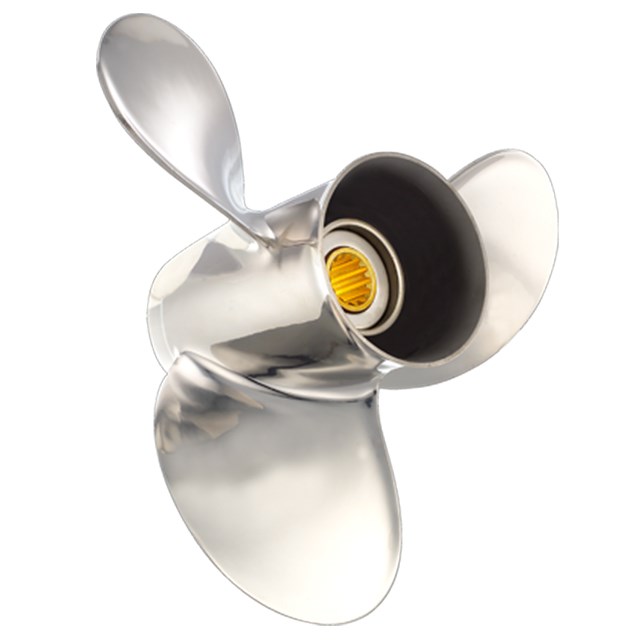
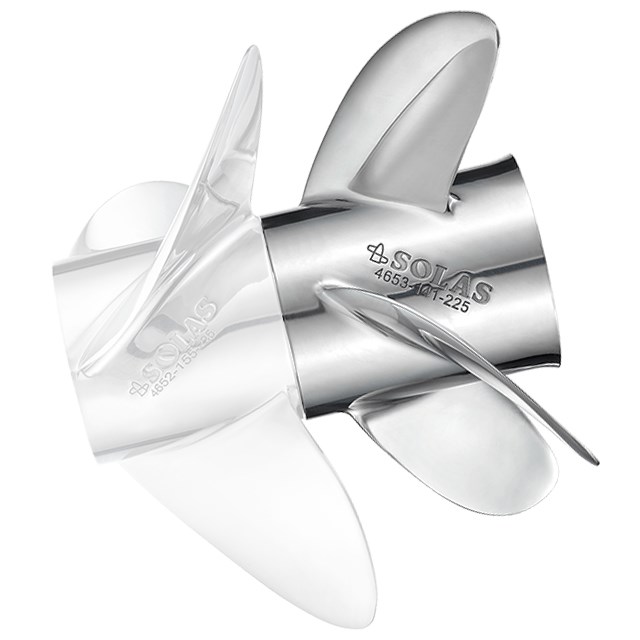
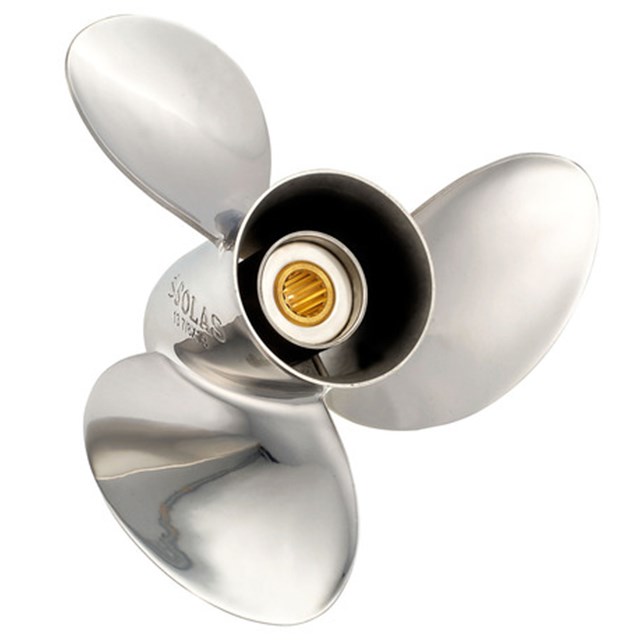
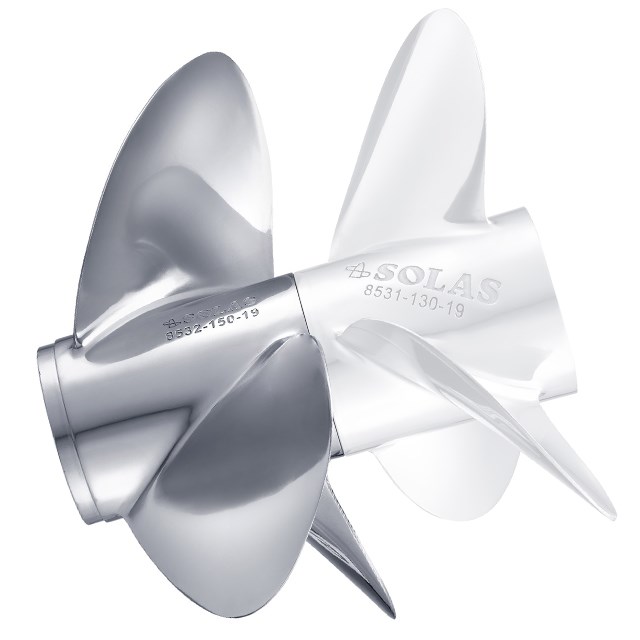
- Propeller Inspection: Remove the prop and check for fishing line, debris, or chipped blades.
- Oil Refill: Refill with Yamaha gear oil. Torque screws as per spec and test for leaks.
Professional Service vs. DIY Maintenance
While many checks can be performed at home, professional services offer pressure tests, gear replacements, and advanced diagnostics. If you’re unsure, especially after an impact or water intrusion, it’s best to consult certified Yamaha technicians.
Common Problems in Yamaha 150 Lower Units
| Issue | Symptoms | Action |
|---|---|---|
| Water in oil | Milky gear oil | Replace seals, flush & refill oil |
| Gear noise | Grinding when shifting | Inspect gears, bearings |
| Overheating | Warning alarms, power drop | Check water intake & impeller |
| Prop damage | Vibration or speed loss | Replace or repair propeller |
Installation & Cost Breakdown
Yamaha 150 lower unit replacement cost typically ranges from ₹25,000 to ₹40,000 INR depending on your region and mechanic. Installation involves draining old oil, removing the damaged lower unit, aligning the driveshaft, and installing a new unit.
We recommend the Yamaha SHO Lower Unit for best fit and durability. Check our guide: View all Yamaha 150 Lower Units.
Best Replacement Options
- Check out the Yamaha SHO Lower Unit
- View all Yamaha 150 Lower Units
- Signs of Lower Unit Failure
- How to Flush a Yamaha Outboard
FAQ – Yamaha 150 Lower Unit Maintenance
How often should I check the lower unit on my Yamaha 150 outboard?
Ideally, the Yamaha 150 lower unit should be inspected every 100 hours or at least once per season. However, it’s also critical to perform checks:
- After hitting any submerged object
- Before and after long storage
- When noticing symptoms like noise, vibration, or leaking oil
Checking frequently helps catch early signs of water intrusion, seal damage, and gear wear—issues that could lead to full failure if ignored. Yamaha recommends using certified gear lube and following their official maintenance guide. Don’t forget that even new outboards should be checked during the break-in period to ensure everything is functioning as expected.
Can I install a Yamaha 150 lower unit myself?
Yes, but it requires mechanical skill and specific tools. Here’s a summary of what’s needed:
- Drain old gear oil completely
- Remove the old lower unit by unscrewing mounting bolts
- Align the shift rod, drive shaft, and water tube with the replacement unit
- Torque bolts to spec and refill with fresh gear lube
For step-by-step help, consider following a visual walkthrough on SEI Marine’s YouTube channel. Or contact a professional if unsure.
Conclusion: Don’t Skip Lower Unit Checks
Maintaining your Yamaha 150 lower unit is one of the best investments you can make in your boating experience. It prevents catastrophic failures, extends engine life, and ensures smoother rides.
Want a dependable replacement? Check out the Yamaha SHO Lower Unit or View all Yamaha 150 Lower Units. And don’t forget to use code WELCOME5 at checkout for a 5% instant discount at AllBoatSupplies.
Need expert help? Reach out to our support team—we’re happy to help you find the right fit for your engine!
