Yamaha 150 Lower Unit Guide: Fitment, Cost & DIY
Yamaha 150 Lower Unit Replacement Guide: Fitment, Cost & DIY (2024)
When your Yamaha 150 lower unit starts grinding, slipping, or leaking, it’s a serious problem. But don’t worry—this complete 2024 guide will walk you through everything you need to know about replacing it. From proper fitment and pricing to DIY installation tips and part recommendations, this post is your one-stop solution for a hassle-free fix.
Why Replacing the Yamaha 150 Lower Unit Matters
The lower unit is the heart of your outboard’s propulsion system. It houses the gears, propeller shaft, and water pump—making it essential for smooth performance on the water. A failing Yamaha 150 lower unit can result in overheating, gear slippage, or total breakdown.
If you’re looking to save time, money, and frustration, replacing it at the right time with the correct part is key.
Yamaha 150 Lower Unit Fitment Guide
Identify the Right Lower Unit
Not all Yamaha 150 outboards use the same lower unit. Fitment depends on:
-
Model & Year (e.g., F150XA, VMAX SHO, 2-Stroke models)
-
Shaft Length (20″, 25″, or 30″)
-
Gear Ratio (usually 2.00:1)
Use your engine’s serial number to confirm the correct lower unit before buying.
Need help choosing the right unit? Contact us for fitment help.
Common Fitments by Model
| Yamaha 150 Model | Shaft Length | Compatible Lower Unit |
|---|---|---|
| F150XA (4-Stroke) | 25″ | OEM F150XA Gearcase |
| VMAX SHO 150 | 20″/25″ | Yamaha SHO Lower Unit |
| 150 TXR (2-Stroke) | 20″ | SEI 90-306-AF Unit |
Always double-check your gear ratio and driveshaft specifications before placing an order.
Yamaha 150 Lower Unit Replacement Cost
OEM vs. Aftermarket Pricing
The price of a new Yamaha 150 lower unit can vary depending on the type you choose:
-
OEM Yamaha Lower Unit: $2,800 – $3,500
-
Aftermarket Lower Unit: $1,000 – $1,500
-
Rebuilt/Refurbished Units: $700 – $1,200
OEM units are the best in terms of reliability, while aftermarket options offer excellent value and often come with warranties.
➡️ Need a budget-friendly option? Check out the SEI 90-306-AF Lower Unit, trusted for Yamaha 150 models.
DIY Yamaha 150 Lower Unit Replacement: Step-by-Step
If you’re comfortable with tools and want to save on labor, here’s how to do it yourself.
Tools Needed:
-
Socket wrench set
-
Torque wrench
-
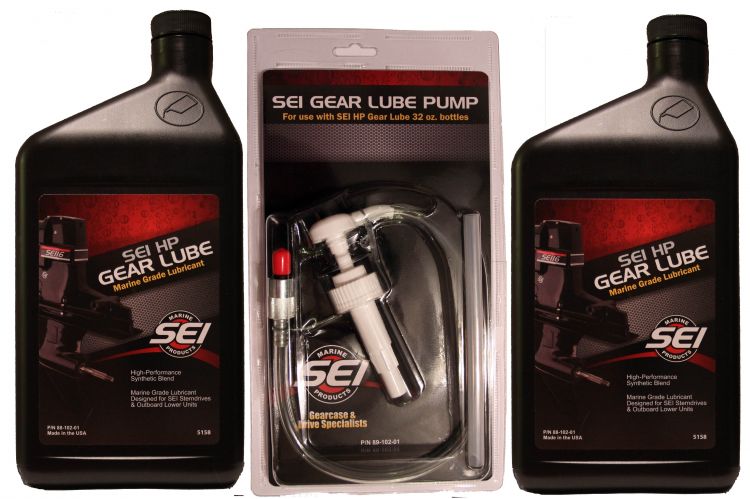
Marine gear oil
-
Marine grease
-
Screwdrivers
-
Optional: Water pump kit
DIY Steps:
-
Drain Gear Oil
Remove the lower drain plug and upper vent plug to empty gear oil. -
Remove Shift Linkage
Access it through the side panel or midsection service port, depending on model. -
Unbolt Lower Unit
Remove 5–6 bolts connecting the lower unit to the midsection. -
Lower the Unit
Carefully wiggle and pull the unit down. It’s heavy—support it properly. -
Install New Unit
Grease the splines and align the drive shaft and shift shaft. Push into place. -
Torque Bolts to Spec
Tighten bolts in a crisscross pattern to factory specs (usually ~30 ft-lbs). -
Refill Gear Oil
Fill from the bottom until it overflows from the top vent. Replace drain plugs.
👉 Pro Tip: Replace the water pump impeller while you’re at it. It’s cheap insurance against overheating.
When to Replace vs. Repair
You should consider full lower unit replacement if you notice:
-
Water in gear oil
-
Grinding or clicking sounds
-
Excessive vibration
-
Prop shaft or skeg damage
-
Complete loss of propulsion
Sometimes repairs (like seal replacement) are enough. But if you see metal flakes in the gear oil or broken gears, a new unit is the smarter choice.
Shop Yamaha 150 Lower Units & Parts
We offer a full range of lower units and accessories for Yamaha outboards:
-
🔧 Yamaha SHO Lower Unit – Ideal for VMAX SHO models
-
💦 Water Pump Kit for Yamaha 150 – Protect your engine from overheating
-
💰 SEI 90-306-AF Aftermarket Unit – Affordable and reliable
FAQs About Yamaha 150 Lower Units
❓ How do I know if my Yamaha 150 lower unit is bad?
Watch for symptoms like poor acceleration, strange noises, or milky gear oil—these all signal a failing unit.
❓ Are aftermarket Yamaha 150 lower units reliable?
Yes, especially from brands like SEI Marine. Many come with 3-year, fault-free warranties.
❓ Can I install a Yamaha 200 lower unit on a 150?
Not recommended. Gear ratios, shaft lengths, and fitment points differ between models.
❓ How long does it take to replace a Yamaha 150 lower unit?
For experienced hands, about 1–2 hours. If it’s your first time, plan for 3–4 hours with proper tools.
❓ Do I need to replace the water pump too?
It’s smart to do so during lower unit replacement—especially if the old one has over 100 hours of use.
Final Thoughts: Restore Performance with the Right Lower Unit
Don’t let a damaged Yamaha 150 lower unit ruin your next trip. Whether you go OEM or choose a cost-effective aftermarket solution, replacing your lower unit restores performance and prevents major issues down the line.
👉 Shop now for Yamaha 150 lower units or contact us for expert advice and fitment support.


