Yamaha Lower Unit Shaft Lengths Guide | Best Fitment Tips
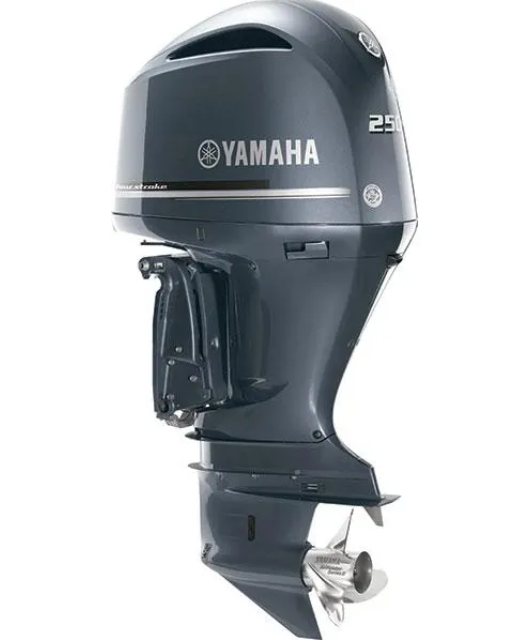
Choosing the correct Yamaha 150 lower unit shaft length is one of the most important factors in ensuring your outboard performs efficiently and lasts long. Different shaft sizes like 15″, 20″, 25″, and 30″ can greatly impact your engine’s alignment, power delivery, and resistance in the water. Therefore, understanding how to measure and select the right shaft is crucial. Whether you’re replacing an old unit or upgrading to a high-performance option like the Yamaha SHO Lower Unit, this guide will walk you through everything you need to know—clearly and in detail.
Why Shaft Length Matters
When shopping for a Yamaha 150 lower unit, it’s easy to overlook shaft length. However, this dimension determines how well your outboard interfaces with your boat’s hull. If the shaft is too short, the propeller may ventilate, causing RPM spikes and engine strain. On the other hand, a shaft that’s too long introduces drag, reduces speed, and wastes fuel.
Moreover, shaft length affects your boat’s trim and balance. A poorly fitted lower unit can result in uneven performance or even permanent engine damage over time. In short, getting this detail right saves both performance and money.
Comparing Yamaha Shaft Lengths: 15″, 20″, 25″, 30″
Let’s break down each shaft length and its use case to help you determine the ideal match for your vessel:
| Shaft Length | Ideal Transom Height | Use Case | Advantages | Disadvantages |
|---|---|---|---|---|
| 15″ (Extra Short) | ≤ 15″ | Small jon boats, dinghies | Lightweight and quick to plane | Poor in choppy water |
| 20″ (Short) | 16–20″ | Bass boats, flats boats | Versatile and widely compatible | Limited for taller transoms |
| 25″ (Long) | 21–25″ | Pontoon boats, bay boats | Most common for Yamaha 150 lower unit | Slightly more drag |
| 30″ (Extra Long) | ≥ 26″ | Sailboats, offshore cruisers | Best for deeper hulls, offshore | Harder to trailer or beach |
For example, if your boat has a 23-inch transom height, the 25″ Yamaha 150 lower unit is your best match. Additionally, if you’re into high-performance boating, the Yamaha SHO lower unit in a 25″ size provides excellent fitment and torque.
Choosing the Best Lower Unit for Yamaha 150
With several models available, how do you know which one’s best for your outboard?
First, check your outboard’s model number. Yamaha’s engine serial tags reveal the compatible lower unit configurations. Once confirmed, you can choose between standard and high-performance units like the Yamaha SHO lower unit.
Furthermore, consider your boating conditions. Calm inland waters may not demand extra cooling or enhanced prop geometry, but offshore conditions might. In that case, the Yamaha SHO Lower Unit offers higher water pickup and improved gear ratios—perfect for high-speed stability.
💡 Tip: Check out our complete selection of Yamaha SHO Lower Unit options and Yamaha 150 Lower Units tailored for every condition.
Yamaha 150 Lower Unit Replacement Cost
Understanding the total cost of a lower unit replacement will help you budget more effectively.
- OEM Yamaha 150 lower unit (25″): $2,200–$3,400
- Yamaha SHO Lower Unit: $2,800–$4,700
- Aftermarket options: $1,100–$2,000
In contrast to OEM, aftermarket units may lack the fit precision or warranty coverage. Therefore, always confirm compatibility and reliability when shopping outside Yamaha’s official parts.
💰 Bonus: Use code WELCOME5 at AllBoatSupplies.com for an instant 5% discount on your entire purchase.
How to Install a Yamaha 150 Lower Unit (DIY-Friendly)
If you enjoy hands-on maintenance, installing a lower unit yourself can save on labor costs.
Tools You’ll Need:
- Torque wrench
- Marine sealant
- New gear lube
- Flathead screwdriver
- Gloves and marine grease
Step-by-Step Guide:
- Drain Gear Lube: Remove the bottom drain plug and drain completely.
- Disconnect Linkages: Shift linkage, speed sensor, and any connected cables.
- Unbolt the Old Unit: Remove all mounting bolts and gently slide out the unit.
- Align the New Shaft: Match spline alignment carefully. Take your time—rushing can damage the drive shaft.
- Torque Bolts: Reinstall bolts using manufacturer torque settings.
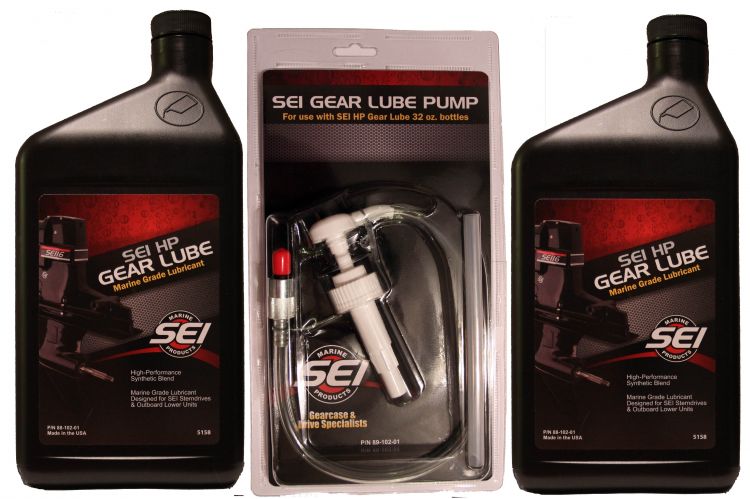
- Refill Oil: Add new marine gear lube through the drain hole until it overflows the vent hole.
- Test Run: Run the motor in a flush tank and check for leaks, vibrations, and proper shifting.
Need help? Watch this YouTube Yamaha install tutorial.
Fitment Issues: How to Avoid Common Mistakes
Incorrect shaft length causes more than performance issues—it leads to long-term damage. Here are problems to watch for:
- Ventilation (too short): Causes prop to suck air, slipping under load.
- Cavitation (wrong geometry): Leads to vibration, pitting, or blown seals.
- Misalignment: Can damage drive gears or shift shaft.
To prevent these issues, always measure your transom height correctly. Match it to the proper Yamaha 150 lower unit shaft length to avoid expensive mistakes.
Yamaha 150 Gearcase Fitment Checklist
Before purchase, ensure the following:
✅ Engine year and model match
✅ Transom height measured
✅ Desired shaft length confirmed
✅ OEM or aftermarket? Decide early
✅ Shift rod design match (mechanical or digital)
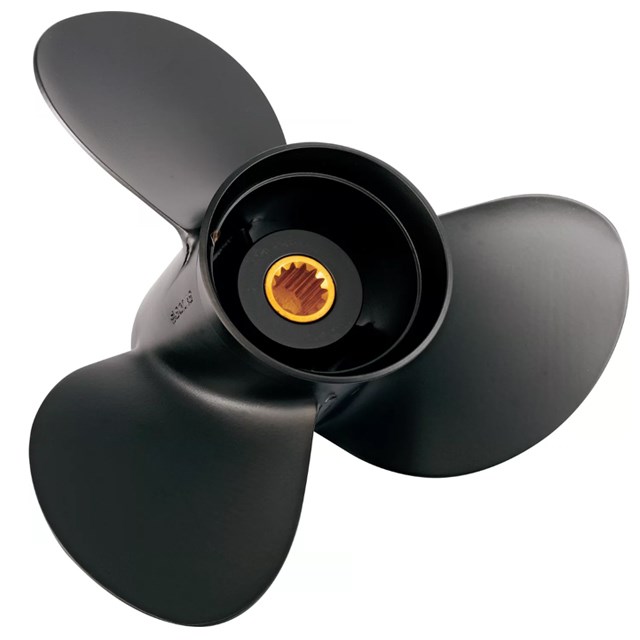
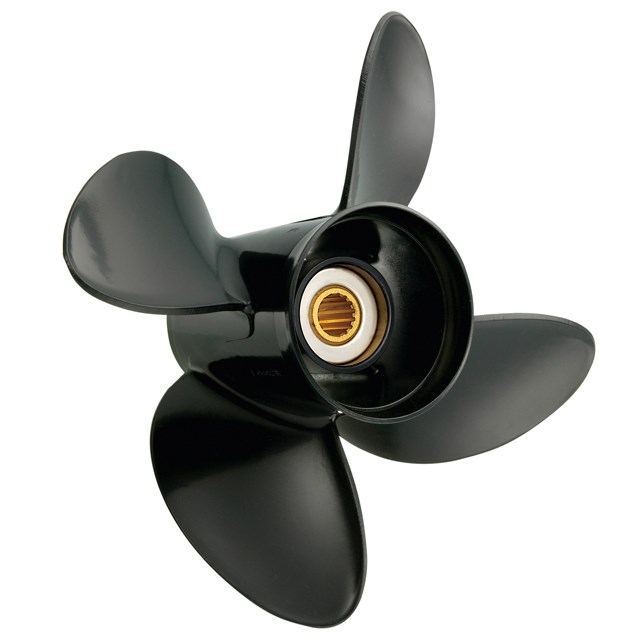
✅ Propeller size compatibility
✅ Warranty availability
Maintenance Tips for Long-Lasting Performance
Regular maintenance protects your investment. Here’s how to keep your Yamaha 150 lower unit in top shape:
- Flush after every use (especially saltwater).
- Inspect gear oil every 50–100 hours. Look for milky color (water intrusion).
- Check seals during oil changes.
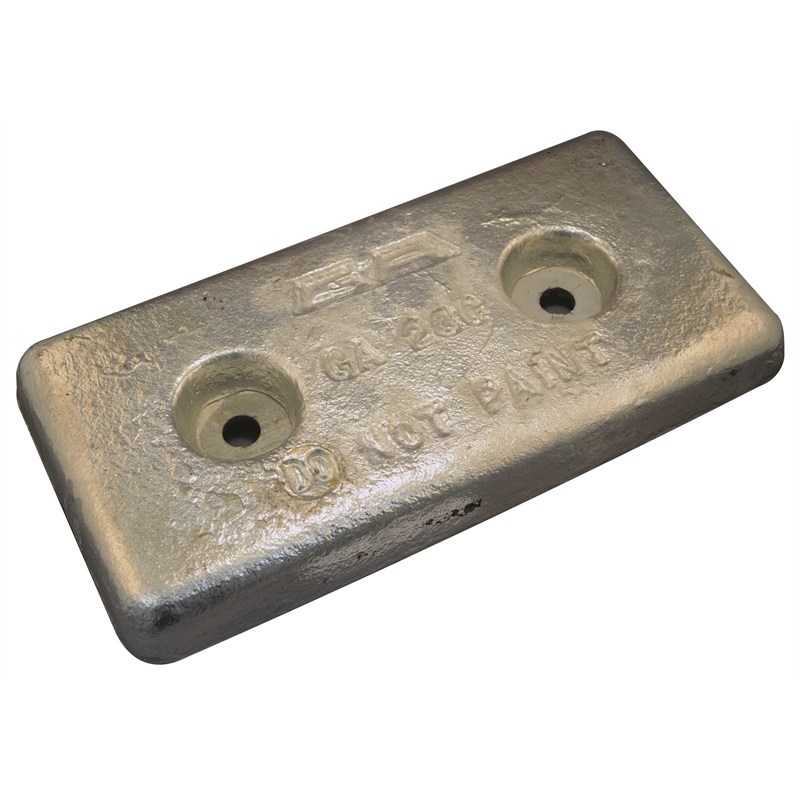
- Replace zinc anodes to prevent corrosion.
- Lubricate the prop shaft with marine grease to prevent seizing.
Read our guide on How to Flush a Yamaha Outboard to maximize your engine’s lifespan.
FAQs: Yamaha Lower Unit Shaft Lengths & Fitment
1. How do I know which Yamaha shaft length I need?
Measure from the top of the transom (where the engine sits) to the bottom of the hull. If it’s 20–25″, you’ll need a 25″ shaft. Boats with transoms taller than 25″ need a 30″ shaft. Always compare your measurements to Yamaha’s specifications.
2. What is the average cost to replace a Yamaha 150 lower unit?
A complete OEM replacement ranges from $2,200 to $3,400, depending on shaft size and gear ratio. Performance options like the Yamaha SHO Lower Unit may cost more due to advanced water intakes and reinforced housing. If you’re shopping online, don’t forget to use WELCOME5 at checkout for 5% off.
3. Can I install a Yamaha lower unit by myself?
Yes! If you’re confident with tools, replacing a Yamaha 150 lower unit is doable with a service manual and basic tools. The key steps are removing the old unit, ensuring shaft alignment, torquing bolts, and adding gear lube. Always test in a flush tank before taking it out on water.
4. What happens if I use the wrong shaft length?
You risk ventilation, loss of thrust, cavitation damage, and excessive drag. Worse, it can lead to premature failure of internal gears and seals. Matching your Yamaha 150 lower unit shaft length to your transom height is not optional—it’s critical.
5. What’s the difference between a standard and SHO lower unit?
The Yamaha SHO Lower Unit is engineered for high performance. It offers better water intake, superior gear design, and improved cooling. It’s ideal for those who push their boats harder or fish offshore frequently.
Final Thoughts & Call to Action
A properly fitted Yamaha 150 lower unit—whether 15″, 20″, 25″, or 30″—is the foundation of your outboard’s performance. Now that you understand how shaft lengths affect your boat, installation steps, fitment criteria, and replacement costs, you can confidently choose the perfect lower unit.
🎯 Ready to buy?
Browse our Yamaha 150 Lower Units
Check out the high-performance Yamaha SHO Lower Unit
Use code WELCOME5 for an exclusive 5% discount on your first order.
Need help? Contact our experts for fitment checks, tech support, and product recommendations!
