Evinrude 763459 propeller : how to install it
If you own a boat with an outboard motor, maintaining your propeller is essential for optimal performance. The Evinrude 763459 propeller is a reliable choice for enhancing your boating experience. However, improper installation can lead to performance issues or damage to your outboard lower unit. This comprehensive guide walks you through the process of installing the Evinrude 763459 propeller. Whether you’re a beginner or looking to refresh your skills, this step-by-step guide will make the task straightforward and hassle-free.
Grab a great deals on AllBoatSupplies.com .
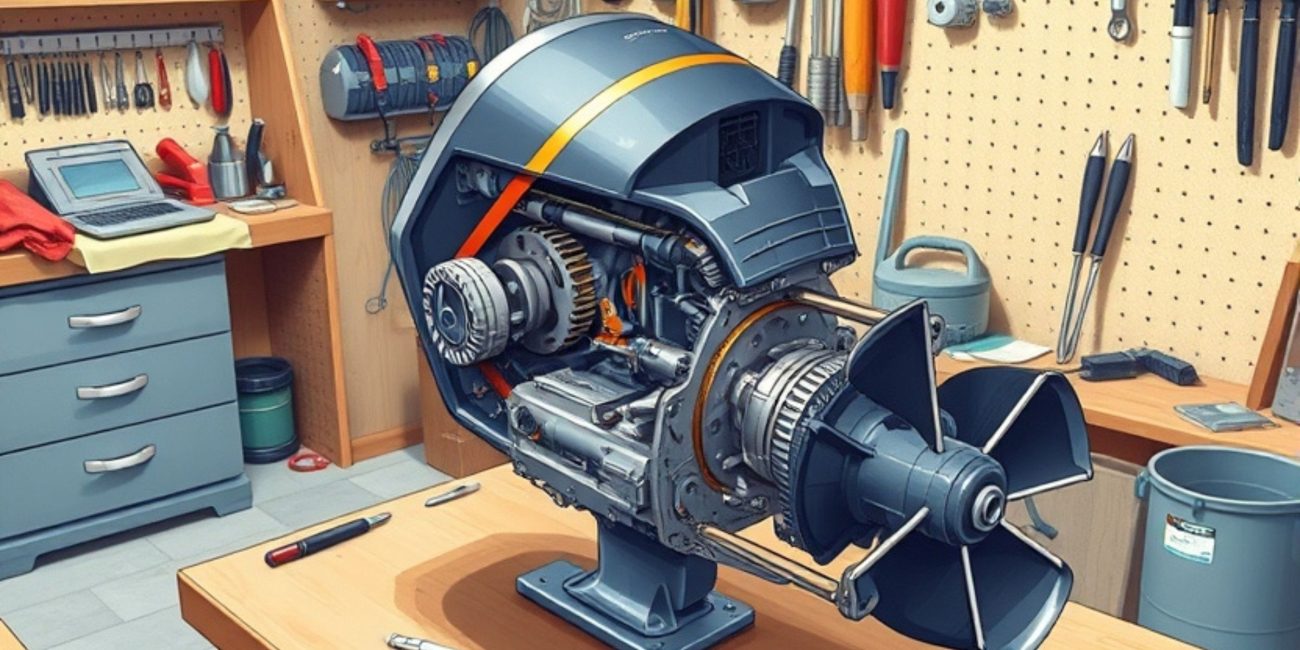
Tools and Materials Needed
Before beginning, gather the following tools and materials:
- The Evinrude 763459 propeller
- A propeller wrench
- Marine grease
- Propeller hardware kit (if not included)
- Cotter pin (if applicable)
- Clean cloth or rag
Having the right tools ensures the installation process is smooth and efficient.
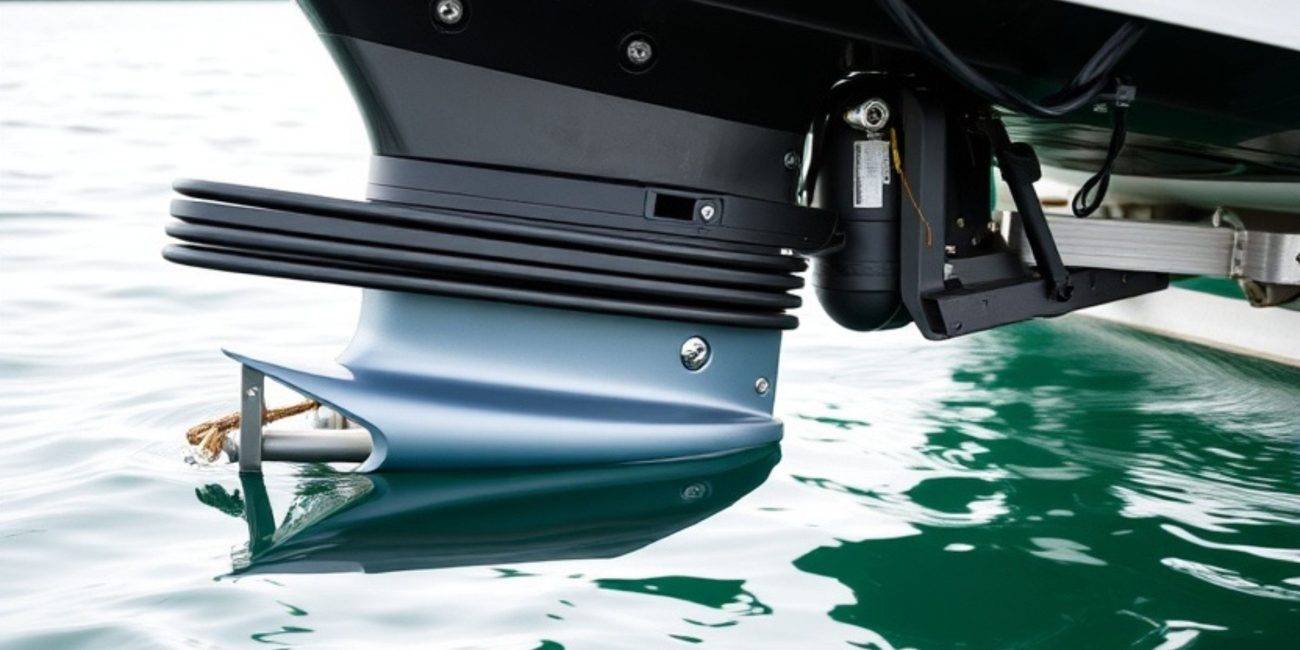
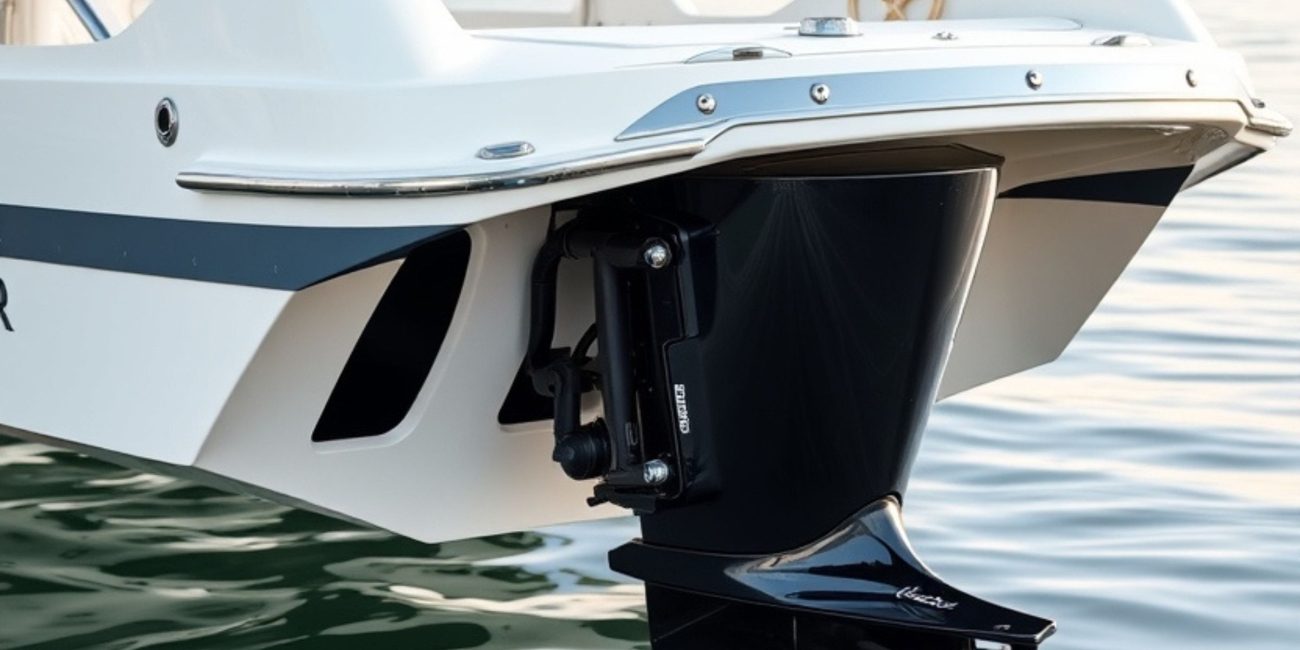
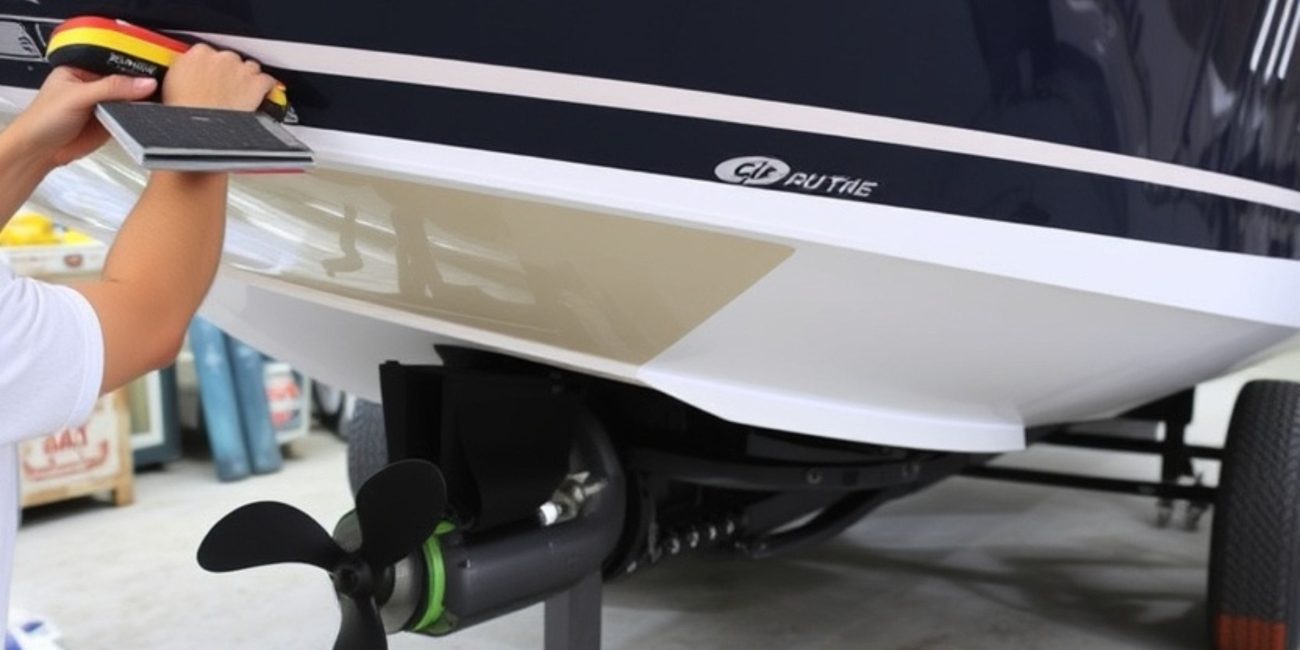
Step 1: Prepare Your Outboard Lower Unit
Before installing the propeller, it’s crucial to inspect the outboard lower unit. Here’s how:
- Turn off the engine and disconnect the battery to prevent accidental starting.
- Remove any existing propeller by loosening the nut using a propeller wrench.
- Inspect the propeller shaft for damage or debris.
- Clean the shaft thoroughly with a clean cloth and apply a thin layer of marine grease. This helps prevent corrosion and ensures smooth installation.
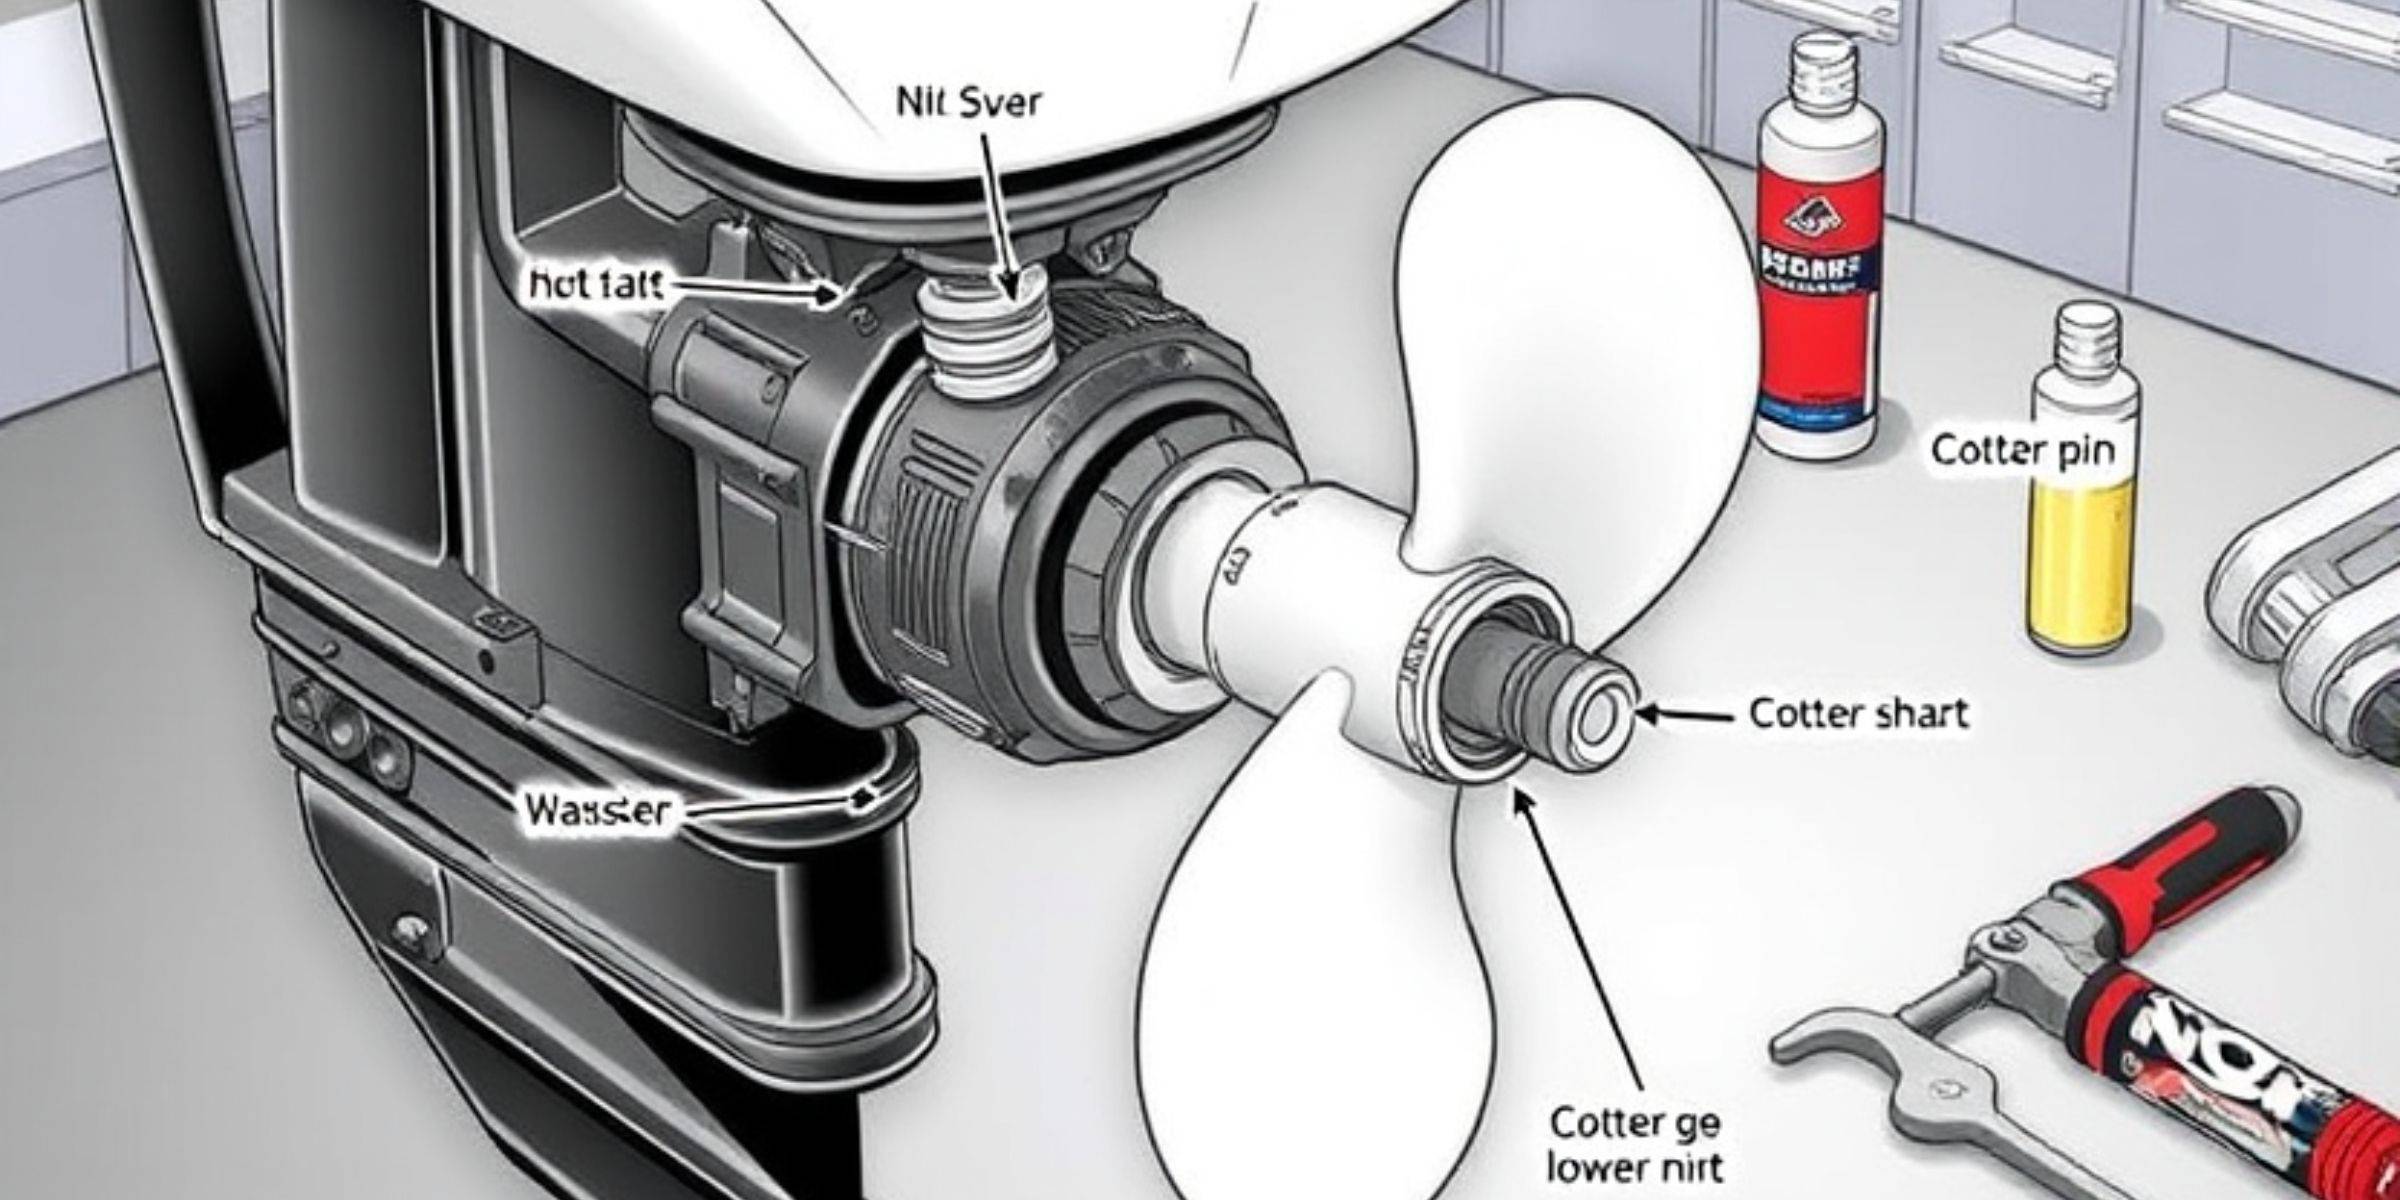
Step 2: Position the Evinrude 763459 Propeller
Unbox your Evinrude 763459 propeller and check that all components are included. Follow these steps:
- Align the propeller hub with the splines on the propeller shaft.
- Slide the propeller onto the shaft carefully, ensuring it fits snugly.
- Add the necessary washers or spacers, as specified in your outboard motor’s manual.
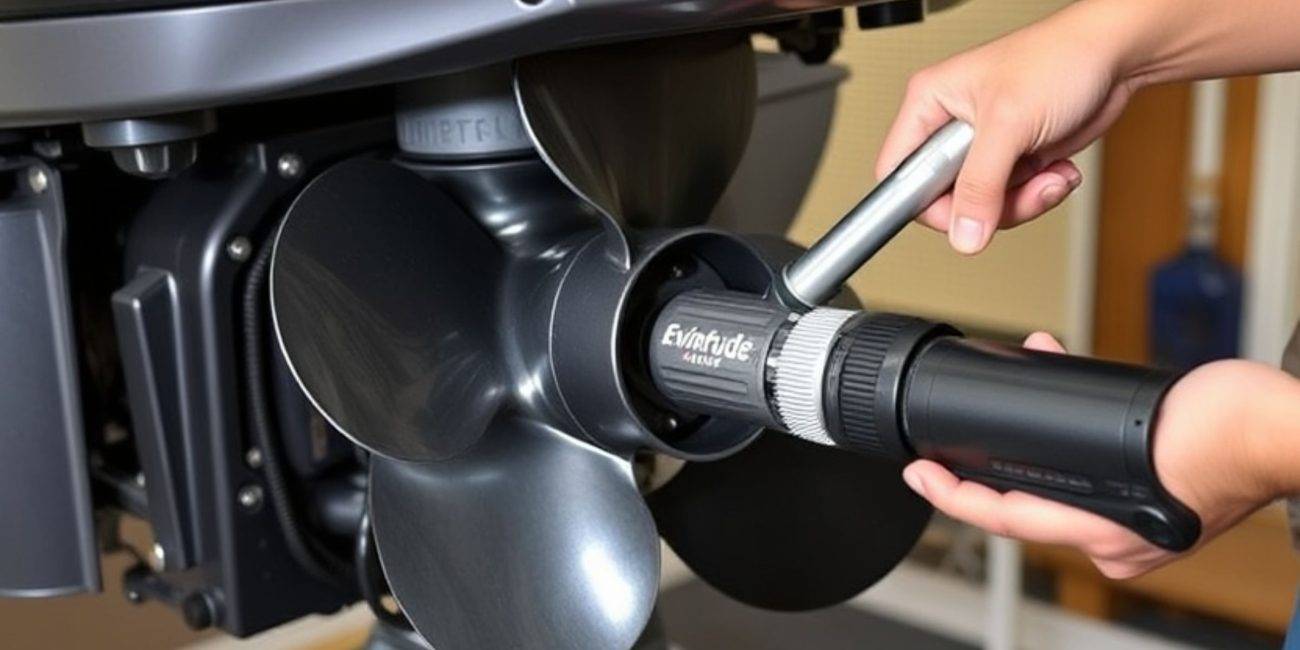
Step 3: Secure the Propeller
Properly securing the propeller ensures safe operation. Here’s what to do:
- Place the propeller nut onto the shaft and tighten it using the propeller wrench.
- If your propeller requires a cotter pin, insert it through the hole in the shaft and bend the ends to secure it.
- Double-check the tightness of the nut to prevent the propeller from coming loose during operation.
Step 4: Test the Installation
Once the propeller is installed, it’s time to test your work:
- Rotate the propeller by hand to ensure it moves smoothly and doesn’t wobble.
- Reconnect the battery and start the engine briefly to check for any unusual noises or vibrations.
- Turn off the engine and inspect the propeller for proper alignment.
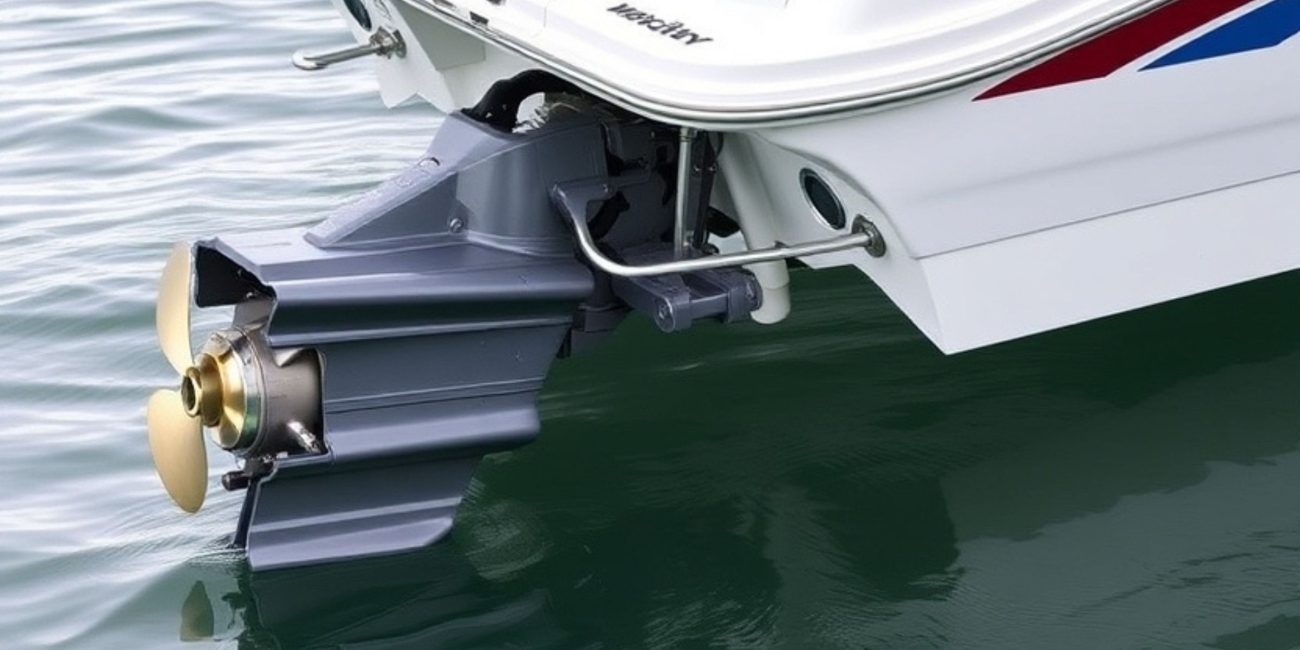
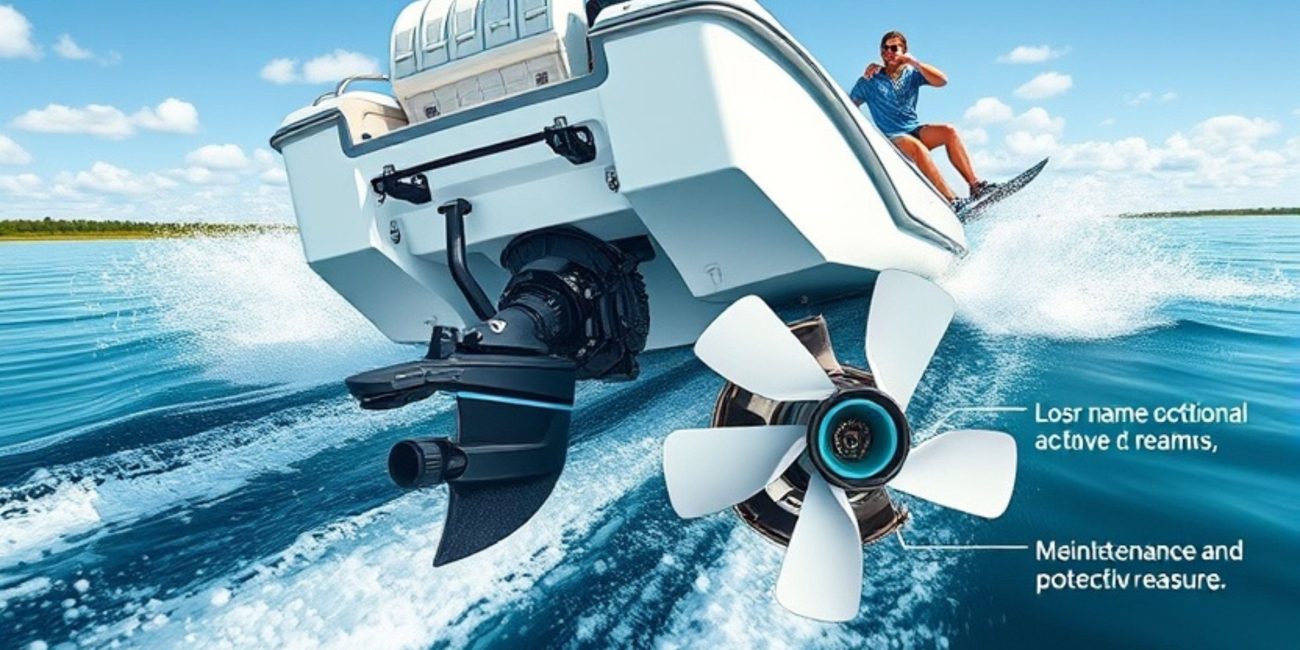
Maintenance Tips for Your Outboard Lower Unit and Propeller
To prolong the life of your outboard lower unit and propeller, follow these maintenance tips:
- Regularly inspect the propeller for damage or wear.
- Clean the outboard lower unit and apply marine grease as needed.
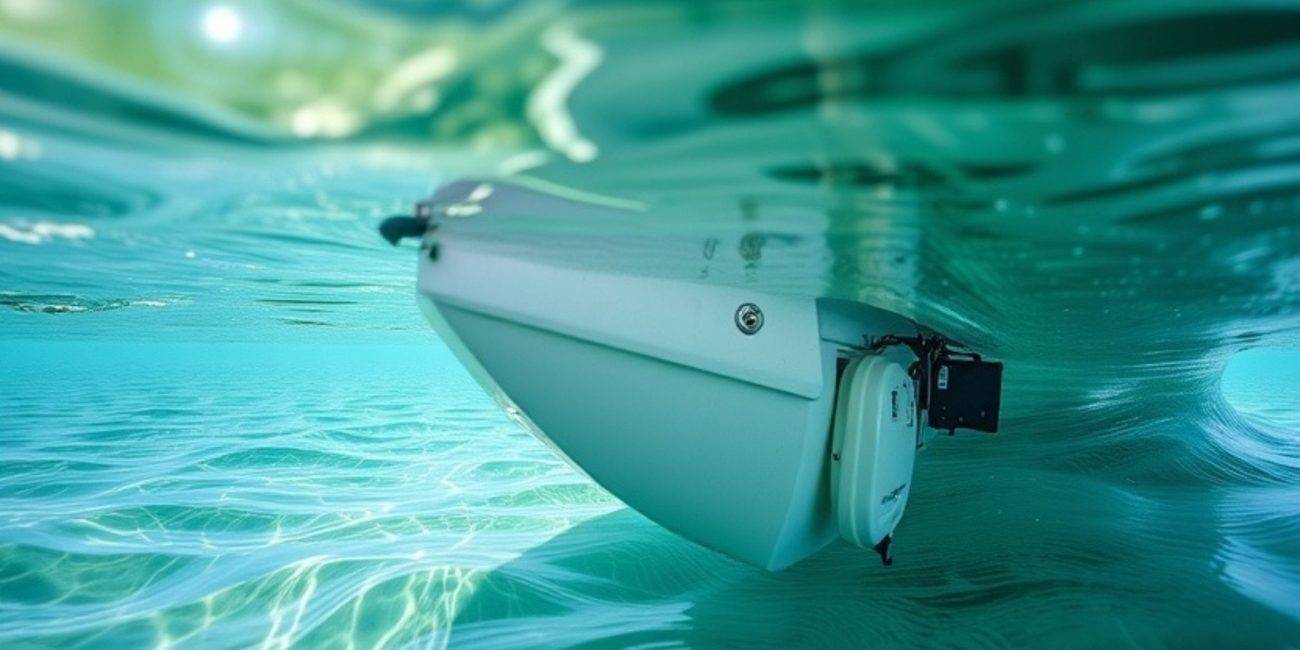
- Avoid running your boat in shallow waters where debris could damage the propeller.
- Replace the propeller hardware if it shows signs of corrosion.
Conclusion
Installing the Evinrude 763459 propeller doesn’t have to be intimidating. With this guide, you can ensure a smooth and secure installation while maintaining your outboard lower unit’s performance. Proper installation and maintenance are key to a hassle-free boating experience. Follow these steps and enjoy the benefits of a well-functioning propeller.
For more insights, check out our previous blog: “Is the Turning Point Propellers 31501930 suitable for saltwater use?.”