How to Fix Corrosion in a Lower Unit (Saltwater Boats)
Introduction
Boating in saltwater offers thrill and adventure, but it also brings one persistent enemy: corrosion. Over time, saltwater eats away at metal components, and the lower unit—which sits submerged for most of your ride—is especially vulnerable. If left unchecked, corrosion can lead to gear failure, oil leaks, and even total unit replacement.
This article provides a practical, expert-backed guide on how to fix corrosion in a lower unit for saltwater boats. You’ll learn how to assess the damage, apply effective repair methods, and adopt maintenance habits that will save you money and extend the life of your outboard motor.
What Is the Lower Unit (And Why It Corrodes)?
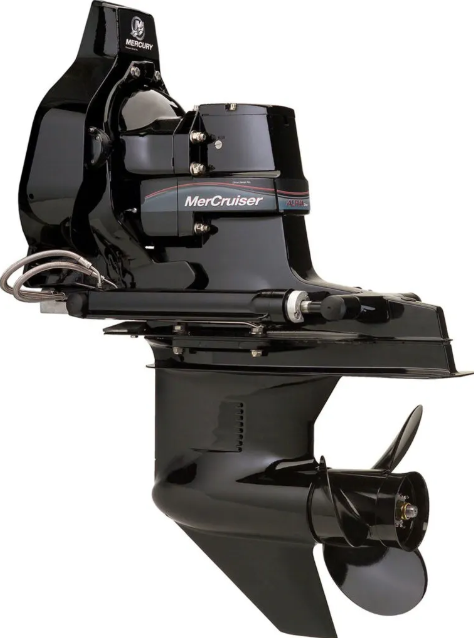
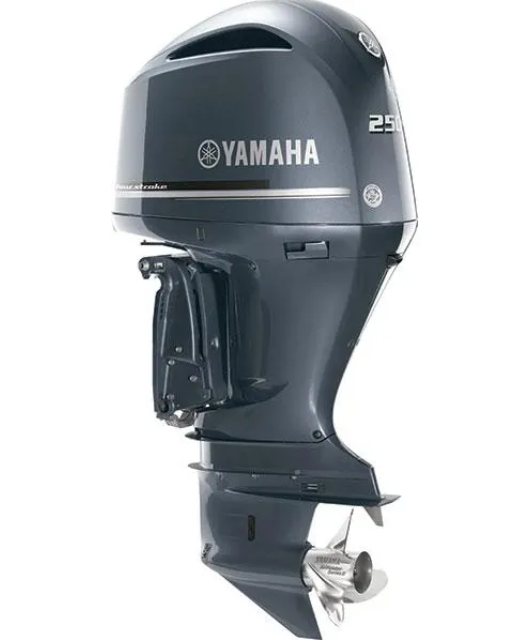
The lower unit of an outboard motor includes the gearcase, driveshaft, propeller shaft, and water pump housing. It’s responsible for translating engine power into motion by driving the propeller.
Saltwater exposure accelerates corrosion due to the presence of sodium chloride, minerals, and dissolved oxygen. Corrosion begins as surface pitting and can develop into:
- Gearcase housing holes
- Leaking oil seals
- Frozen fasteners and bolts
- Damaged zinc or aluminum anodes
- Compromised paint and primer
Important Note: Aluminum housings are especially prone to galvanic corrosion when exposed to dissimilar metals or poor electrical bonding.
Step-by-Step Guide: How to Fix Corrosion in a Lower Unit
Follow this process to properly diagnose and fix corrosion in your lower unit:
-
Remove the Lower Unit
Refer to your engine manual to disconnect linkages and remove the unit safely. Drain gear oil beforehand and label parts during disassembly.
-
Assess the Damage
Use a wire brush to remove loose paint and surface corrosion. Look for deep pitting, flaking, or through-holes in the gearcase.
-
Neutralize Salt and Corrosion
Clean the surface with a marine-grade aluminum safe degreaser or diluted vinegar solution. Rinse and dry thoroughly.
-
Repair Surface Corrosion
- Sand the affected area with 120–220 grit sandpaper
- Apply a metal prep or etching solution
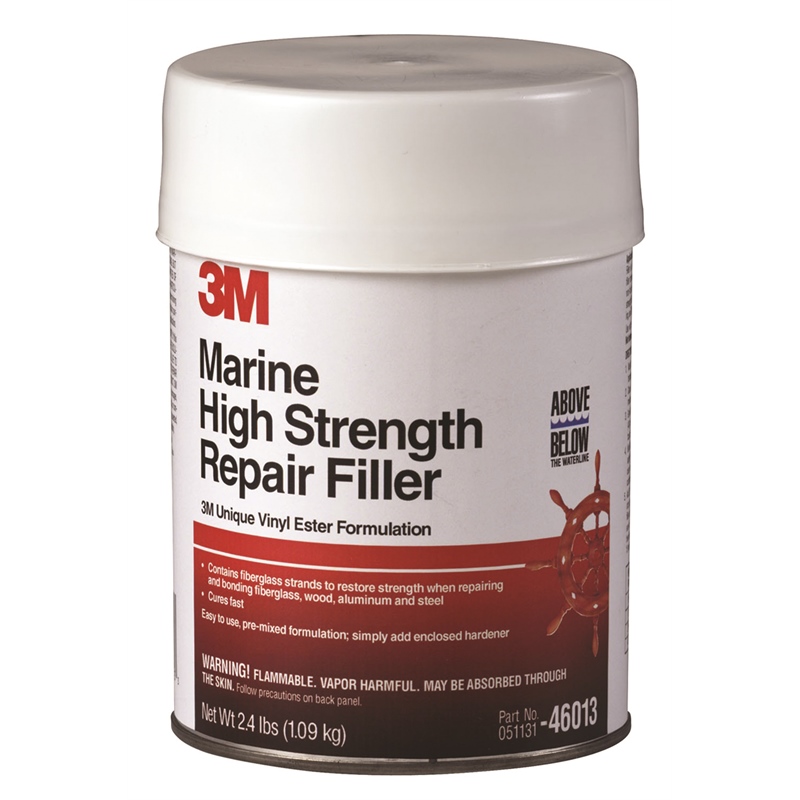
- Use a marine epoxy filler for minor pitting or surface voids
-
Prime and Paint
- Apply a corrosion-inhibiting primer (zinc chromate or epoxy-based)
- Spray marine-grade outboard paint matching your unit
- Let dry fully and apply a second coat if needed
-
Check Anodes and Replace if Worn
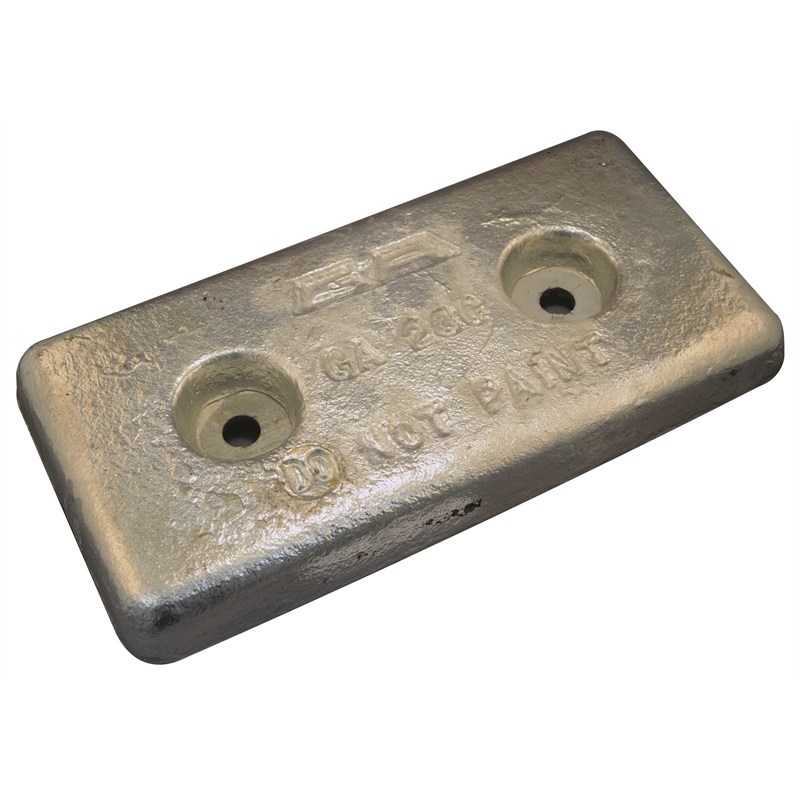
Anodes protect the unit by corroding first. Replace them when 50% or more is eroded.
-
Reassemble and Pressure Test
Use marine grease on all bolts and shafts. Perform a pressure test to ensure seals are intact before reusing the boat.
Common Issues and Solutions
Pitting and Paint Blisters
This indicates early-stage galvanic corrosion, often due to failed primer or missing anodes.
Solution: Sand, prime, and repaint with a protective marine-grade coating.
Corrosion Around Fasteners
White powder or swelling around bolts is a sign of fastener corrosion or electrical grounding issues.
Solution: Remove, clean, and reinstall fasteners with Tef-Gel or dielectric grease to prevent dissimilar metal reaction.
Gearcase Leaks
Severe corrosion may eat through the casing, causing gear oil to leak.
Solution: Use marine epoxy for small holes. For larger damage, replace the housing or consider a rebuilt lower unit from allboatsupplies.com.
Frozen Bolts or Seized Shafts
Salt intrusion and corrosion can lock moving parts and hardware.
Solution: Soak in penetrating oil, use heat sparingly, and avoid shearing bolts. Replace if compromised.
Maintenance Best Practices
Preventing corrosion is easier than fixing it. Here’s how to protect your lower unit long-term:
- Flush the engine after every saltwater trip
- Inspect and replace anodes seasonally
- Use marine grease on shafts, bolts, and seals
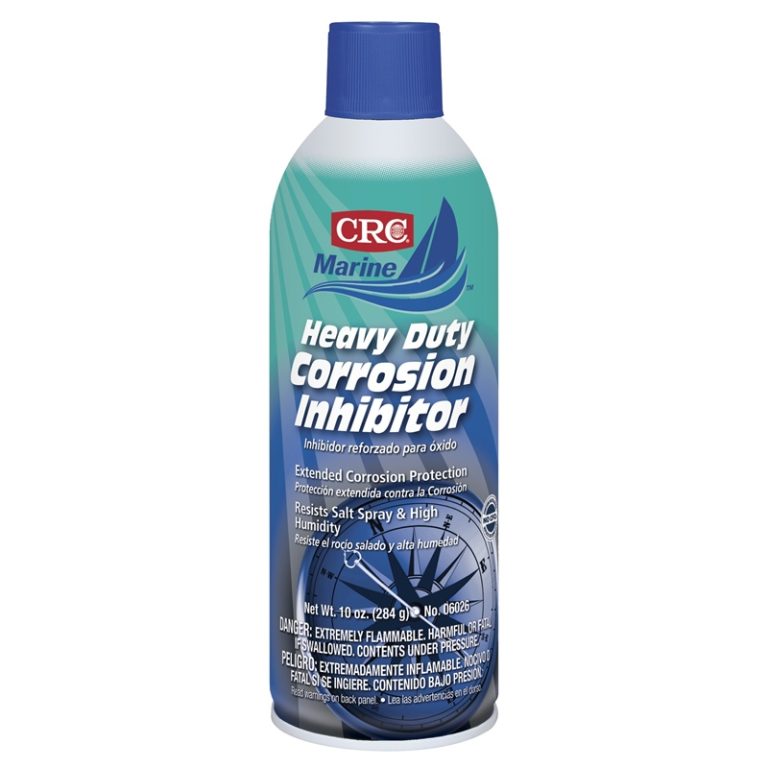
- Apply anti-corrosion spray monthly
- Touch up chipped paint immediately
- Store the engine upright to avoid water pooling
Expert Tips and Recommendations
- Use zinc anodes in saltwater, aluminum in brackish, and magnesium in freshwater
- Never paint over anodes—they must stay exposed to function
- Consider applying a ceramic coating to the lower unit for added salt resistance
- Install a sacrificial zinc on your trailer if you leave the engine submerged often
Detailed FAQ Section
How do I know if I need a new lower unit due to corrosion?
Look for signs like extensive through-holes in the gearcase, persistent gear oil leaks, broken skegs, or seized gears. If the metal is severely compromised—beyond epoxy repair—or if the corrosion reaches internal gear surfaces, replacing the entire unit may be more cost-effective. You can find rebuilt or OEM units at allboatsupplies.com.
What tools are needed to fix corrosion in a lower unit?
You’ll need:
- Wire brush and scraper
- Sandpaper (120–220 grit)
- Marine-grade cleaner
- Epoxy putty or filler
- Zinc chromate or epoxy primer
- Outboard paint
- Torque wrench and marine grease
- Prop puller and pressure tester (for deeper service)
Optional tools include a Dremel for tight areas and heat gun for paint curing.
Can I handle this repair myself or should I hire a pro?
If the corrosion is limited to the surface or mid-depth pitting, most DIYers can complete the repair with basic tools. However, if the gearcase is leaking or the damage is structural (e.g., cracked skeg, compromised seals), consult a marine technician. A misdiagnosed or poorly sealed repair can lead to more damage down the line.
How much does it typically cost to repair lower unit corrosion?
It depends on severity. Here’s a rough guide:
- Minor repairs: $50–$150 (DIY supplies)
- Moderate epoxy & paint repair: $150–$350
- Severe damage / housing replacement: $500–$1,000+
- New or rebuilt lower unit: $1,500–$3,500
Always weigh repair vs. replacement costs before starting the job.
What are the early warning signs of corrosion in saltwater boats?
Common indicators include:
- White or green powdery buildup on aluminum surfaces
- Bubbles or blisters in paint
- Oil streaks or discoloration around seams
- Loose or thinning anodes
- Difficulty shifting gears or unusual prop noise
Inspect the lower unit every 30 days if used regularly in saltwater.
Special Offer
WELCOME5 – Get 5% off storewide at allboatsupplies.com
Conclusion
Saltwater is harsh, but with the right knowledge and care, you can fight back against corrosion. Learning how to fix corrosion in a lower unit saves money, prevents mechanical failure, and keeps your boat running strong. Regular inspections, proper maintenance, and high-quality materials are your best defense. Whether you’re patching up small pitting or replacing damaged parts, now you know exactly how to protect your boat’s heart below the waterline.
Read More
For more helpful marine maintenance guides, check out our article on Vibration at High Speed – Lower Unit or Prop?.
