How to Apply Hull Shield for Maximum Protection
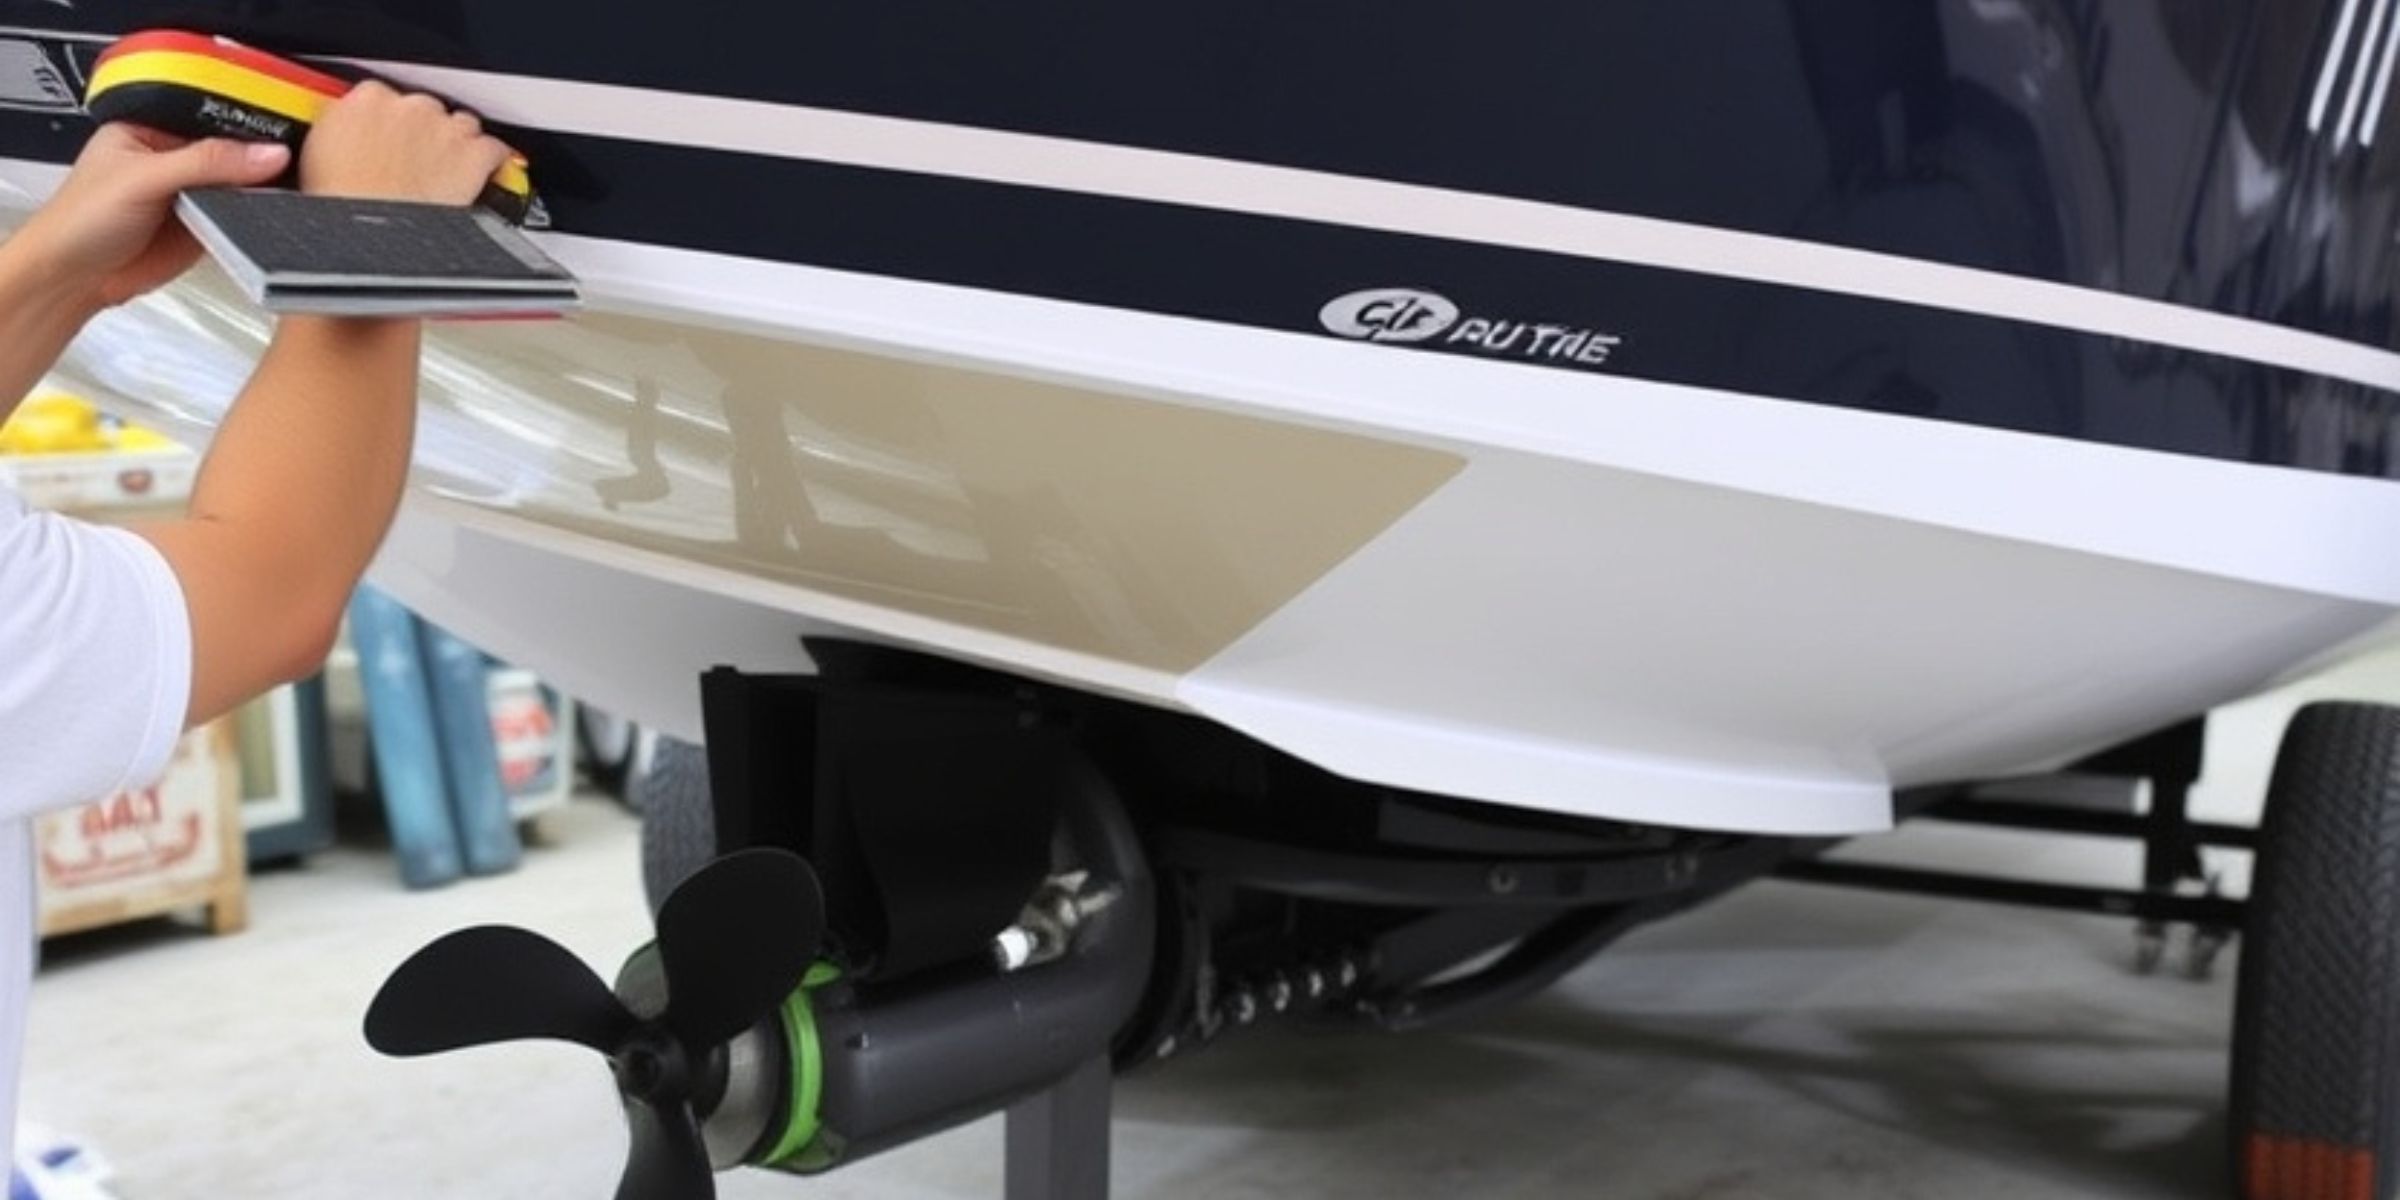
How to Apply a Hull Shield for Maximum Protection
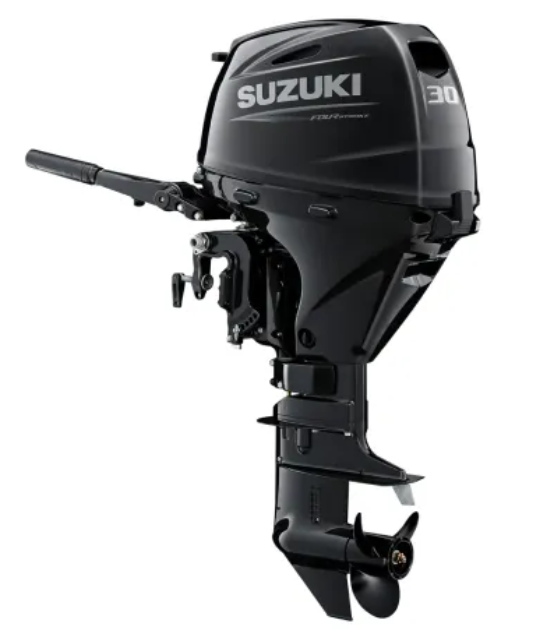
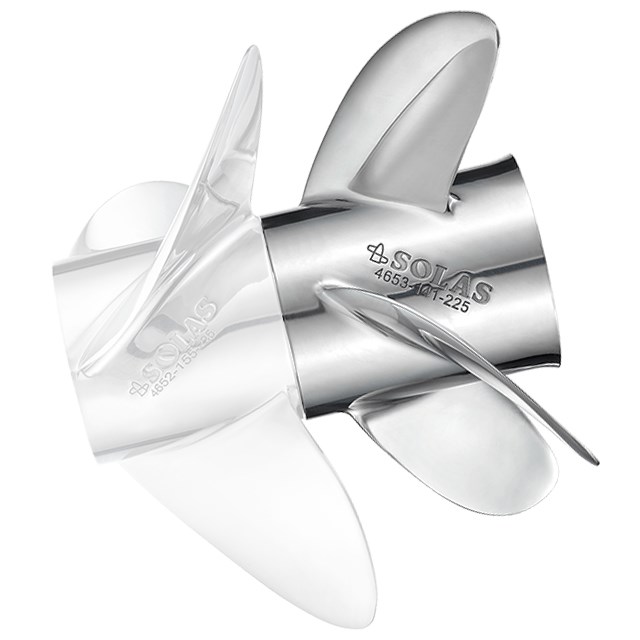
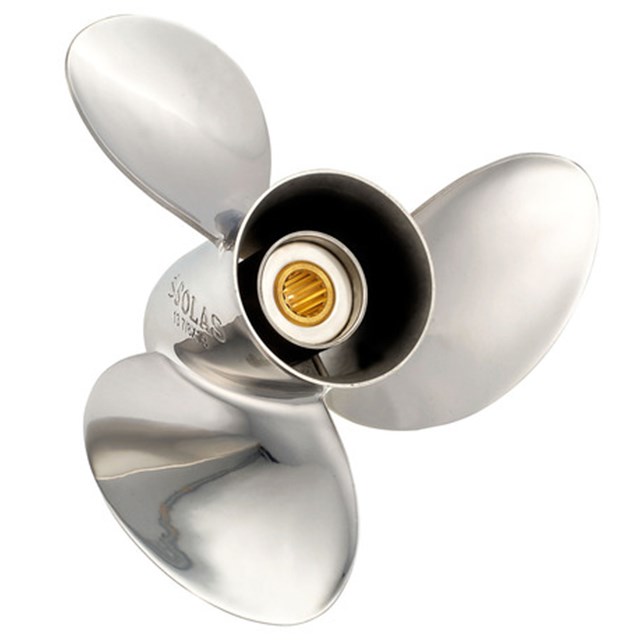
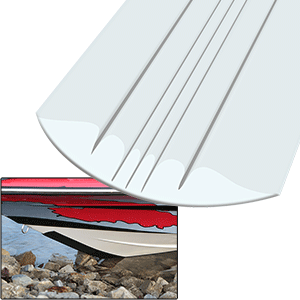
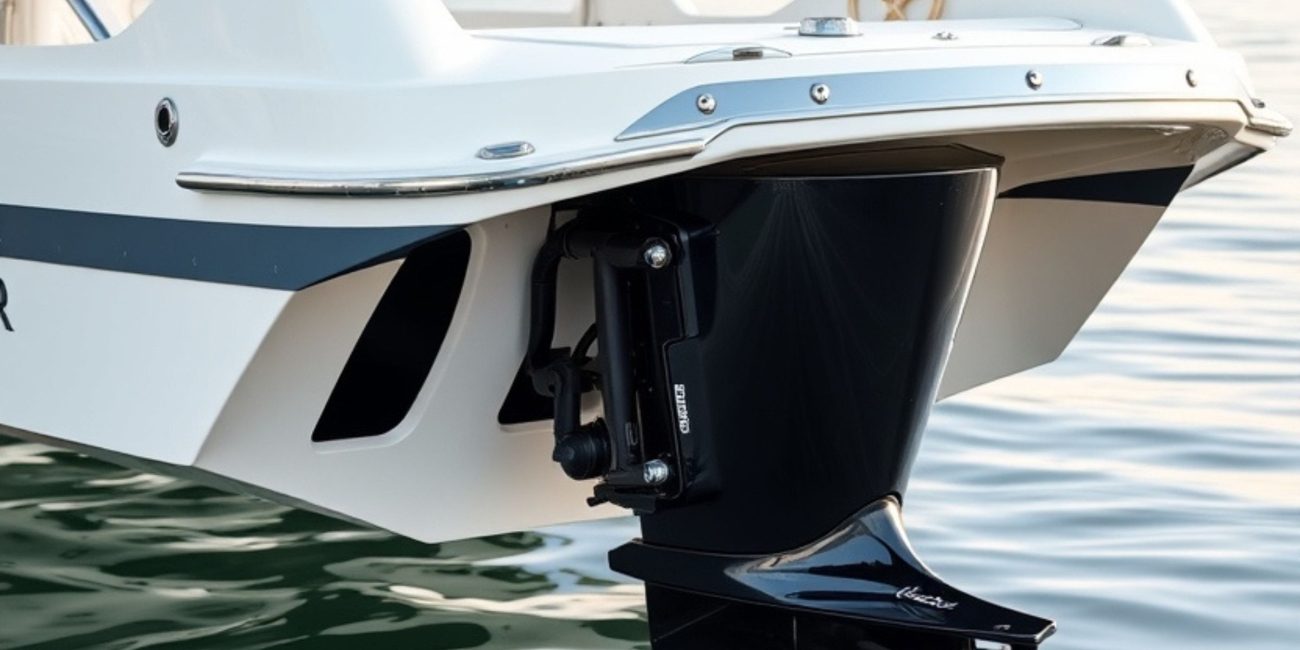
Boaters worldwide understand the importance of maintaining their vessels to avoid costly repairs. Learning how to apply a hull shield for maximum protection is a critical skill that enhances your boat’s lifespan and shields it from environmental damage. Whether you’re protecting the outboard lower unit or ensuring smooth marine propeller function, proper hull shield installation is vital.
Why Use a Hull Shield?
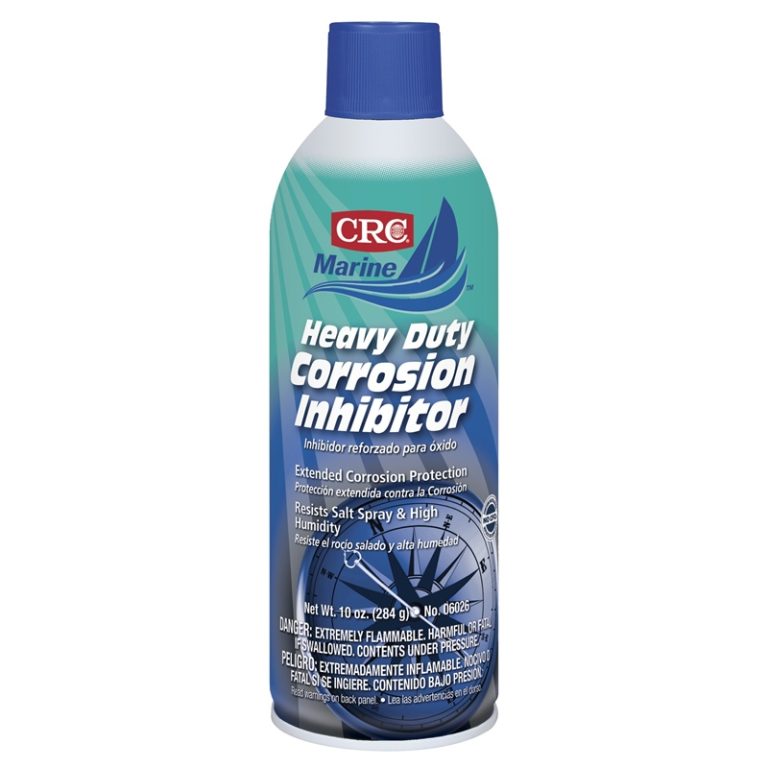
- Corrosion Prevention: Hull shields act as a barrier, preventing rust and corrosion caused by water and salt.
- Fouling Protection: It reduces the buildup of barnacles, algae, and other marine organisms.
- Improved Performance: A cleaner hull improves speed and fuel efficiency, reducing wear on the outboard lower unit.
- Cost Savings: Avoid frequent repairs and increase the resale value of your boat.
Materials You’ll Need
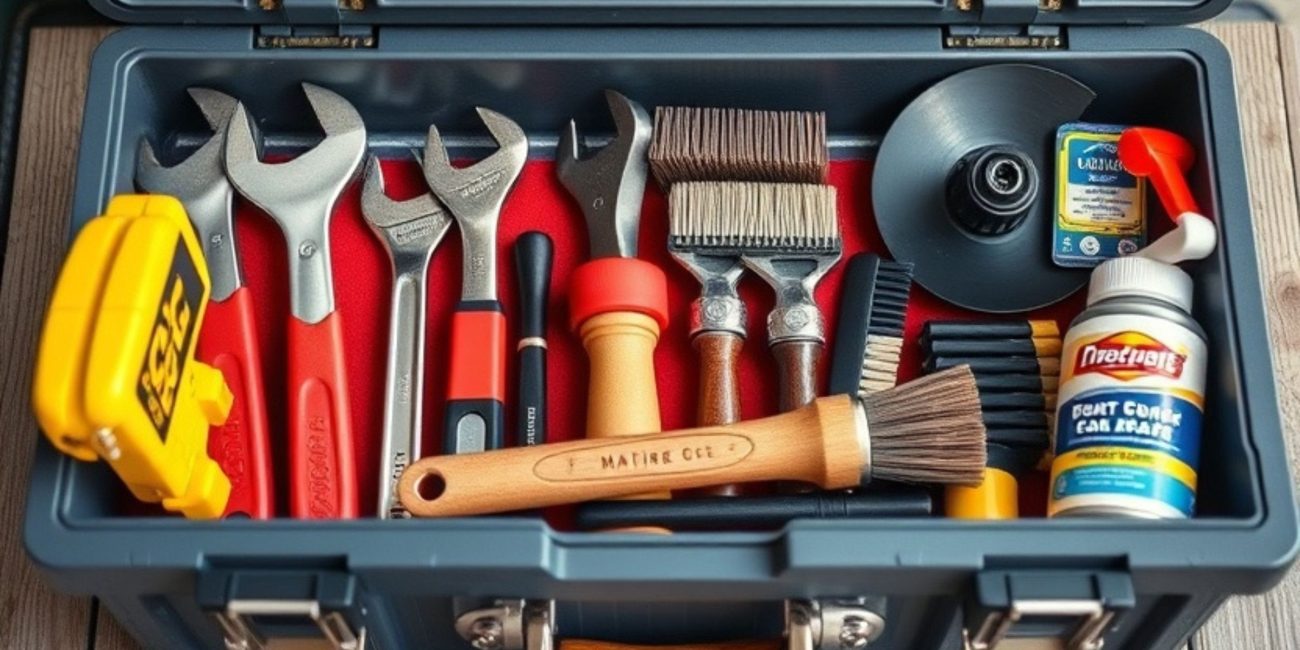
To apply a hull shield effectively, gather these materials:
- Hull shield coating (choose one suitable for your vessel type).
- Cleaning agents.
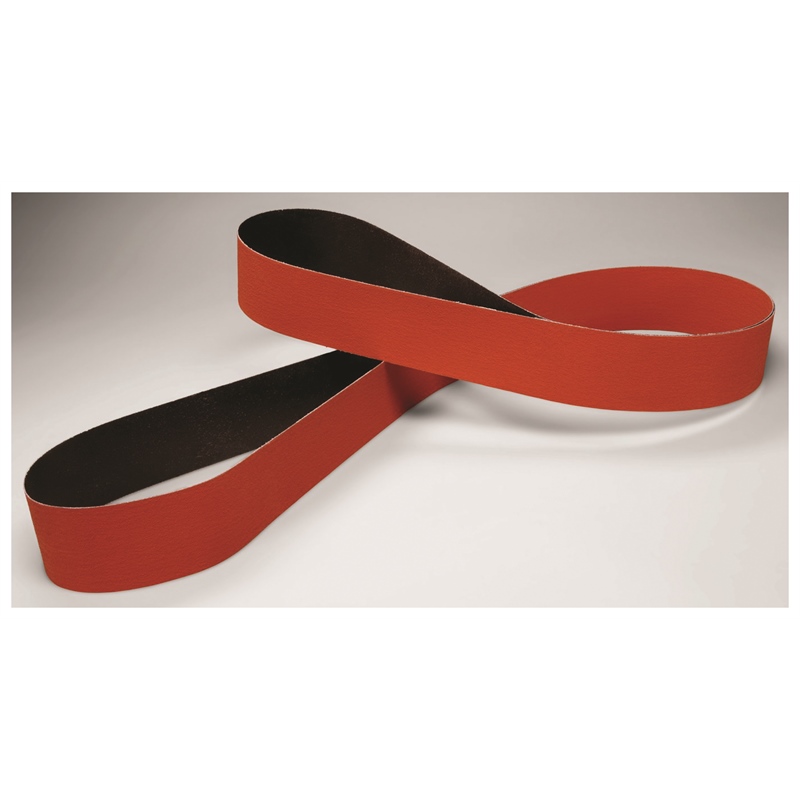
- Sandpaper or abrasive pad.
- Masking tape.
- Paint rollers or brushes.
- Protective gloves and goggles.
Preparation Before Application
Step 1: Clean the Hull
Thoroughly clean the hull to remove dirt, grime, and old paint. Use marine-grade cleaning agents to achieve a spotless surface.
Step 2: Sand the Surface
Lightly sand the hull using fine-grit sandpaper to create a rough texture. This helps the hull shield adhere effectively.
Step 3: Protect Adjacent Areas
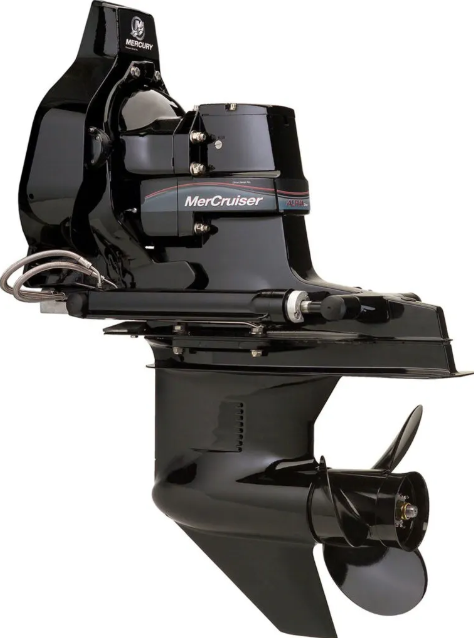
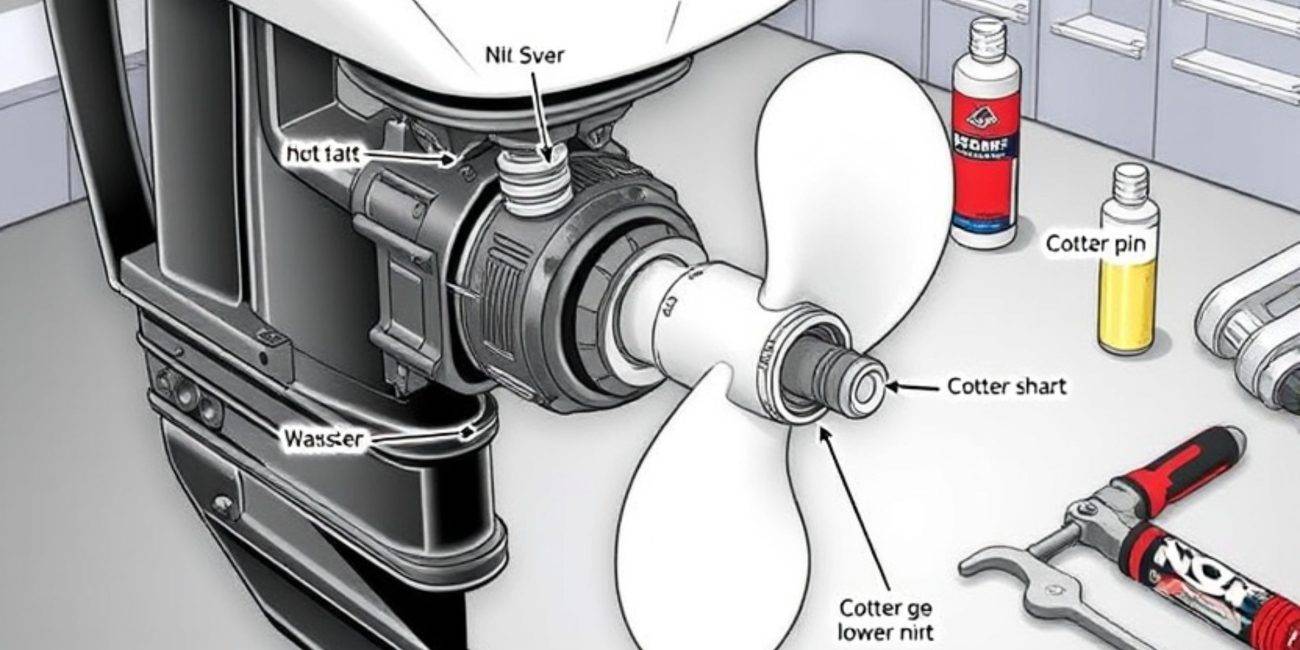
Apply masking tape around areas like the outboard lower unit and propellers to prevent accidental application.
Applying the Hull Shield
Step 1: Mix the Coating
Read the manufacturer’s instructions carefully and mix the coating. Ensure the mixture is consistent for uniform application.
Step 2: Start with Small Sections
Begin applying the hull shield in small sections, using smooth and even strokes. Focus on high-contact areas like the outboard lower unit.
Step 3: Allow Time to Dry
Let the first coat dry completely before applying additional layers. Check drying times in the product manual for accuracy.
Step 4: Apply a Second Coat
Apply a second coat to ensure maximum protection. Double-coating is especially beneficial for regions exposed to high marine activity.
Aftercare and Maintenance
Regular Inspections
Check the hull for signs of wear or peeling every 3–6 months.
Cleaning
Rinse the hull after every use, particularly in saltwater. Use gentle cleaners to maintain the shield’s integrity.
Repairs
If any section of the shield wears out, reapply the coating immediately to avoid further damage to the outboard lower unit or propellers.
Common Mistakes to Avoid
- Skipping Surface Preparation: Always clean and sand the hull before applying the shield.
- Using Incorrect Products: Choose a coating compatible with your boat’s material.
- Ignoring Drying Times: Rushing the process can compromise the effectiveness of the shield.
Conclusion
Applying a hull shield is essential for safeguarding your boat from corrosion and fouling. Follow this guide on how to apply a hull shield for maximum protection, ensuring longevity and enhanced performance for your vessel. Regular maintenance and correct application can make a significant difference in preserving both your boat and its key components, such as the outboard lower unit and propellers.
For more insights on marine care, check out our previous blog, Installing a Zipwake System: A DIY Guide.


