Installing a Zipwake System: Your Step-by-Step Guide
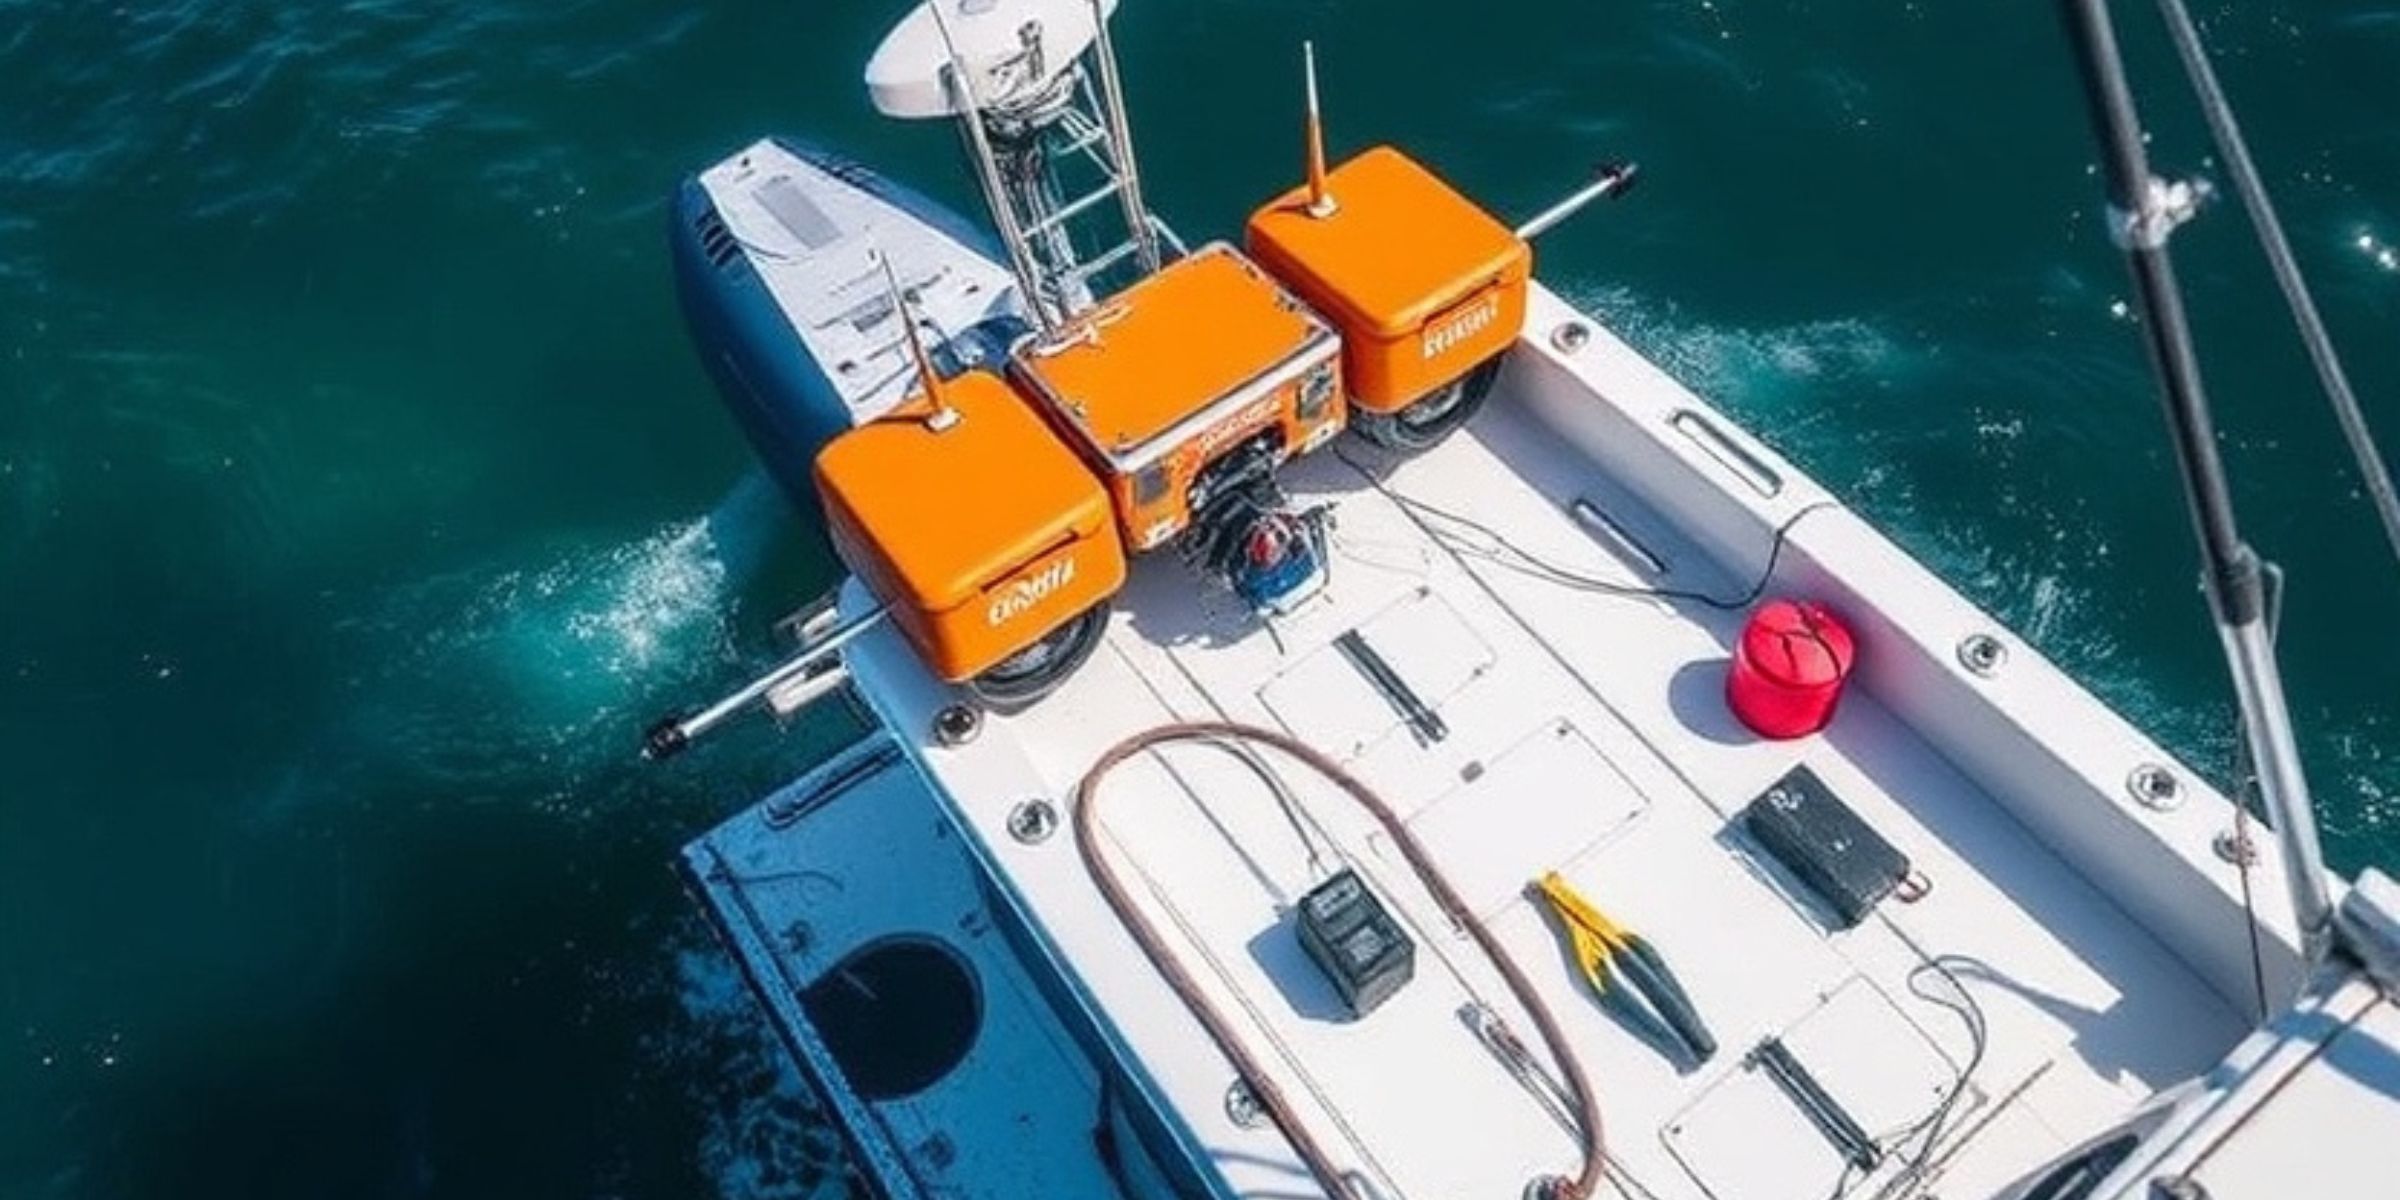
Installing a Zipwake System: Your Step-by-Step DIY Guide
The Zipwake system is a modern solution designed to improve boat stabilization, enhance fuel efficiency, and ensure smoother rides on the water. Whether you’re an experienced boater or just starting, installing a Zipwake system can be a manageable DIY project with the right tools and guidance. This guide walks you through the process, making it easier than ever to take control of your boat’s performance.
Why Install a Zipwake System?
The Zipwake dynamic trim-control system is a game-changer for boat owners. Its advanced automatic trim control optimizes speed and reduces fuel consumption.
Key Benefits:
- Improved Stability: Automatically adjusts trim tabs to balance the boat in varying conditions.
- Enhanced Fuel Efficiency: Reduces drag and improves fuel economy.
- Ease of Use: Features intuitive controls for seamless operation.
- Safety: Minimizes the risks of instability in rough waters.
Tools and Materials Needed
Before starting the installation, gather these essentials:
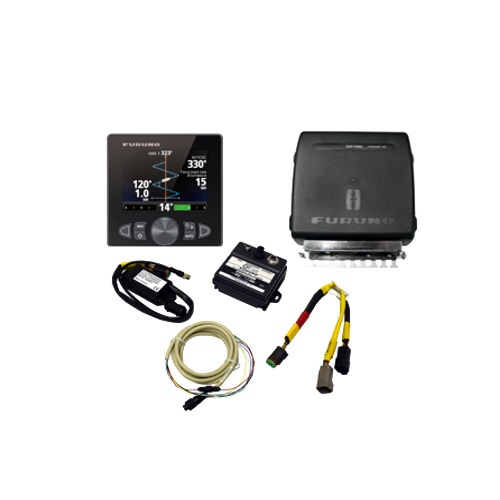
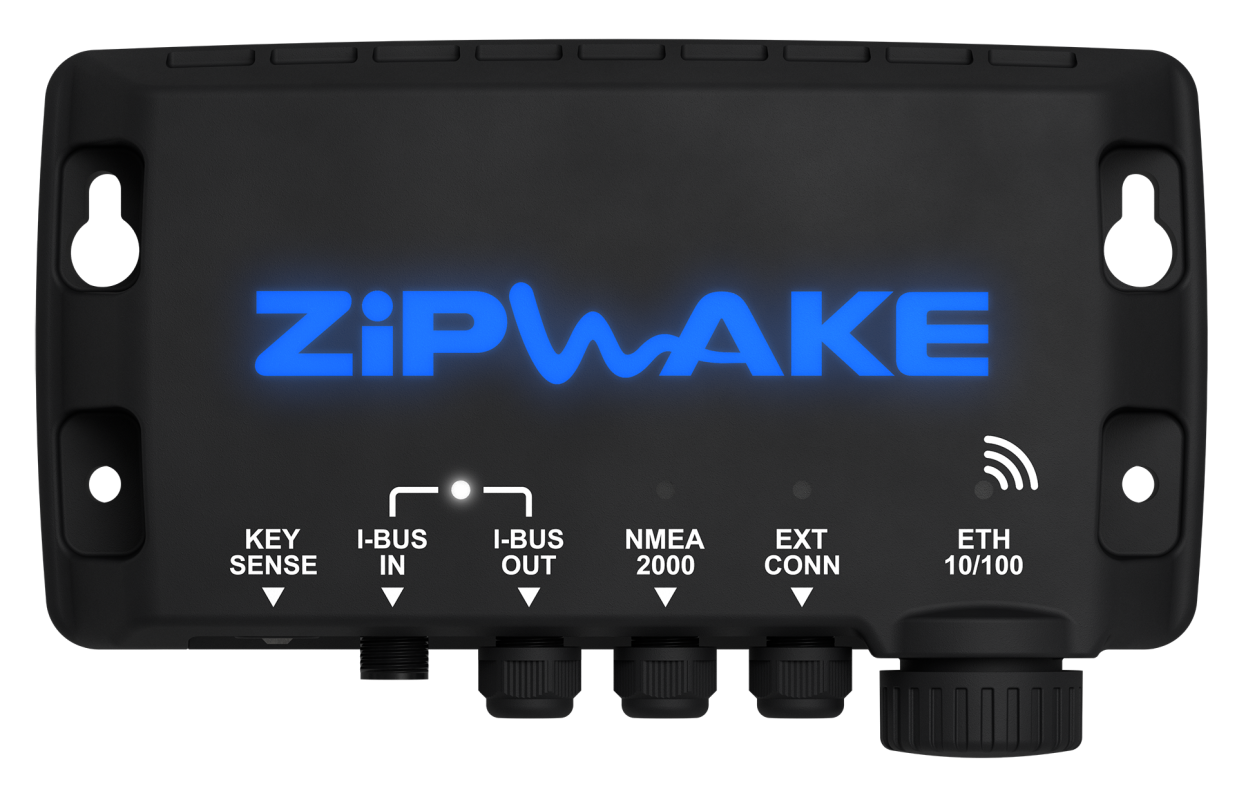
- Zipwake system (controller, interceptor units, and cabling)
- Drill with appropriate bits
- Screwdrivers
- Measuring tape
- Marine-grade sealant
- Safety goggles
Step-by-Step Guide to Installing a Zipwake System
1. Understand Your Boat’s Layout
Examine the stern of your boat to determine where the interceptors will be installed. Ensure there is adequate space for proper alignment and functionality.
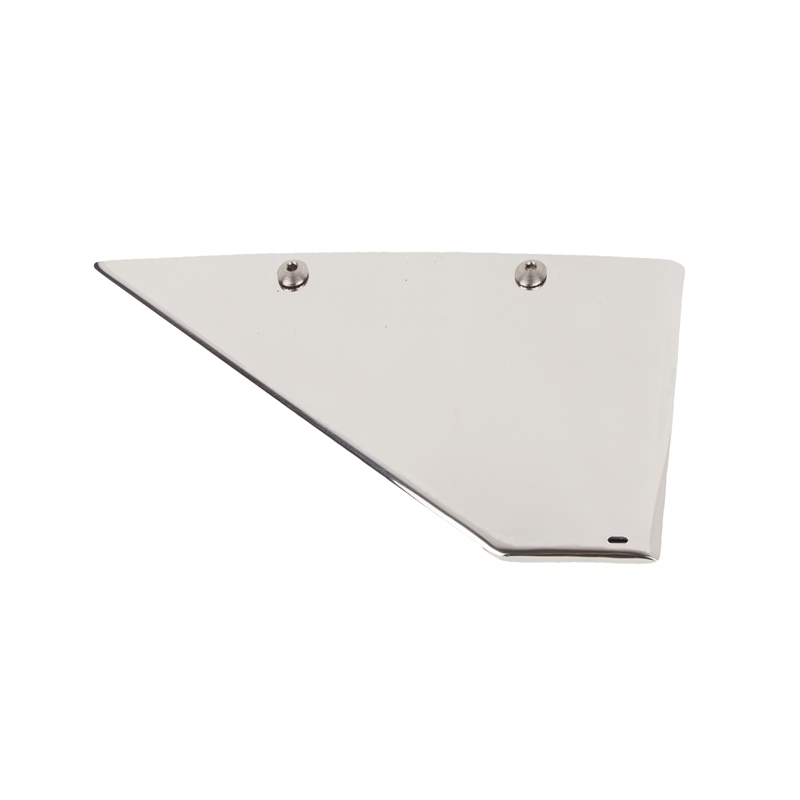
2. Position the Interceptors
Mark the location for the interceptors based on the manufacturer’s guidelines. Ensure they are aligned parallel to the waterline for optimal performance.
3. Drill Mounting Holes
Using a drill, create holes for mounting the interceptors. Be cautious to avoid damaging internal boat components.
4. Apply Marine Sealant
Apply marine-grade sealant around the mounting holes to prevent water ingress. This step is crucial for long-term durability.
5. Secure the Interceptors
Attach the interceptors to the hull using the provided screws. Tighten them securely but avoid over-tightening, which could crack the material.
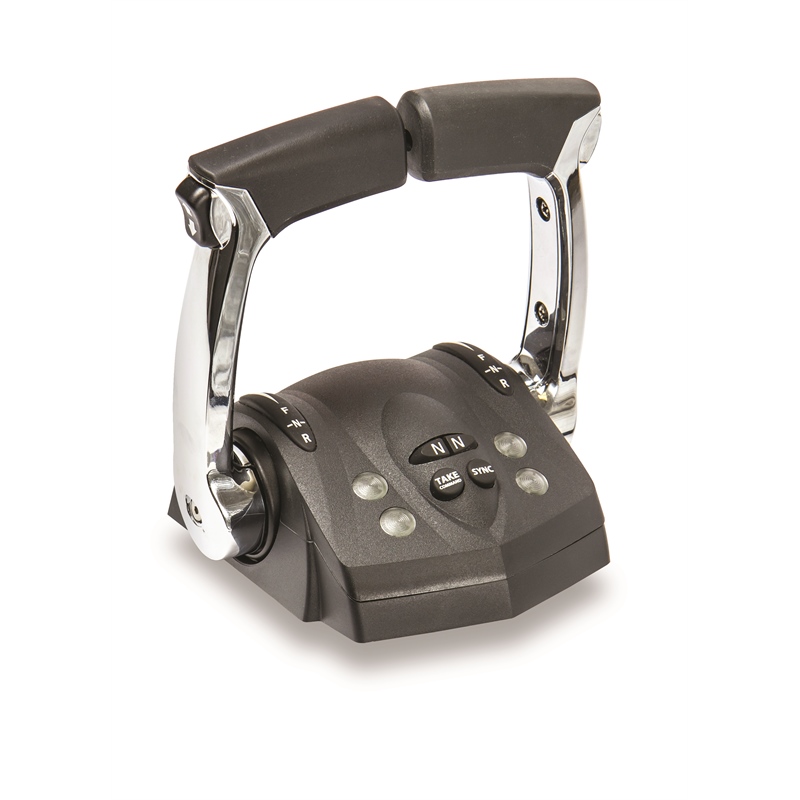
6. Install the Control Unit
Position the control panel in an accessible area on the helm. Connect it to the interceptors using the provided cabling, ensuring all connections are watertight.
7. Connect to Power
Wire the system to your boat’s power supply, adhering to the provided wiring diagram. Use a fuse for additional safety.
8. Test the System
Power on the system and test the interceptors to ensure they respond correctly to the control panel inputs. Adjust settings as necessary for optimal performance.
Common Challenges and Solutions
1. Limited Space for Installation
If space is tight, consider repositioning the interceptors or using smaller units.
2. Wiring Issues
Double-check connections and use a multimeter to test for continuity.
3. Water Leaks
Reapply sealant and tighten screws if leaks occur.
Maintenance Tips for Longevity
To ensure your Zipwake system functions efficiently:
- Inspect the interceptors regularly for damage or debris.
- Clean the control panel and interceptors with fresh water after use.
- Update the system firmware periodically for improved functionality.
Real-World Example
John, a fishing boat owner, installed a Zipwake system to combat stability issues on rough seas. After installation, he noticed a significant improvement in handling and fuel savings, making long fishing trips more enjoyable.
Conclusion
Installing a Zipwake system is an excellent investment in your boat’s performance and safety. With this DIY guide, you can confidently enhance your boating experience. Follow the steps carefully, and enjoy smoother, more efficient rides.
For more insights, check out our previous blog: “Best Hull Shields for Saltwater Fishing Boats.”


