Lower Unit Won’t Shift into Gear – Step-by-Step Fix
Introduction
When your lower unit won’t shift into gear, it can quickly turn a day on the water into a frustrating repair mission. Whether you’re stuck in forward, reverse, or neutral, the inability to shift gears properly can point to serious issues—or sometimes just minor ones easily resolved. The good news? With the right knowledge and tools, you can often fix it yourself.
This comprehensive guide will walk you through a step-by-step fix, help you understand the underlying mechanisms, and give you the confidence to take action. Whether you’re a seasoned boater or a new outboard owner, you’ll gain practical skills that save time, money, and hassle.
Let’s break down the problem, identify the root cause, and implement the correct fix.
What Is a Lower Unit?
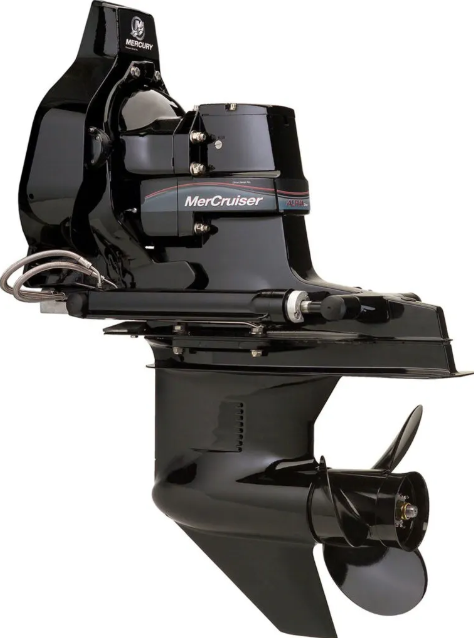
The lower unit is the gearbox located at the bottom of an outboard or sterndrive engine. It’s responsible for transferring power from the engine to the propeller, allowing you to shift between forward, neutral, and reverse gears.
Key components of a lower unit include:
- Driveshaft: Connects the engine’s crankshaft to the lower unit.
- Shift Rod: Engages forward, neutral, or reverse by moving the clutch dog.
- Clutch Dog: Locks into forward or reverse gear when shifted.
- Gear Set: Contains forward and reverse gears.
- Propeller Shaft: Transfers torque to the propeller.
- Shift Cable/Linkage: Connects the throttle/shift control to the shift rod.
- Water Pump: Often integrated in the lower unit housing.
When your lower unit won’t shift into gear, it means that one or more of these components isn’t functioning as it should. Understanding each part’s role helps in efficient troubleshooting.
Step-by-Step Guide
⚠️ Warning: Before working on your engine, ensure it is turned off, battery disconnected, and properly supported to prevent injuries.
- Check the Shift Cable and Control:
- Inspect for slack, corrosion, or damage in the cable.
- Have someone operate the throttle while you observe the linkage at the engine end.
- Ensure the shift lever fully engages in each direction.
- Disconnect and Manually Shift the Linkage:
- Disconnect the shift cable from the motor.
- Manually move the shift rod—feel for smooth engagement in forward, neutral, and reverse.
- If it shifts manually but not with the cable, the problem is upstream.
- Check for Water Intrusion in Gearcase:
- Drain the lower unit oil.
- Look for milky oil, which indicates water contamination.
- Replace oil and seals if water intrusion is found.
- Inspect the Shift Rod Height/Alignment:
- Misalignment can prevent proper gear engagement.
- Compare current rod height with factory specifications.
- Drop the Lower Unit:
- Remove bolts, separate lower unit from the midsection.
- Inspect the clutch dog, gears, and shift cam for wear or damage.
- Replace Damaged Parts:
- If the clutch dog or gear teeth are worn, replace them.
- Reassemble with new seals and gaskets as needed.
- Test After Reassembly:
- Manually shift through all gears before reattaching the control cable.
- Reconnect and test with throttle control for smooth operation.
Common Issues and Solutions
- Worn Clutch Dog: Causes slipping or failure to engage. Replace with OEM part.
- Misadjusted Shift Cable: Leads to incomplete gear engagement. Adjust linkage tension.
- Broken Shift Cam or Rod: Requires lower unit disassembly and part replacement.
- Corroded Control Cables: Impedes motion. Replace cables and lubricate new ones.
- Improper Reinstallation: After maintenance, shift rod alignment must be exact.
Maintenance Best Practices
- Flush your engine with fresh water after every trip.
- Replace lower unit oil every 100 hours or annually.
- Use marine grease on all shift linkages and cable ends.
- Inspect shift cable annually for wear or corrosion.
- Check for water intrusion regularly by observing gear oil.
- Store your boat with the gear in neutral to reduce pressure on clutch dog.
Expert Tips and Recommendations
- Label every part during disassembly. It helps during reassembly.
- Use OEM parts to maintain reliability and compatibility.
- When in doubt, take pictures of cable routing before removal.
- Re-torque bolts to manufacturer specifications during reassembly.
- Test in a barrel or on muffs before hitting the water.
- Use resources like allboatsupplies.com for quality marine components.
Detailed FAQ Section
How do I know if I need a new lower unit?
If your lower unit shows signs like excessive vibration, inability to shift, strange noises, or leaks around the prop shaft, you may need a replacement. Check for metal shavings in the drained oil—a sign of internal damage. If gears are stripped or the casing is cracked, rebuilding may be impractical. In contrast, cosmetic damage or a leaking seal can often be fixed affordably.
What tools are needed to fix a lower unit that won’t shift?
Common tools include:
- Socket wrench set
- Screwdrivers
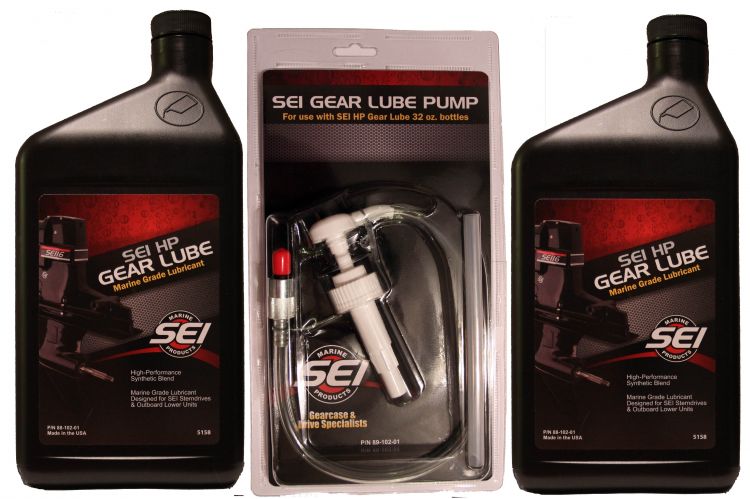
- Gear oil pump
- Lower unit pressure tester
- Marine-grade grease and sealant
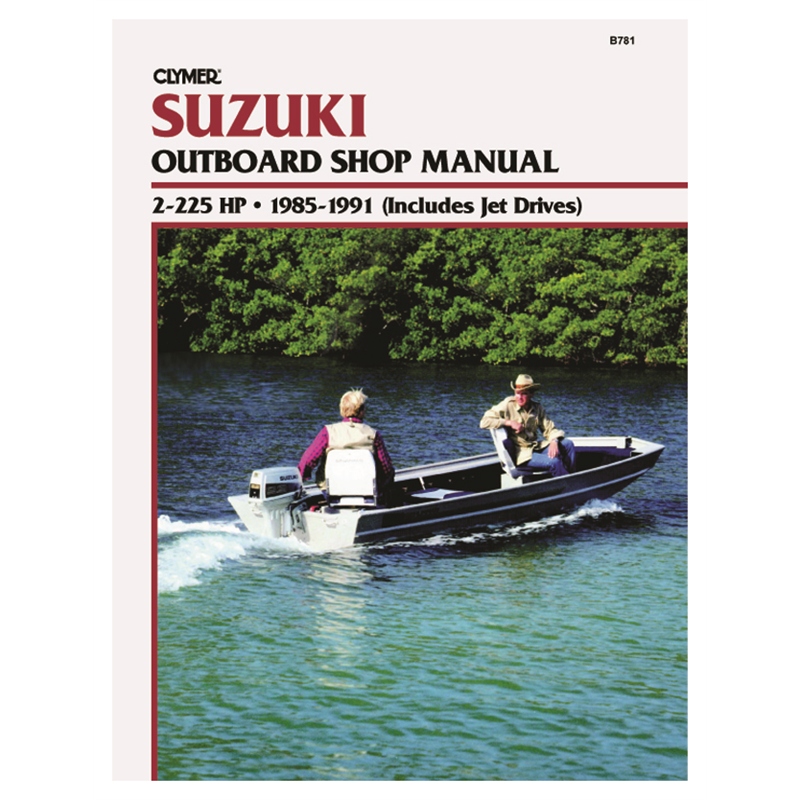
- OEM repair manual
A gear puller and alignment tool may also be needed depending on your engine make. Ensure your workspace is clean and well-lit, and use a lower unit stand or padded bench for safe handling.
Can I handle lower unit repairs myself, or should I hire a professional?
It depends on your skill level and confidence. If you’re mechanically inclined and follow a good repair guide, many issues like cable replacement or gear oil service are DIY-friendly. However, internal gear replacements, shift rod alignment, or water intrusion repairs can be complex and may require specialized tools and experience. For major repairs, consult a certified marine technician.
How much does fixing a shifting problem in the lower unit cost?
It varies:
- DIY Cable Adjustment: Free to $50
- Seal Replacement: $20–$100
- Shift Dog or Gear Replacement: $300–$800 in parts
- Professional Labor: $100–$150/hour
If the gearcase is badly damaged, a replacement lower unit can cost $1,000 to $2,500 depending on make and model. Compare the cost of fixing versus replacing carefully.
What are the warning signs of lower unit shifting problems?
Common signs include:
- Grating noises when shifting into gear
- Stuck in forward, reverse, or neutral
- Propeller spinning in neutral
- Resistance in throttle control
- Sudden disengagement while underway
If you notice any of these symptoms, stop using the boat and inspect the lower unit to prevent further damage.
Special Offer
WELCOME5 – Get 5% off storewide at allboatsupplies.com
Conclusion
When your lower unit won’t shift into gear, don’t panic. With this step-by-step guide, you now have the knowledge to troubleshoot, repair, or maintain the system confidently. Whether it’s a simple cable misalignment or a more complex internal issue, a methodical approach can save time, money, and stress.
Regular inspections, proper maintenance, and using high-quality marine parts from sources like allboatsupplies.com will ensure your outboard lower unit remains reliable and smooth-shifting for years to come.
Read More
For more helpful marine maintenance guides, check out our article on Rebuilding a Yamaha 150 Lower Unit: When It’s Worth It & When It’s Not.
