Milky Gear Oil? What It Means & How to Fix it
Introduction
Have you ever drained your boat’s lower unit only to find milky gear oil oozing out? That cloudy, grayish fluid is more than just unsightly—it’s a red flag that water has contaminated your gear oil. This common issue in outboards and sterndrives can lead to serious damage if left unresolved.
This article explains what causes milky gear oil, why it’s dangerous, and most importantly, how to fix it. Whether you’re a seasoned boater or a first-time owner, you’ll learn how to identify the problem, assess the damage, and take corrective steps to protect your lower unit.
We’ll also share maintenance best practices and expert recommendations to prevent this problem in the future. Let’s dive in.
What Is Milky Gear Oil?
Milky gear oil refers to a condition where the oil inside your boat’s lower unit or outboard gearcase has mixed with water. When gear oil and water blend, the result is a cloudy, milky substance that indicates a breach in the lower unit’s seal integrity.
Here are key characteristics and facts about milky gear oil:
- Color: Light gray, white, or coffee-with-cream appearance.
- Texture: Thick, foamy, or even whipped in extreme cases.
- Odor: Sometimes sour or burnt due to contamination and friction.
- Performance: Reduces the oil’s ability to lubricate gears properly.
- Cause: Most commonly due to worn seals, prop shaft damage, or gasket failure.
- Symptoms: Overheating, unusual vibration, noisy shifting, or metal shavings in the oil.
- Severity: Can lead to gear failure, rust, and costly repairs if ignored.
- Risk Areas: Prop shaft seal, driveshaft seal, shift shaft seal, drain/fill plug washers.
⚠️ Warning: Continuing to run your engine with milky gear oil can lead to catastrophic lower unit failure. Always inspect gear oil condition during regular maintenance.
Step-by-Step Guide: How to Fix Milky Gear Oil
If you discover milky gear oil during your routine inspection, follow this step-by-step process to address the issue:
- Drain the Contaminated Oil
- Place a drain pan under the lower unit.
- Remove the drain plug and let all gear oil drain completely.
- Check for metal shavings or chunks—signs of internal damage.
- Flush the Gearcase
- Use a gearcase flush or diesel fuel to rinse out residual contaminated oil.
- Let the gearcase dry completely before refilling.
- Inspect Seals and Gaskets
- Check the propeller shaft seal, driveshaft seal, shift rod seal, and fill/drain plug gaskets.
- Look for fishing line wrapped around the shaft or pitted surfaces.
- Replace Faulty Seals
- Use a seal removal tool to extract worn seals.
- Install new OEM-grade seals using proper seating techniques.
- Pressure Test the Lower Unit
- Use a gearcase pressure tester to ensure the unit holds pressure (usually around 10–15 psi).
- If it doesn’t hold, locate and fix the leak before refilling.
- Refill with Marine Gear Oil
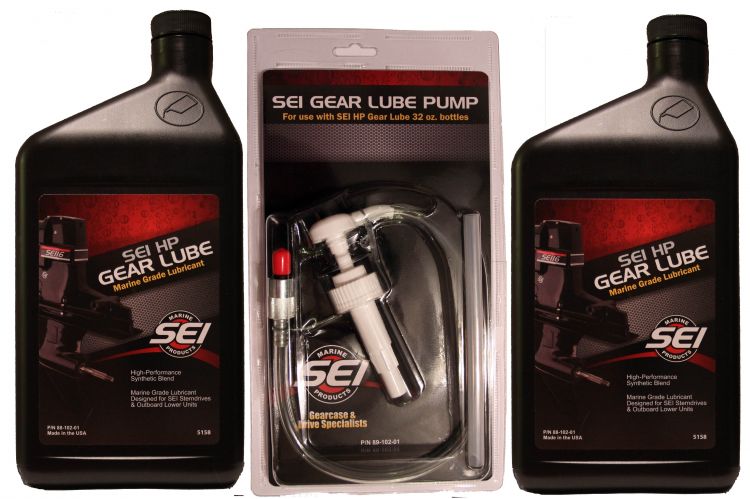
- Use high-quality, marine-rated lower unit gear oil.
- Fill from the bottom port until oil comes out the top vent.
- Replace plug gaskets with new ones.
Critical: If the oil appears milky again within a few hours of operation, stop running the engine and re-inspect all seals.
Common Issues and Solutions
- Fishing Line Wrapped Around Prop Shaft
- Solution: Remove prop, inspect, and replace seals if needed.
- Worn or Hardened Seals
- Solution: Replace with new OEM seals. Avoid aftermarket rubber that may degrade quickly.
- Overfilled Gearcase
- Solution: Refill using proper fill-and-vent technique to avoid excess pressure and seal rupture.
- Cracked Housing
- Solution: Replace the gear housing or consider a rebuilt lower unit if internal damage is severe.
Maintenance Best Practices
- Check gear oil condition every 50–100 hours or before winter storage.
- Always use marine-specific lower unit oil.
- Replace fill/drain plug gaskets with every oil change.
- Grease your prop shaft regularly to prevent fishing line intrusion.
- Perform pressure and vacuum tests annually, especially if you operate in saltwater.
Expert Tips and Recommendations
- Always carry spare drain plug gaskets on long trips.
- Use a magnetic drain plug to catch metal particles and monitor gear wear.
- Invest in a pressure tester if you maintain your own lower unit—it pays for itself.
- Consider rebuilt lower units from reputable sources like allboatsupplies.com if damage is extensive.
Detailed FAQ Section
How do I know if I need a new lower unit or just seal replacement?
If your gear oil is milky but there are no metal shavings and the gears shift smoothly, a seal replacement may be enough. Use a pressure tester—if the unit holds pressure after seal replacement, a new lower unit isn’t necessary. However, metal flakes, gear noise, or oil leaks after repair may indicate internal failure, requiring a new or rebuilt lower unit.
What tools do I need to fix milky gear oil issues?
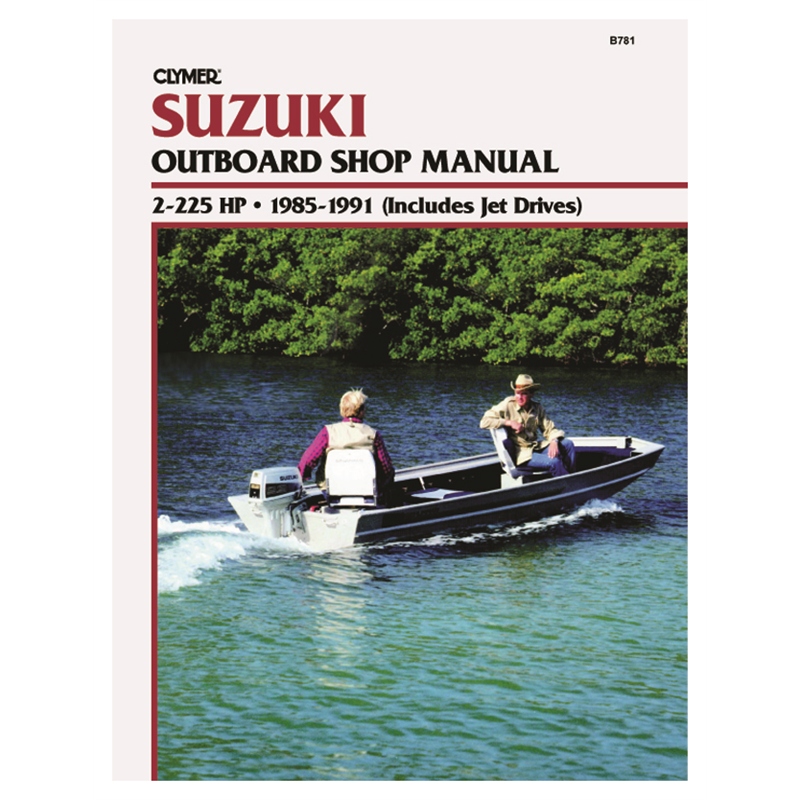
You’ll need a flathead screwdriver, marine gear oil pump, seal puller, prop wrench, torque wrench, pressure tester, and new OEM seals. A magnetic tray and gearcase flush solution are also recommended. For DIY-friendly gearcase maintenance, having a service manual is invaluable.
Can I fix milky gear oil myself or should I hire a pro?
If you’re mechanically inclined and have the tools, DIY repair is possible. Replacing seals and testing pressure are tasks many boaters handle themselves. However, if the unit fails pressure tests or shows internal wear, hiring a marine technician or visiting a shop is advised. Labor typically ranges from $150–$300 for seal service, plus parts.
How much does it cost to fix milky gear oil problems?
Seal kits usually cost between $20–$60. A pressure test setup costs around $50–$100. Labor for a professional seal job ranges from $150–$300. If your lower unit is damaged, a rebuilt replacement may cost $900–$2,500 depending on the make and model. Always compare repair vs. replacement costs based on pressure test results and gear condition.
What are the warning signs of milky gear oil issues?
Signs include white/gray oil during oil changes, unusual vibration or noise, slow shifting, metal debris in oil, and visible water in the gearcase. Preventive checks after impact with submerged objects or fishing line entanglement are key. Annual inspection and oil changes can prevent expensive surprises.
Special Offer
WELCOME5 – Get 5% off storewide at allboatsupplies.com
Conclusion
Milky gear oil is a serious indicator that water has infiltrated your lower unit. Left untreated, it can destroy your gears, seals, and bearings. By following the steps outlined above—draining, inspecting, replacing seals, pressure testing, and refilling with fresh oil—you can resolve the issue and extend the life of your lower unit.
Routine maintenance and awareness are your best defenses. Whether you’re troubleshooting yourself or seeking a professional repair, this guide arms you with the knowledge you need to protect your investment and get back on the water with confidence.
Need OEM parts or gearcase tools? Check out allboatsupplies.com for expert-curated marine supplies.
Read More
For more helpful marine maintenance guides, check out our article on Lower Unit Won’t Shift into Gear – Step-by-Step Fix.


