Outboard Motor Water Pump Replacement: Step-by-Step Guide for Easy Maintenance
How to Replace an Outboard Motor Water Pump
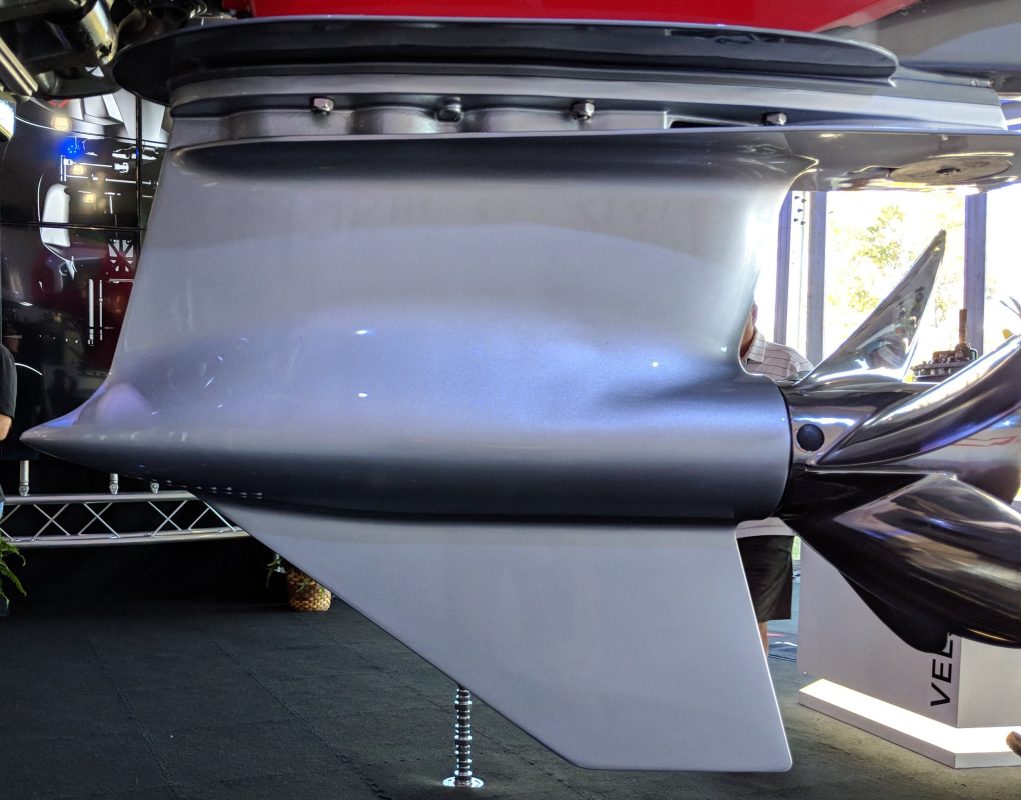
Outboard lower pump change
This version retains the essential keywords and keeps the title within the optimal length for search engine results.
For the best outboard motor replacements and maintenance, visit our website at allboatsupplies.com today!
Why Replacing the Water Pump is Essential
The water pump impeller is responsible for circulating water through the motor. Over time, wear and tear can cause the impeller to lose efficiency, risking overheating and potential engine damage. Regular maintenance, such as replacing the water pump, ensures your outboard runs smoothly, preventing costly repairs in the future.
Tools and Materials You’ll Need
Before beginning, ensure you have the following tools and materials:
- Wrenches or socket set
- Screwdrivers (flathead and Phillips)
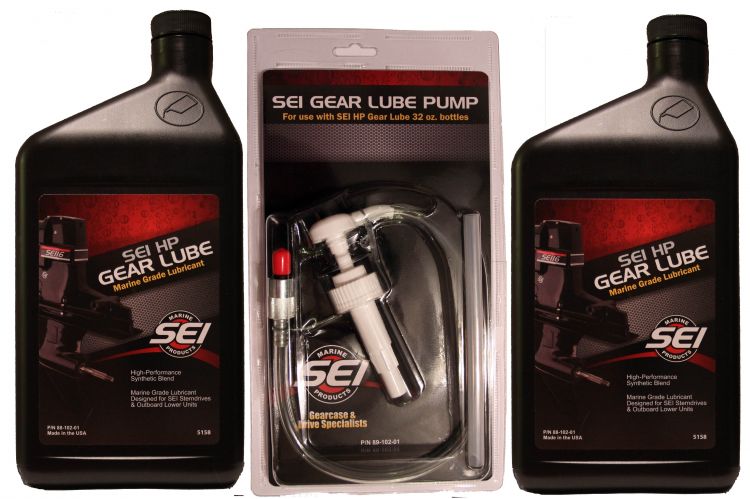
- Gear oil (for refilling the lower unit)
- Replacement water pump and impeller
- Gasket sealant or new seals (if needed)
- Cleaning brush or cloth
Step-by-Step Guide to Replacing the Outboard Water Pump
1. Disconnect the Battery and Drain the Gear Oil
Start by disconnecting the battery to prevent any electrical accidents. Then, drain the gear oil from the outboard lower unit to avoid any spills during the disassembly. Always use a container to collect the oil safely.
2. Remove the Outboard Lower Unit
To access the water pump, you’ll need to remove the lower unit. Begin by loosening the screws that hold the unit in place. Some outboards may require the removal of shift linkage or trim tabs. Be gentle when removing the unit — if it feels stuck, tap it lightly with a rubber mallet to loosen it.
3. Remove the Old Water Pump Impeller
Once the lower unit is off, locate the water pump housing at the base of the motor. Carefully remove the housing by unscrewing the bolts. Take out the old impeller and inspect it for wear or damage. If it is cracked or damaged, it must be replaced immediately to avoid potential issues.
4. Install the New Water Pump Impeller
Before installing the new impeller, clean the housing to ensure there’s no debris that could interfere with the pump’s performance. Place the new impeller inside the housing, ensuring it’s oriented correctly (check the manufacturer’s guide for correct orientation). Apply any necessary gasket sealant or replace worn seals for a tight fit.
5. Reattach the Lower Unit
Now, carefully slide the lower unit back into place. Reinstall all bolts, shift linkages, or trim tabs that were previously removed. Tighten all screws securely but avoid overtightening to prevent damage to the threads.
6. Refilling Gear Oil and Testing the Motor
After reassembling the lower unit, refill the gear oil. Start the motor while it’s in the water to check if the water pump is functioning properly. You should see water coming from the tell-tale, a small outlet on the motor. If you don’t see water flowing, shut off the engine and double-check your installation.
Dos and Don’ts for Water Pump Maintenance
Dos:
- Do replace the impeller regularly to prevent overheating.
- Do inspect the water pump housing for debris or corrosion.
- Do use high-quality replacement parts for better performance.
- Do refer to your manufacturer’s manual for specific maintenance guidelines (e.g., Mercury Yamaha models).
Don’ts:
- Don’t forget to drain the gear oil before removing the lower unit.
- Don’t skip cleaning the housing before installing the new impeller.
- Don’t force the lower unit if it feels stuck — this could cause damage.
- Don’t leave old seals in place; always replace them to avoid leaks.
Preventing Common Issues
- Water Pump Overheating: Always check the intake for blockages like debris or algae. Clean the intake regularly to ensure the water pump draws water properly.
- Impeller Damage: If you operate your boat in shallow water, debris may damage the impeller. Inspect it after every use and replace it as needed.
- Leaking Lower Unit: Check that seals and gaskets are in good condition to prevent water from entering the lower unit, which could lead to oil leaks.
Conclusion: Ensure Long-Term Performance with Regular Maintenance
Replacing your outboard motor’s water pump impeller and resealing the lower unit is key to keeping your motor running efficiently and lasting longer. By following this simple step-by-step guide, you’ll keep your outboard motor in great shape, whether it’s a Mercury, Yamaha, or another brand. Regular maintenance also helps prevent engine overheating, so you can enjoy your boating trips without any concerns.


