Replace your outboard lower unit guide
Step-by-Step: Replacing Your Outboard Lower Unit for Smooth Sailing
In this guide you will learn about how to Replace your outboard lower unit.
Maintaining your boat’s performance requires attention to crucial components like the outboard lower unit. Over time, wear and damage can compromise its efficiency. This guide provides a step-by-step approach to replacing your outboard lower unit, ensuring smooth sailing, even for beginners.
Understanding the Outboard Lower Unit
What is an Outboard Lower Unit?
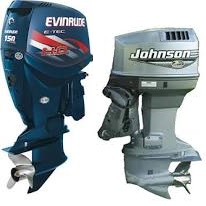
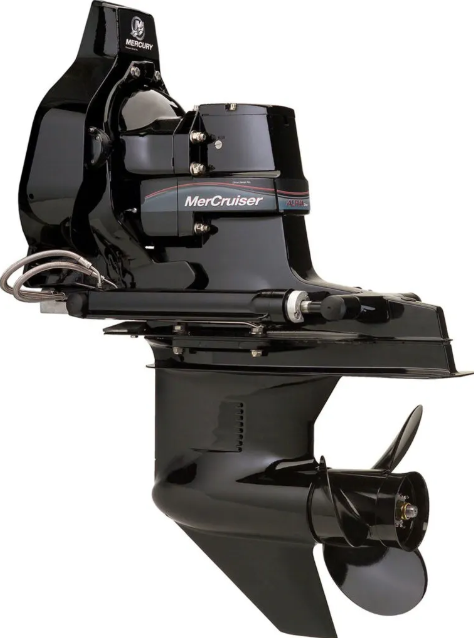
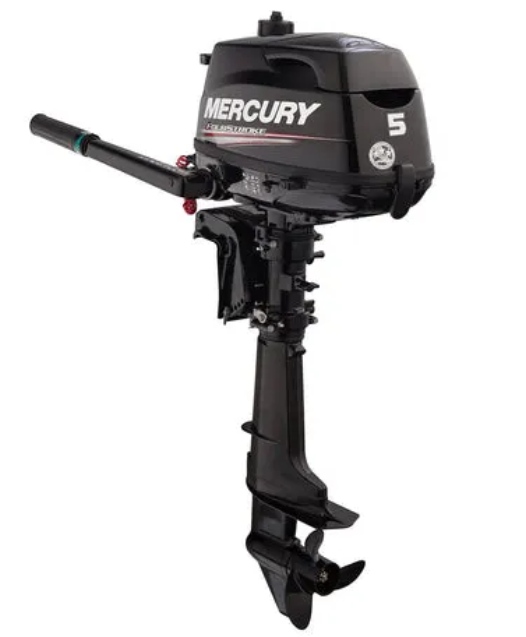
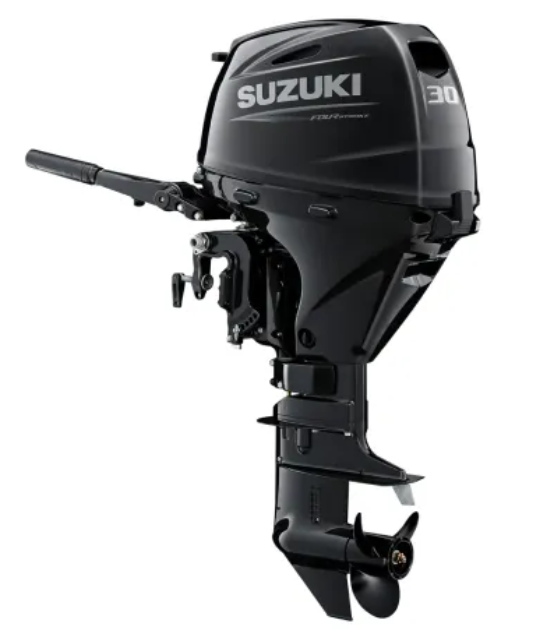
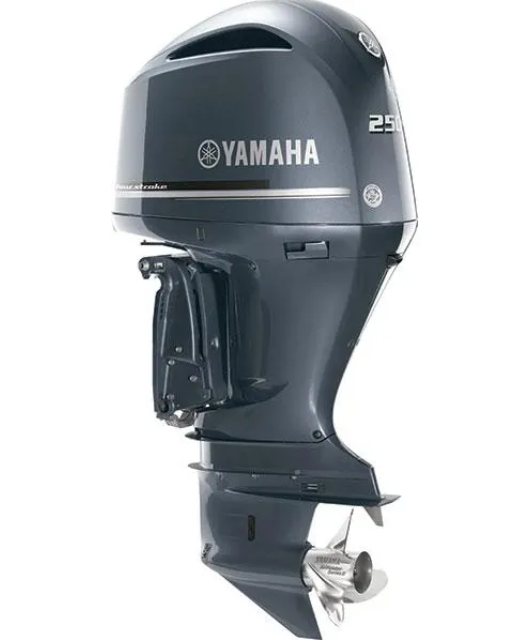
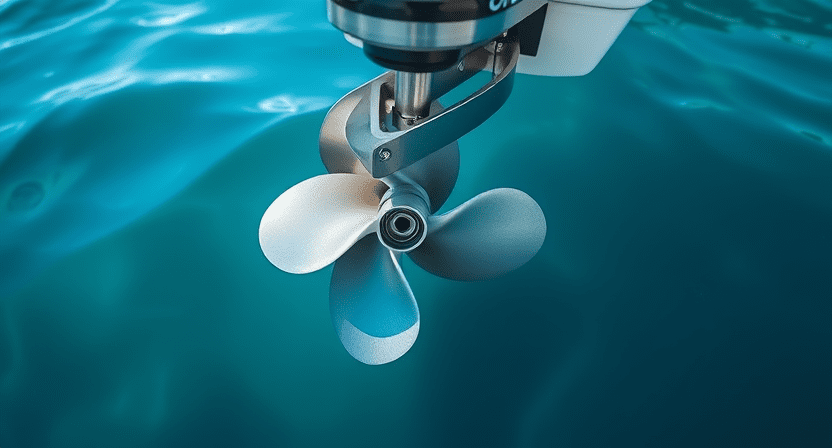
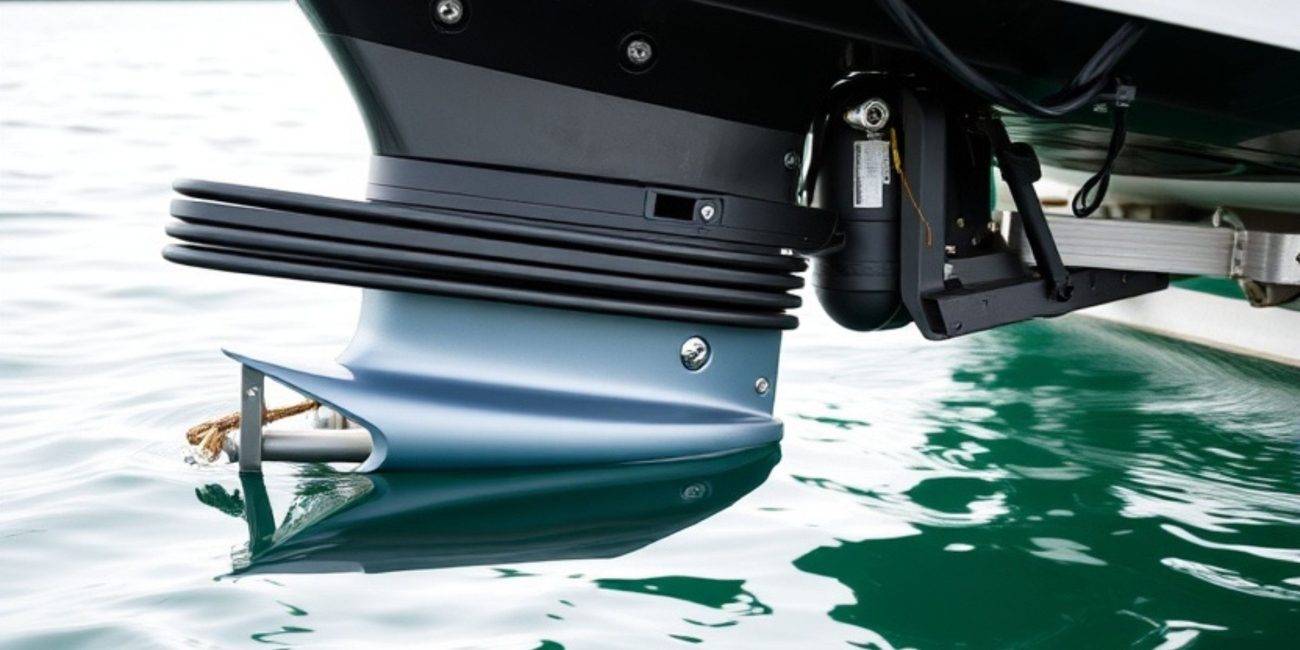
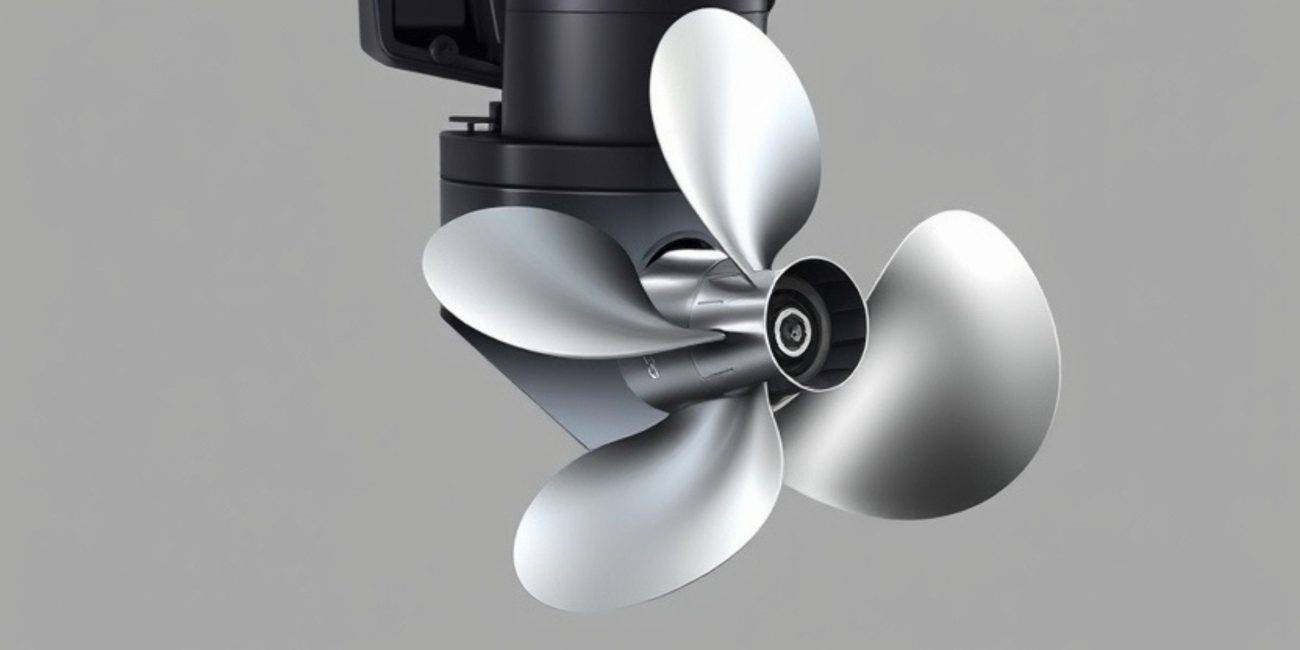
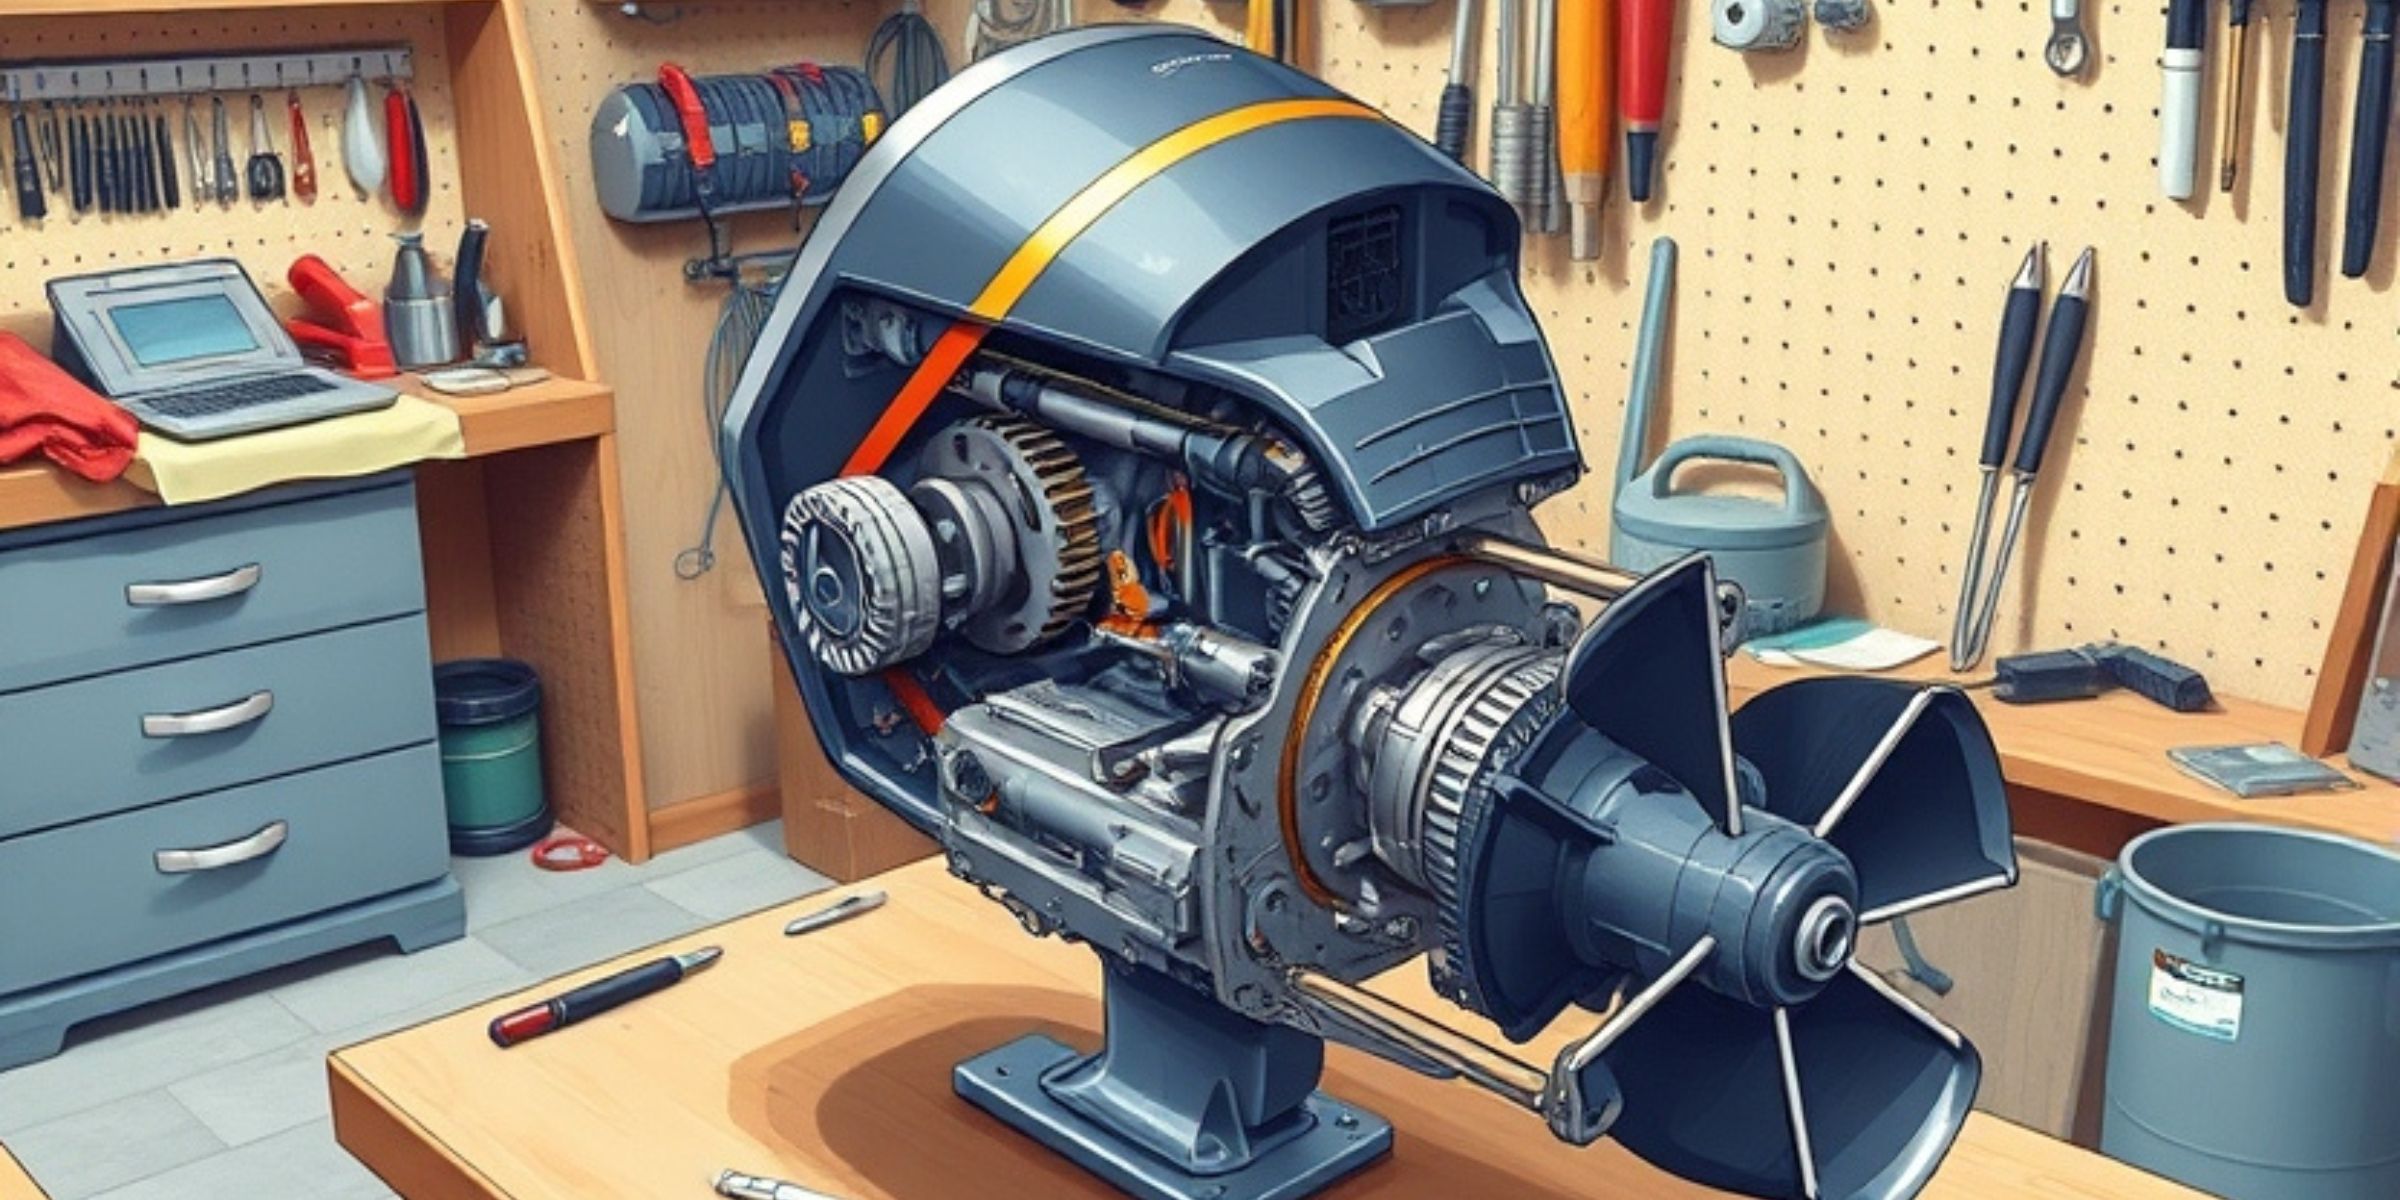
The outboard lower unit, often referred to as the “gearcase,” plays a pivotal role in your boat’s motor system. It houses vital components such as the gears, propeller shaft, and water pump, converting engine power into motion that propels your boat forward.
Signs Your Lower Unit Needs Replacement
If you notice any of the following, it might be time for a replacement:
- Grinding noises during operation
- Water intrusion in the gearcase
- Difficulty shifting gears
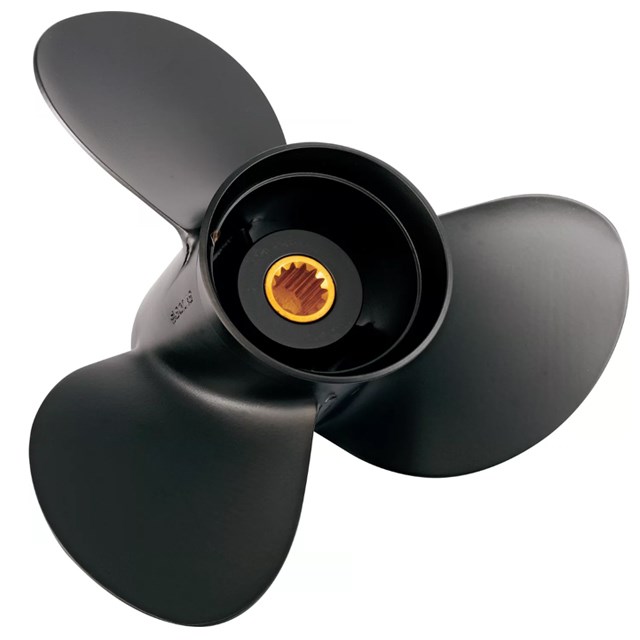
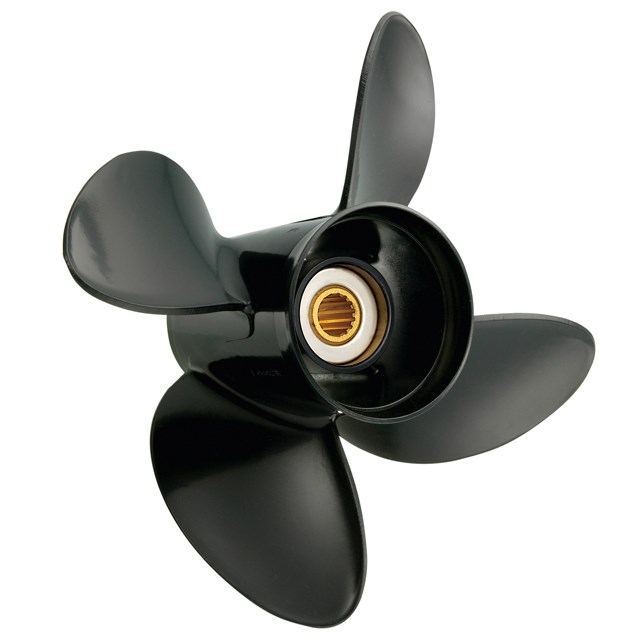
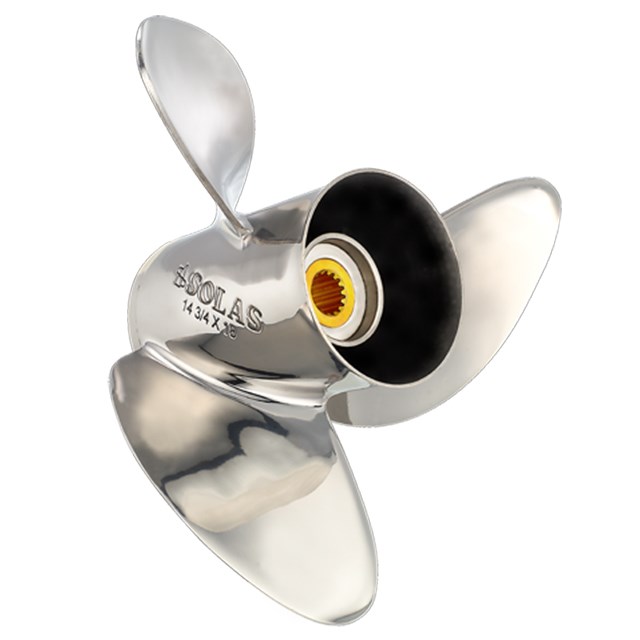
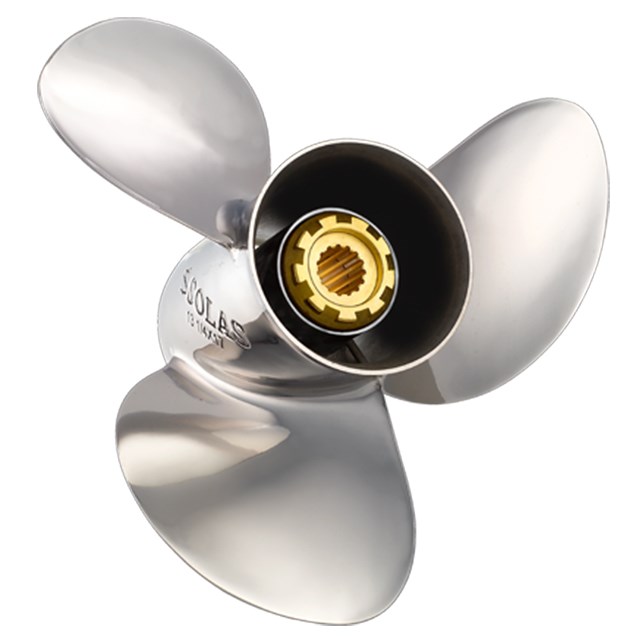
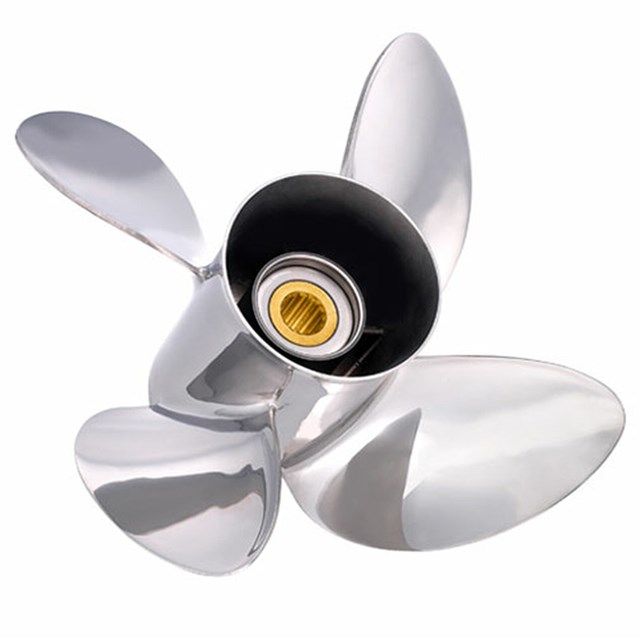
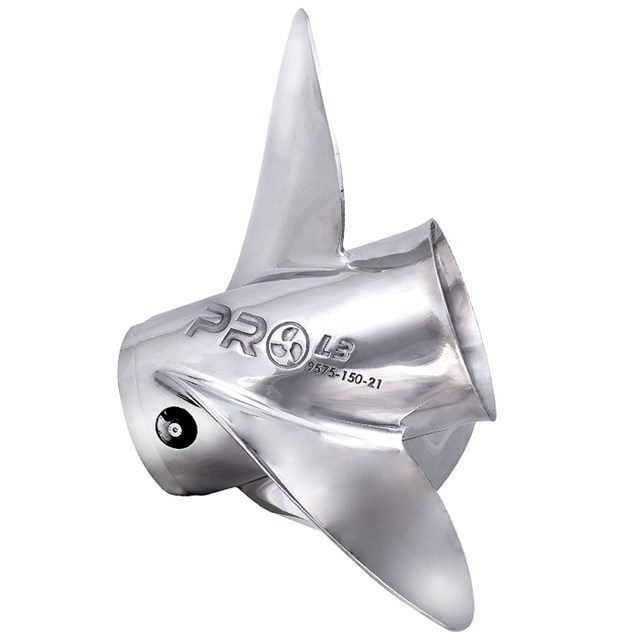
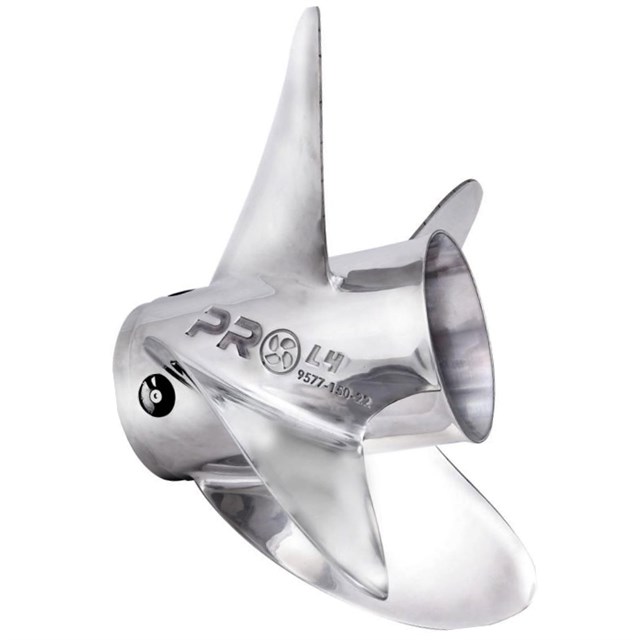
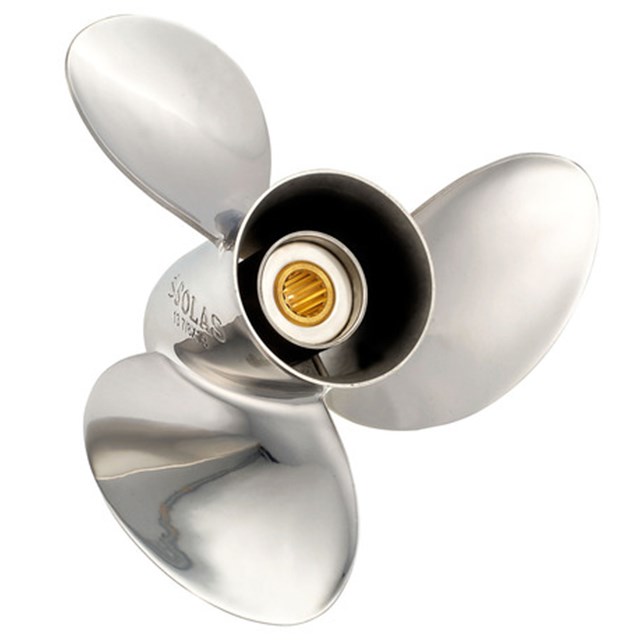
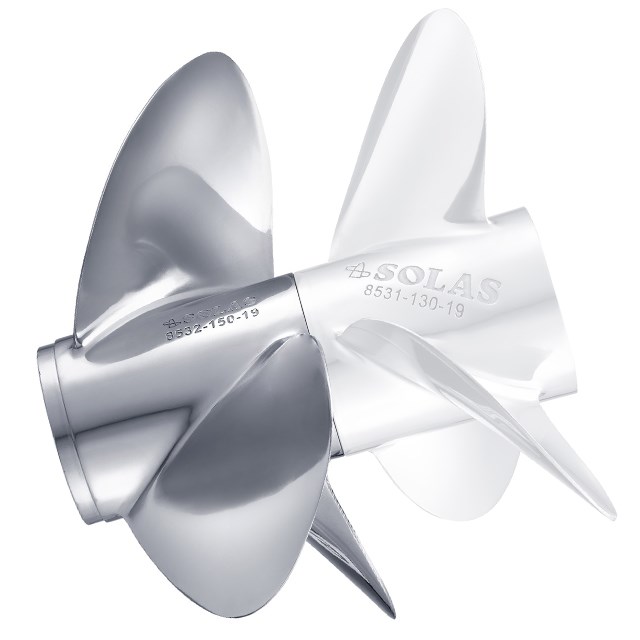
- Damaged or corroded propellers
Catching these issues early can prevent extensive motor damage.
Tools and Materials Required
Before starting, gather the necessary tools and materials for a smooth replacement process:
- Socket wrench set
- Screwdrivers (flat and Phillips)
- Marine grease
- Torque wrench
- Replacement outboard lower unit
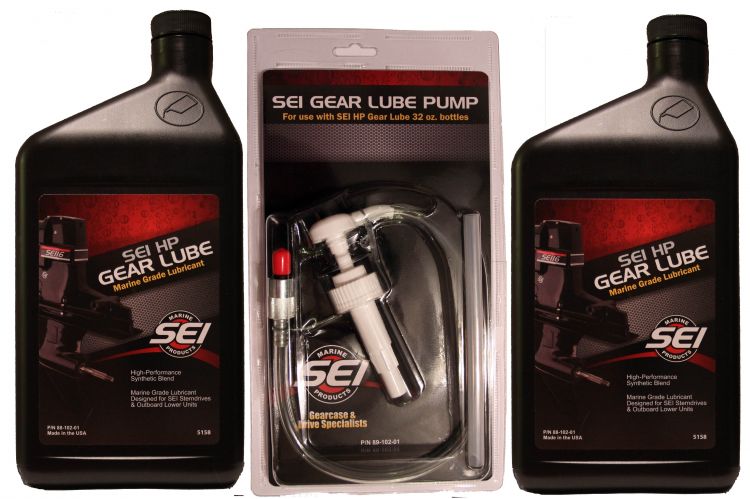
- Gear oil and pump
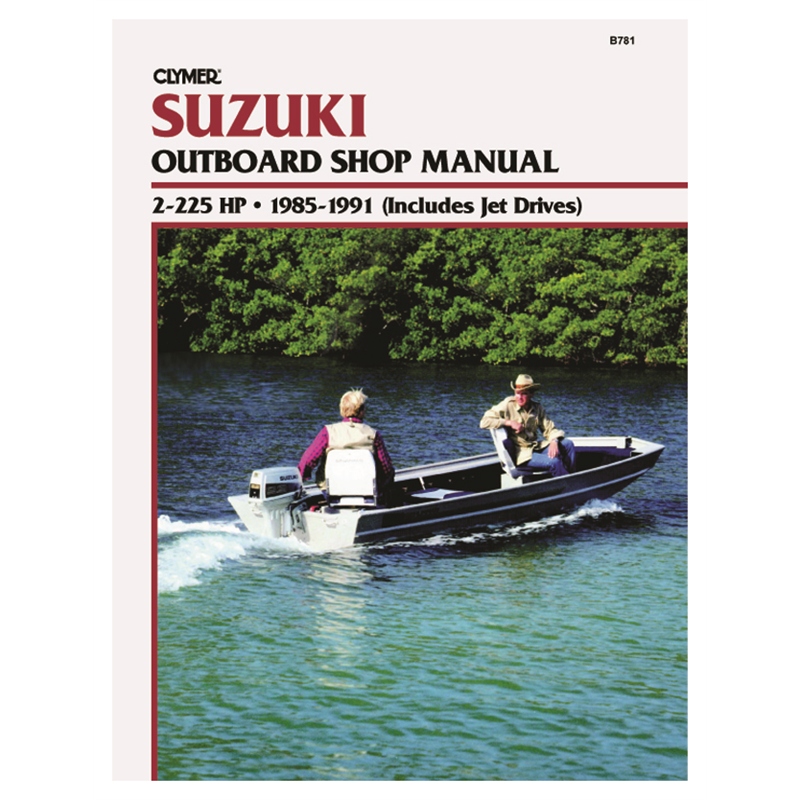
Pro Tip: Always consult your motor’s manual for specific tools and parts compatibility.
Step 1: Preparing for the Replacement
Ensure Safety First
Before working, turn off the engine and disconnect the battery. Secure your boat on a stable platform to prevent accidents.
Drain the Gear Oil
Locate the gear oil drain plug and remove it. Allow the oil to fully drain into a container before proceeding.
Step 2: Removing the Old Lower Unit
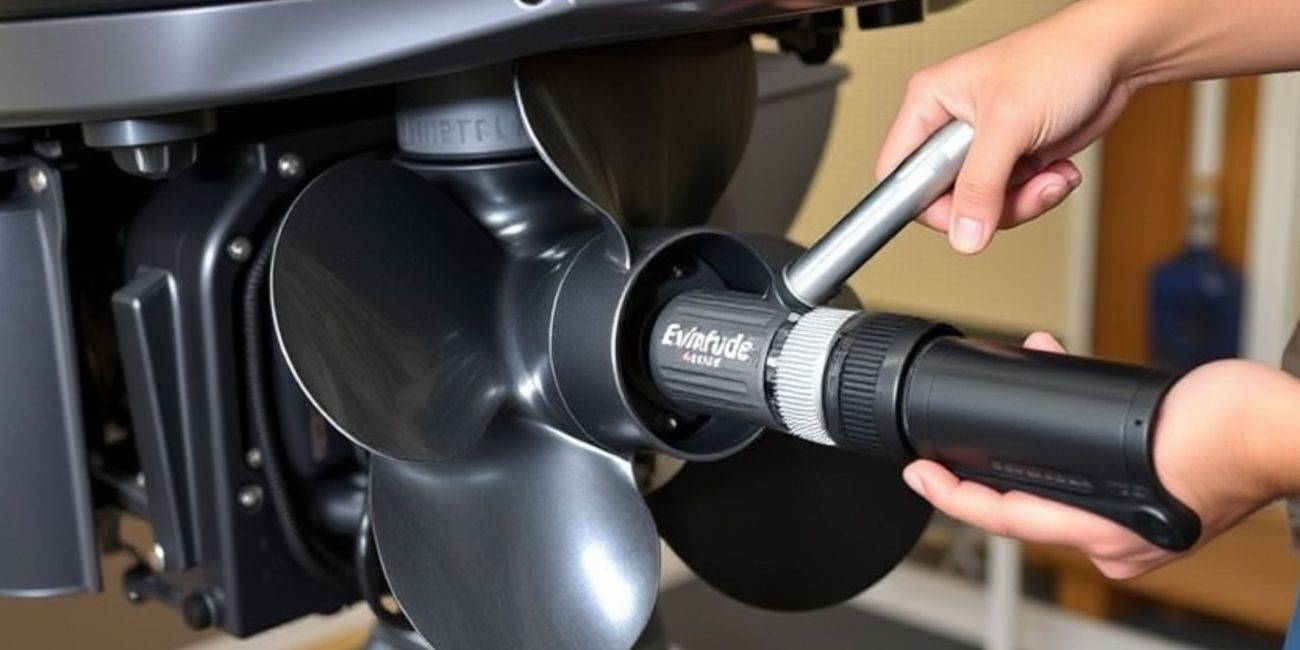
Detach the Propeller
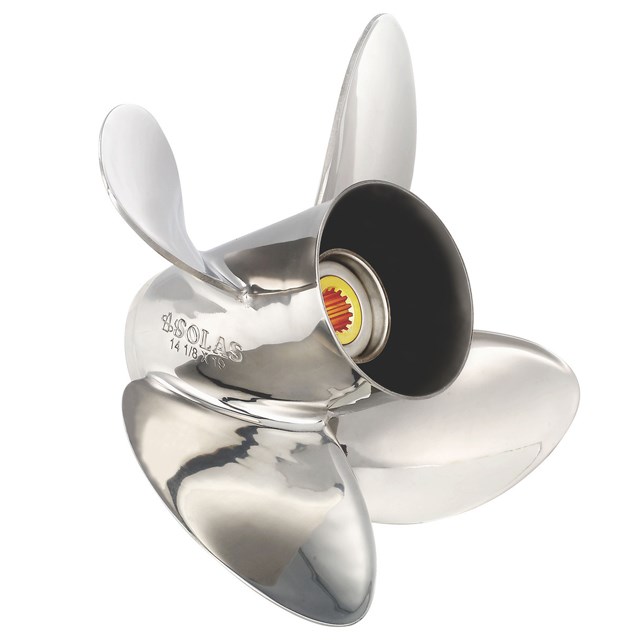
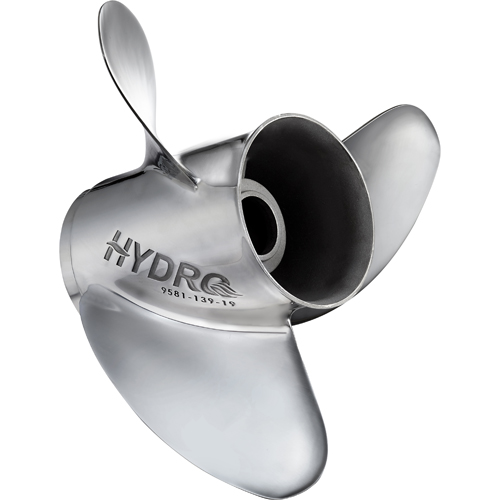
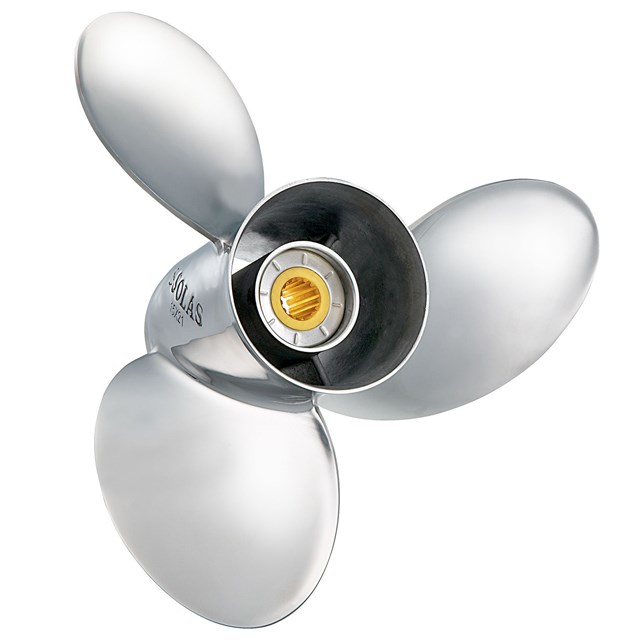
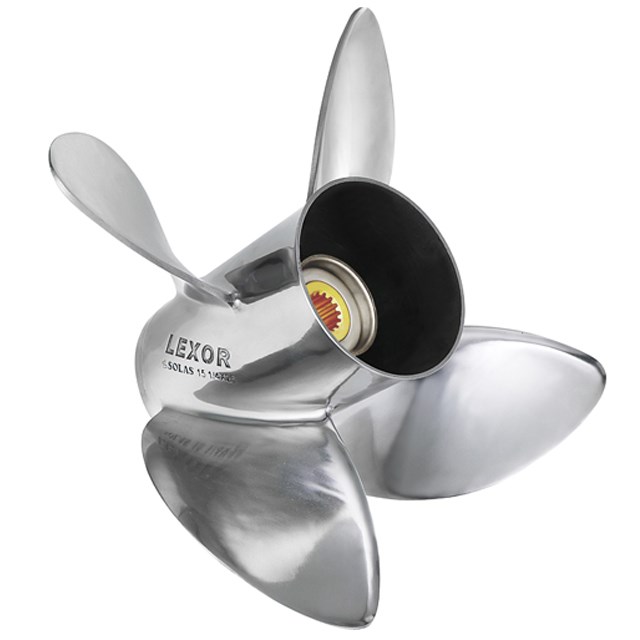
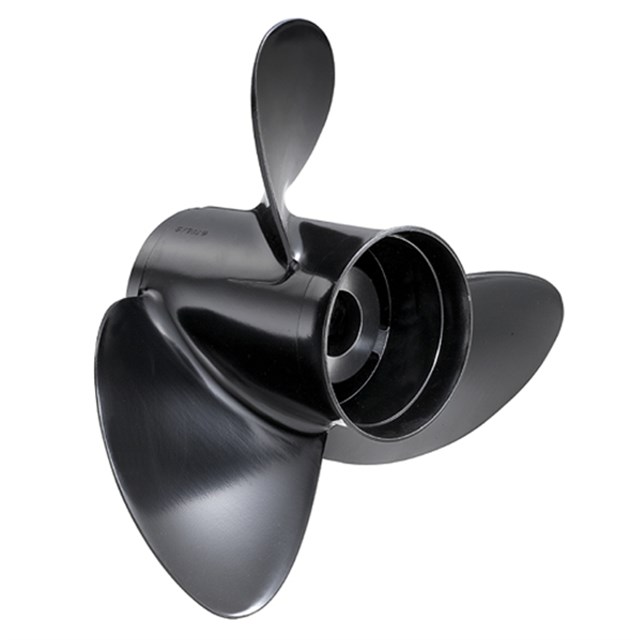
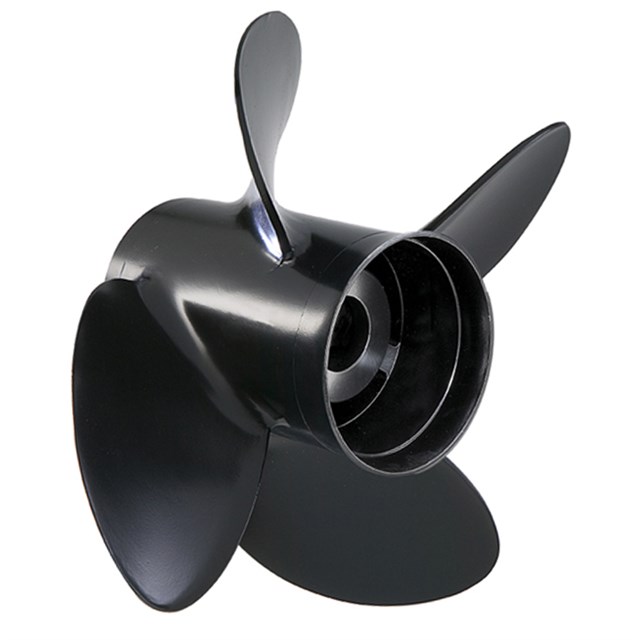
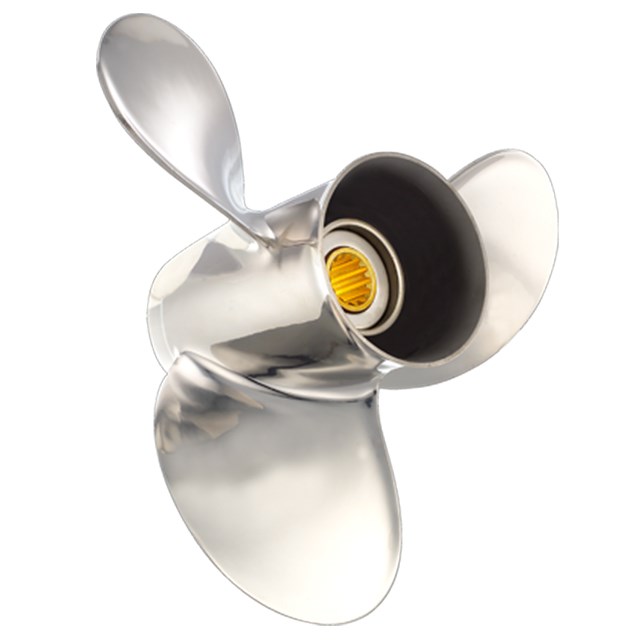
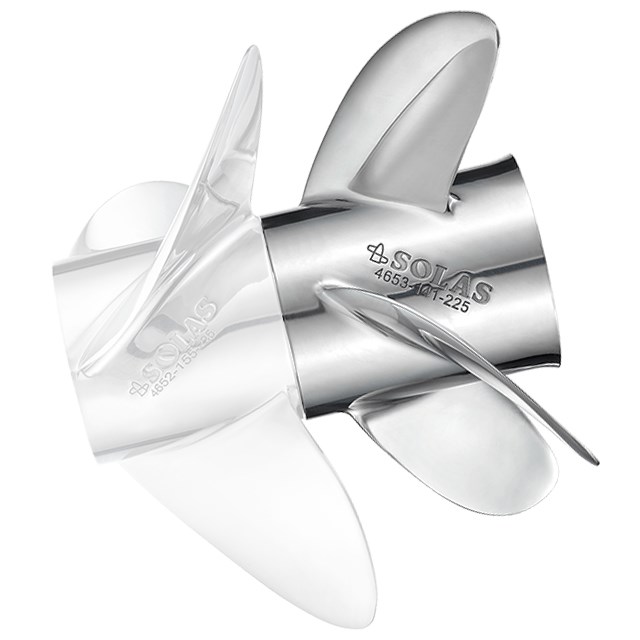
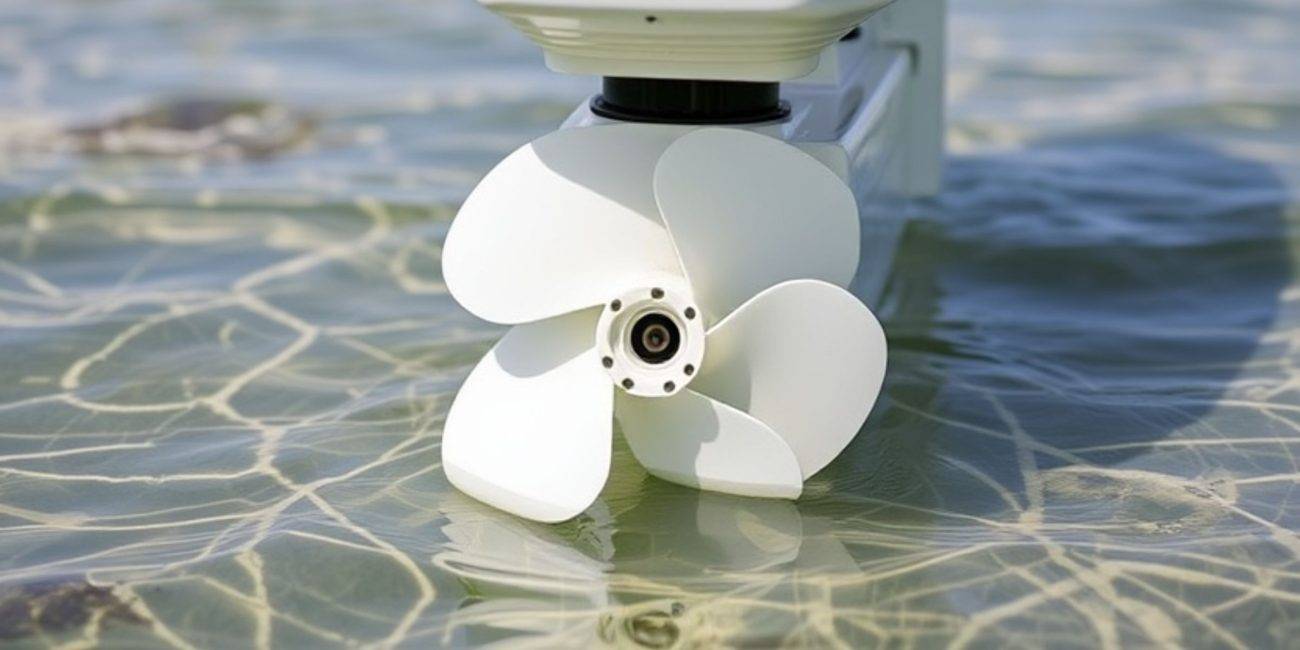
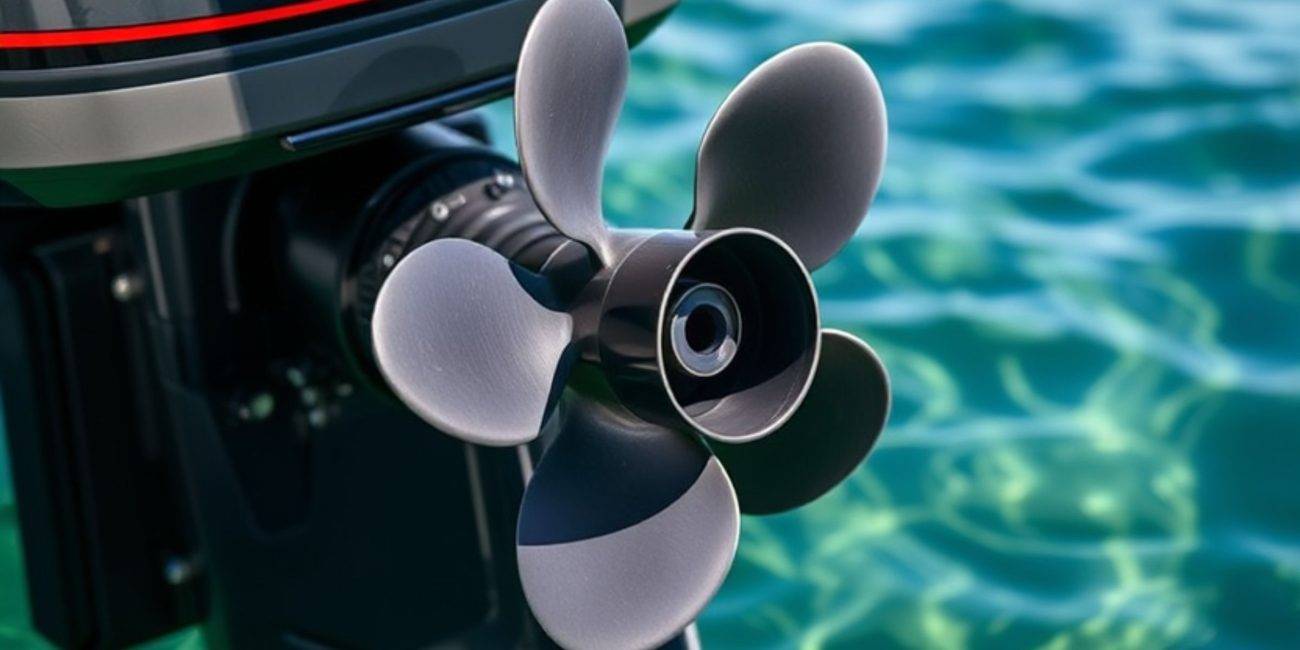
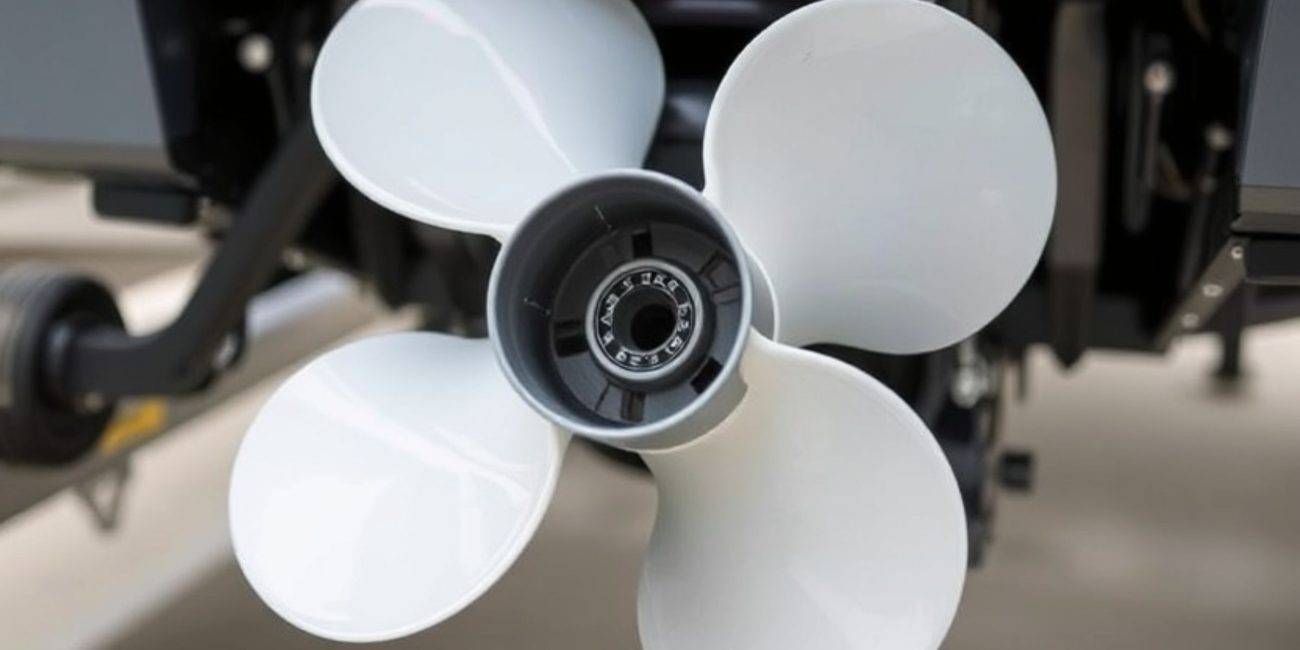
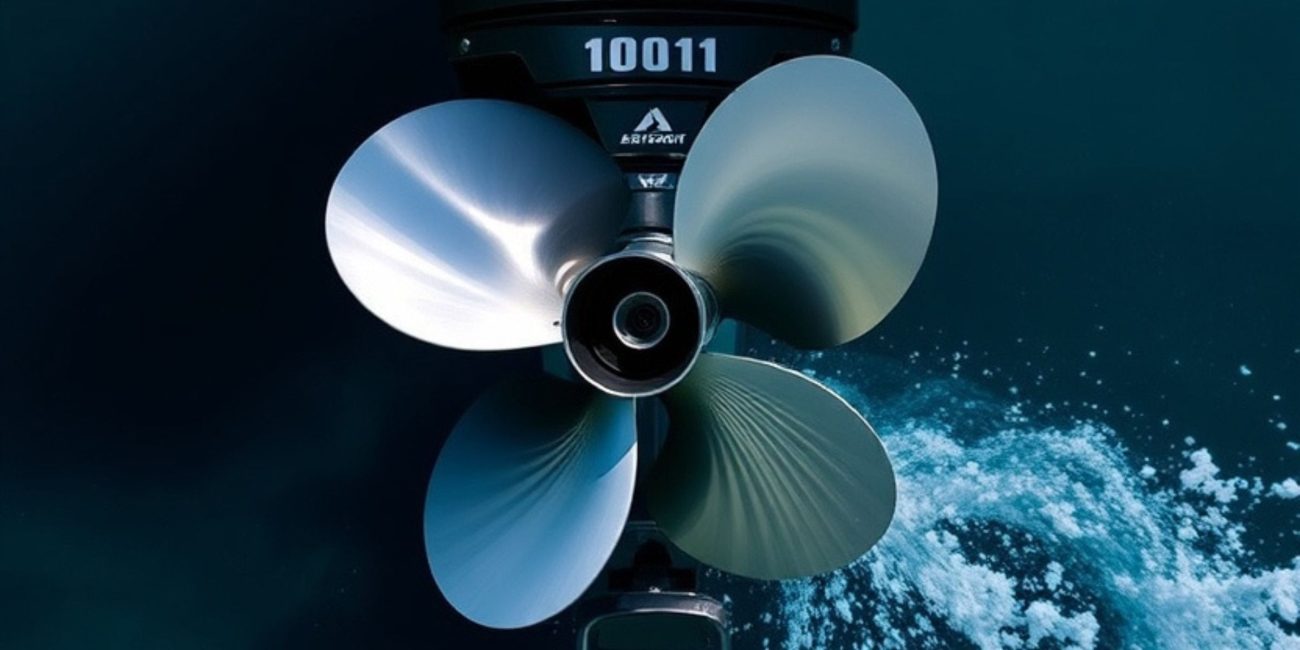
Start by removing the propeller to prevent accidental damage. While doing this, inspect it for any signs of wear or corrosion.
Disconnect Linkages
Carefully disconnect the shift linkage and water pump connections. Take note of their arrangement, as this will help during reassembly.
Unbolt the Lower Unit
Using a socket wrench, remove the bolts that secure the lower unit to the outboard motor. Once unbolted, gently slide the unit downward to detach it.
Step 3: Installing the New Lower Unit
Prepare the Replacement Unit
Before installation, inspect the replacement outboard lower unit for any defects. Apply marine grease to the splines and ensure all seals are intact.
Align and Attach
Carefully slide the new lower unit into position. Ensure proper alignment with the driveshaft and shift linkage before securing it with bolts using a torque wrench.
Reconnect Linkages and Water Pump
Reattach the shift linkage and water pump connections, ensuring they are securely fastened.
Step 4: Refilling Gear Oil and Testing
Fill with Gear Oil
Using a gear oil pump, refill the lower unit with marine-grade gear oil. After filling, replace the drain plug securely.
Test the Installation
Start the engine and shift through gears to verify smooth operation. Additionally, inspect for leaks or unusual noises that might indicate improper installation.
Maintenance Tips for Longevity
To maximize the lifespan of your outboard lower unit, consider these tips:
- Regularly check and replace gear oil.
- Inspect propellers for signs of damage after every outing.
- Clean and grease components to minimize corrosion risks.
Routine maintenance ensures reliable performance and reduces the likelihood of unexpected repairs.
Conclusion
Replacing your outboard lower unit is a manageable task with the right tools and guidance. Following this step-by-step guide ensures your boat remains in excellent condition, ready for uninterrupted adventures on the water.
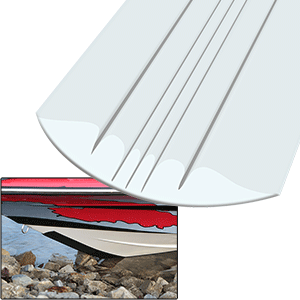
For additional maintenance advice, read our previous blog: How to Apply a Hull Shield for Maximum Protection.


