Top Yamaha Lower Unit Questions Answered by Boat Owners
Introduction
For boat owners who rely on the trusted performance of Yamaha outboards, understanding your Yamaha lower unit is essential. From routine maintenance to troubleshooting and upgrades, this vital component ensures your vessel operates smoothly across the water. In this comprehensive guide, we answer the top Yamaha lower unit questions asked by real boat owners, offering expert tips, best practices, and in-depth knowledge to keep your outboard in peak condition.
Overview / What Is a Yamaha Lower Unit?
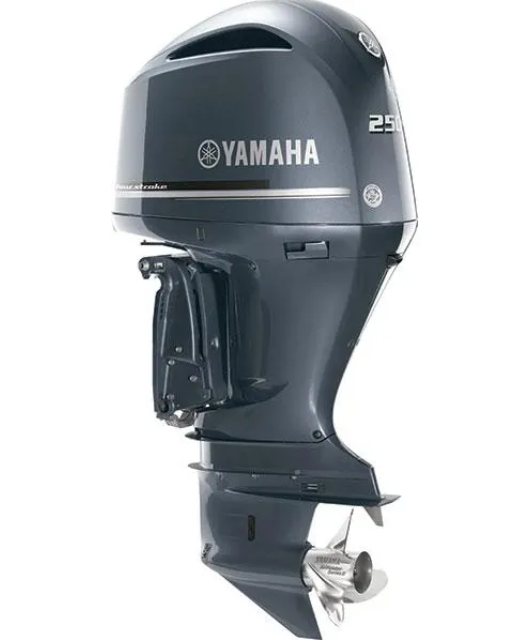
The Yamaha lower unit—also known as the gearcase—is the submerged section of the outboard motor that houses crucial components like the driveshaft, propeller shaft, water pump, and gear system. It is responsible for converting the vertical motion of the engine into the horizontal motion needed to propel the boat forward or backward.
Over time, this part endures harsh marine environments, constant water exposure, and mechanical wear, making it one of the most frequently serviced and replaced parts of an outboard motor.
How to Identify Issues with Your Yamaha Lower Unit
Boat owners often face the challenge of identifying symptoms of a failing lower unit. Recognizing issues early can save you time and costly repairs. Common signs include:
- Grinding or unusual noises when shifting
- Gear slippage or failure to engage
- Milky or discolored lower unit oil (a sign of water intrusion)
- Overheating due to impeller or water pump failure
If you observe any of these symptoms, it’s crucial to inspect the unit or consult a marine technician. Timely intervention prevents further damage and ensures reliability on the water.
Best Yamaha Lower Unit Options for Replacement
If your OEM lower unit has failed or needs replacement, you’ll find several high-quality aftermarket options available. Brands like SEI Marine, GLM, and Mallory offer cost-effective and durable replacements that are compatible with Yamaha outboards.
Here are a few top-rated choices:
- SEI 90-404 for Yamaha 75–100HP (2 & 4 Stroke)
- SEI 90-405 for Yamaha 115–130HP 4-Stroke
- SEI 90-416 for Yamaha 150–200HP
- YA-G4-06 for Yamaha F150–F200 series (2004–2024)
These models are engineered to meet or exceed OEM specifications and are often backed by multi-year warranties.
Maintenance Tips
Regular maintenance of your Yamaha lower unit helps extend its life and prevents performance degradation. Follow these core practices:
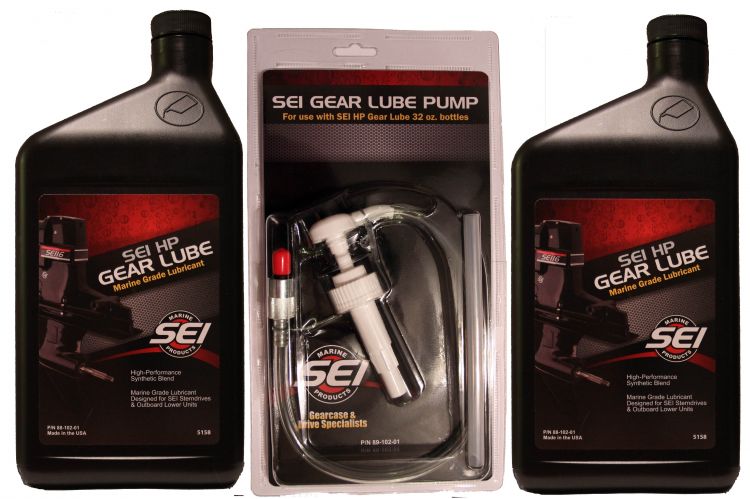
- Change Lower Unit Oil: Inspect and replace gear oil every 100 hours or at least once per season. Use Yamaha-approved marine lower unit gear lube.
- Inspect for Water Intrusion: Check for cloudy oil, which may indicate a leaky seal. Replace seals if necessary.
- Flush the Cooling System: After each use, flush the engine with fresh water to prevent salt and debris buildup.
- Grease Moving Parts: Lubricate the shift shaft, prop shaft, and other contact points to reduce friction and prevent corrosion.
- Check for Fishing Line: Fishing line wrapped around the prop shaft can damage the seal. Inspect and remove regularly.
Expert Advice and Pro Recommendations
Marine experts agree that proactive maintenance and quality replacements are key to long-term performance. Here’s what professionals recommend:
Always use OEM or certified aftermarket parts: Aftermarket parts like those from SEI or GLM can provide comparable performance to OEM parts at a fraction of the cost.
Don’t ignore unusual sounds or vibrations: Early diagnostics can prevent a total lower unit failure. Use a mechanic’s stethoscope or diagnostic tools if unsure.
How to Replace a Yamaha Lower Unit
Replacing a Yamaha lower unit is a technical task but can be done by experienced DIYers with the right tools:
- Place the outboard in neutral.
- Remove bolts securing the lower unit.
- Disconnect the shift shaft linkage.
- Slide the lower unit down and out.
- Install the new unit in reverse order, ensuring proper alignment of the drive and shift shafts.
Warning: If the shift shaft isn’t aligned correctly, you may damage gears upon startup.
Yamaha Lower Unit Troubleshooting
Common problems can often be resolved with basic troubleshooting:
- Hard shifting: Check shift linkage adjustment or damaged clutch dog.
- Oil leaks: Replace prop shaft seals or drive shaft seals.
- Low water pressure: Inspect or replace the water pump impeller.
- Whining noise: Replace worn-out gears or bearings.
Always consult your Yamaha service manual or a qualified technician if unsure.
Detailed FAQ Section
How often should I change the lower unit oil on my Yamaha outboard?
Changing the oil in your Yamaha lower unit is essential for preserving internal gear integrity. Most professionals recommend changing the oil every 100 hours of operation or at the end of each boating season—whichever comes first. Regular changes help flush out metal debris and moisture that can lead to corrosion. It’s especially critical if you frequently operate in saltwater. Use only marine-grade lower unit oil and always replace the crush washers on the drain and vent screws to avoid leaks.
What is the average cost to replace a Yamaha lower unit?
The cost to replace a Yamaha lower unit can vary widely based on horsepower and whether you choose OEM or aftermarket. OEM replacements can cost between $2,500 to $4,000, while quality aftermarket options such as SEI units range from $900 to $1,400. Labor costs for professional installation typically add $300 to $600. For DIYers, costs are limited to parts and tools, but technical skill and caution are advised.
Can I use an aftermarket lower unit on my Yamaha engine?
Yes, aftermarket lower units are often designed to meet or exceed OEM specifications. Brands like SEI and GLM offer reliable alternatives with warranties. Make sure the replacement unit matches your engine’s model, shaft length, gear ratio, and spline count. Many boat owners report years of dependable service from aftermarket lower units, especially when sourced from trusted suppliers like allboatsupplies.com.
What’s the best way to winterize a Yamaha lower unit?
Winterizing your Yamaha lower unit protects it from freezing temperatures and corrosion. First, change the gear oil to remove water and contaminants. Then inspect seals and gaskets for wear. If storing outdoors, tilt the engine down to drain water from the housing. Use fogging oil on internal parts and apply marine grease to protect external fittings. Lastly, cover the prop with a plastic bag to prevent rodents from nesting.
How do I know if my Yamaha lower unit is going bad?
Symptoms of a failing lower unit include difficult or noisy shifting, metal shavings in the oil, excessive vibration, overheating, and oil leakage. A quick inspection of the drain plug during an oil change can reveal metal debris. Conduct a pressure test if you suspect a seal leak. If gears grind or don’t engage correctly, internal failure may be imminent. Act promptly to avoid complete breakdown.
Special Offer
WELCOME5 – Get 5% off storewide at allboatsupplies.com
And upto 10% additional off on all lower units
-
Yamaha Aftermarket Lower Unit Replaces 75-100HP (2 & 4 Stroke) – 2.0/2.3 Gear Ratios, 18 Spline, 20/25″ Shafts – SEI-90-404
-
Yamaha Aftermarket Lower Unit Replaces 115-130HP 4-Stroke – Fits 20/25″ Shafts – SEI-90-405
-
Yamaha 90° Aftermarket Lower Unit Replaces 150-200HP (2 & 4 Stroke) – Fits 20/25″ Shafts – SEI-90-416
-
Yamaha 150–200HP Lower Unit 4-Stroke – 20/25″ Shaft – F150/F175/F200 Series (2004–2024) – New/Remanufactured – YA-G4-06
Conclusion
Your Yamaha lower unit is more than just a gearcase—it’s the heart of your outboard’s propulsion system. From identifying early warning signs to choosing the right replacement and following best maintenance practices, staying informed helps ensure smooth, safe, and worry-free boating. Bookmark this guide and return whenever questions arise. And don’t forget to check out allboatsupplies.com for trusted aftermarket lower units and parts.
Read More
For more helpful marine maintenance guides, check out our article on Top 5 Aftermarket Yamaha Lower Unit Brands Reviewed (SEI, GLM, etc.).
