Outboard lower unit oiling guide

The Ultimate Guide to Outboard Lower Unit Oiling for Beginners
Maintaining your outboard motor is essential for smooth and safe boating. One of the most crucial tasks is Outboard lower unit oiling guide. This guide is tailored for beginners, breaking down the steps, tools, and tips to ensure your boat’s lower unit stays in top shape.
Table of Contents
- Why Is Outboard Lower Unit Oiling Important?
- Tools You’ll Need for Oiling
- Step-by-Step Guide to Oiling the Outboard Lower Unit
- Common Mistakes to Avoid During Oiling
- How Often Should You Change the Lower Unit Oil?
- Signs Your Lower Unit Needs Attention
- FAQs About Outboard Lower Unit Maintenance
- Conclusion: Keep Your Outboard Lower Unit in Prime Condition
Why Is Outboard Lower Unit Oiling Important?
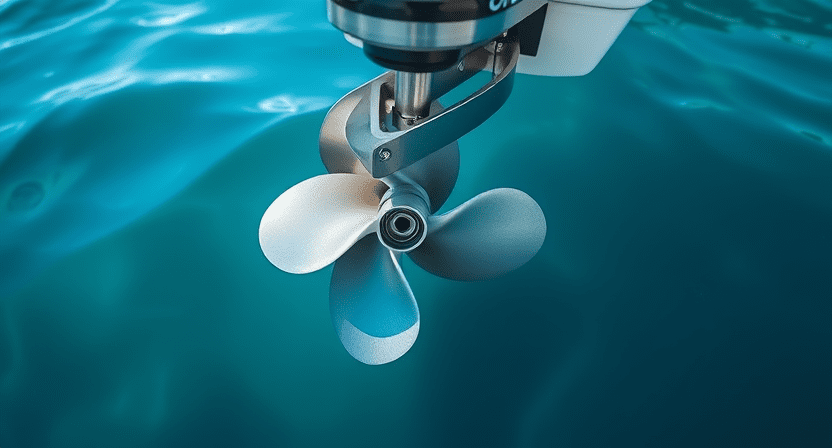
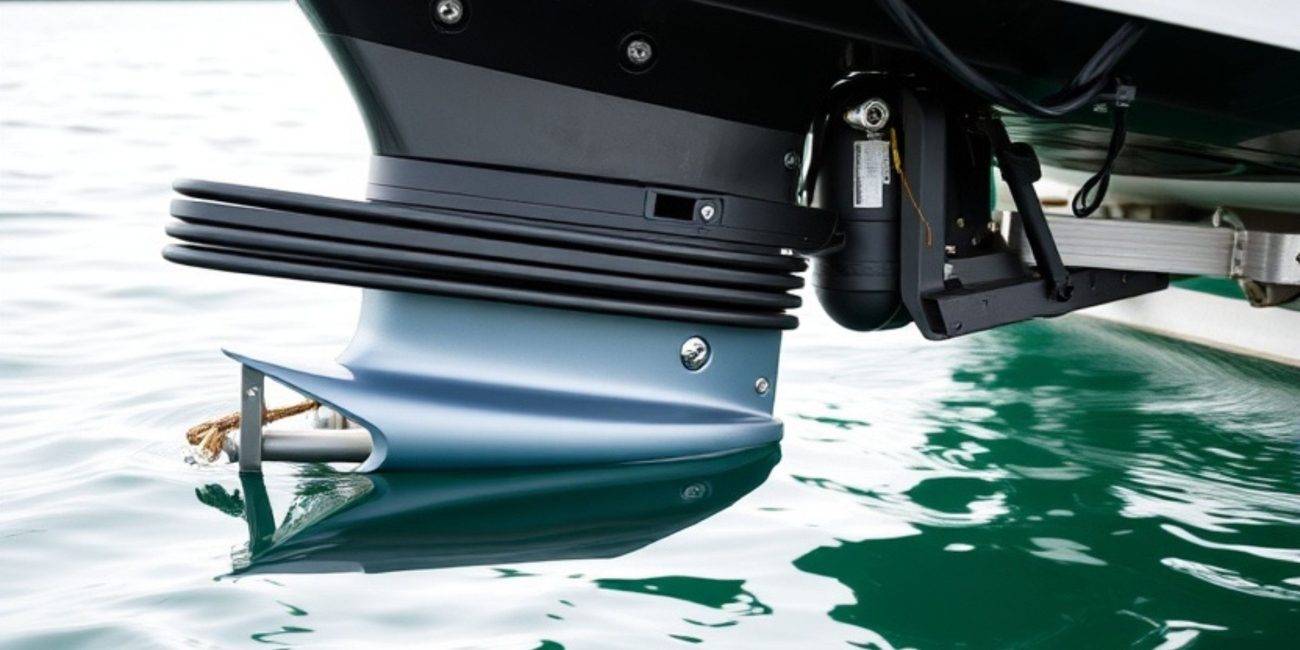
The outboard lower unit houses gears and components critical for your boat’s propulsion. Proper oiling reduces friction, prevents corrosion, and extends the lifespan of these parts. Neglecting oil changes can lead to costly repairs and downtime.
Regular oiling protects:
- Gears and bearings.
- Propeller shaft seals.
- Internal components from water damage.
Tools You’ll Need for Oiling
Before starting, gather these tools for an efficient oil change:
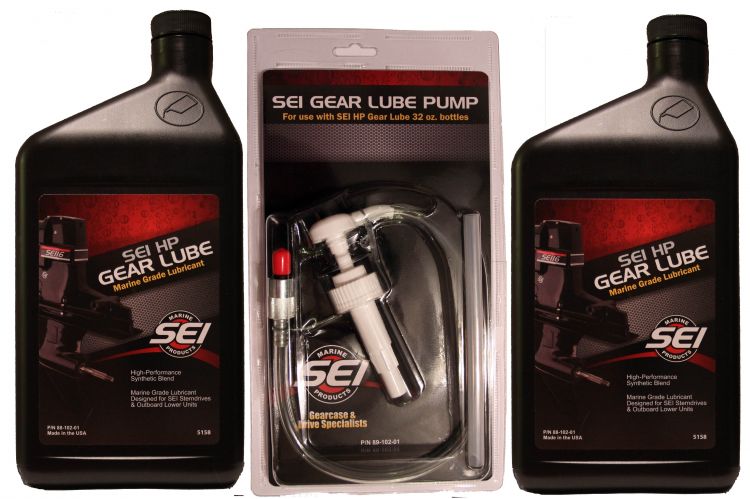
- Marine-grade lower unit gear oil.
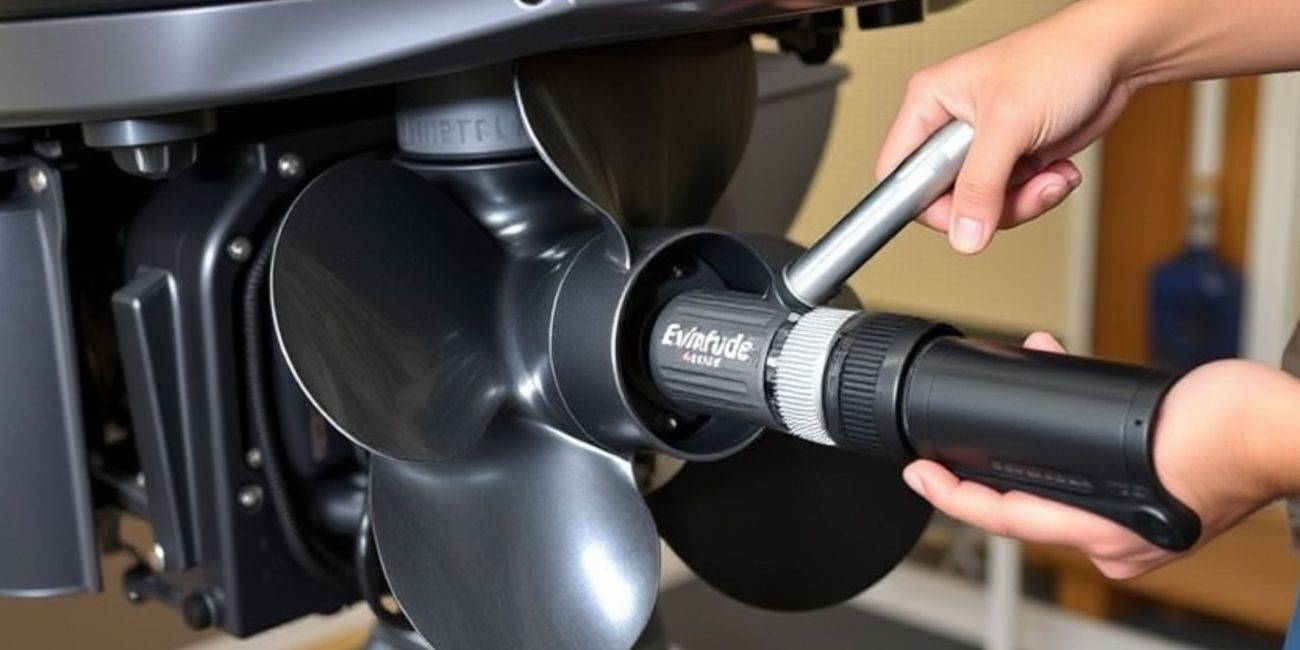
- Oil pump designed for outboards.
- Flathead screwdriver or socket wrench.
- Drain pan or container for old oil.
- Replacement washers for drain plugs.
Step-by-Step Guide to Oiling the Outboard Lower Unit
1. Position Your Boat Properly:
Ensure the outboard motor is in an upright position. This helps oil flow smoothly during draining and filling.
2. Locate the Drain and Vent Plugs:
Find the drain plug at the bottom of the lower unit and the vent plug above it.
3. Drain the Old Oil:
- Place a container beneath the drain plug.
- Remove both plugs to let the oil flow out completely.
4. Inspect the Oil:
Look for discoloration or milky texture, indicating water contamination.
5. Replace the Washers:
Install new washers on both plugs to prevent leaks.
6. Fill with New Oil:
- Attach the oil pump to the drain hole.
- Pump oil until it starts seeping from the vent plug.
- Replace the vent plug first, then the drain plug.
Common Mistakes to Avoid During Oiling
- Using the Wrong Oil: Always choose marine-grade oil designed for outboard motors.
- Skipping Washer Replacement: Reused washers can cause leaks.
- Neglecting the Vent Plug: Forgetting to remove it can trap air and prevent proper filling.
How Often Should You Change the Lower Unit Oil?
For most outboards, change the lower unit oil every 100 hours of use or at least once a year. Check your owner’s manual for specific recommendations.
Signs Your Lower Unit Needs Attention
Be alert for these signs indicating potential issues:
- Leaking Oil: Look for oil around the lower unit or propeller.
- Noise: Grinding or clicking sounds may indicate gear trouble.
- Water in Oil: Milky oil means water intrusion, requiring immediate attention.
FAQs About Outboard Lower Unit Maintenance
1. Can I change the lower unit oil myself?
Yes, with the right tools and instructions, beginners can handle this task.
2. What type of oil is best for my outboard lower unit?
Marine-grade gear oil designed for outboards is essential for optimal performance.
3. How do I know if my lower unit oil is contaminated?
Milky or cloudy oil suggests water intrusion, which needs immediate attention.
Conclusion: Keep Your Outboard Lower Unit in Prime Condition
Oiling your outboard lower unit is a straightforward but essential task for any boat owner. By following the steps outlined in this guide and performing regular maintenance, you’ll enjoy smoother, more reliable boating experiences.


