Yamaha Lower Unit Replacement: DIY or Mechanic?
Introduction
When it comes to Yamaha lower unit replacement, boat owners often find themselves at a critical decision point: should they do it themselves (DIY) or consult a professional marine mechanic? Replacing a lower unit is not just about fixing a broken part — it’s about restoring your boat’s performance and ensuring safe, reliable operation on the water. In this guide, we’ll explore the pros and cons of both options, provide step-by-step maintenance advice, and help you determine the best route for your specific situation.
Overview / What Is Yamaha Lower Unit Replacement?
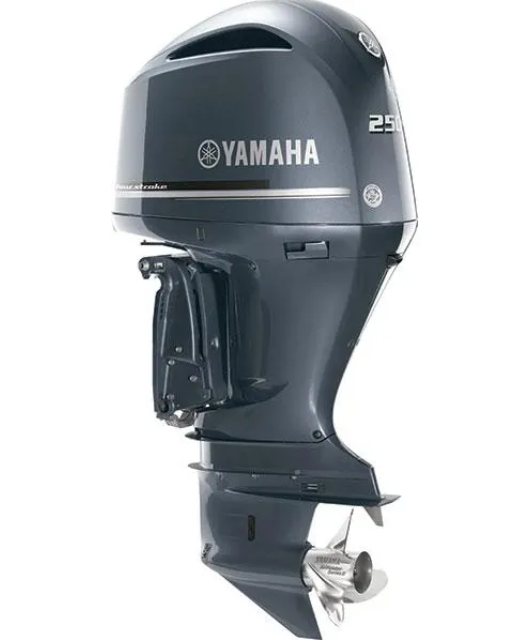
The lower unit, also known as the gearcase, is an essential component of your Yamaha outboard engine. It houses the gears, driveshaft, water pump, and propeller shaft, all of which work together to convert engine power into thrust. A Yamaha lower unit replacement becomes necessary when components within the gearcase are damaged due to wear, corrosion, lack of maintenance, or impacts with underwater obstacles.
Knowing how to detect early signs of failure, such as oil leaks, strange noises, or vibration, can save you thousands of dollars in repairs. Whether you opt for DIY or professional help, replacing the lower unit is a significant operation requiring precision and attention to detail.
DIY Yamaha Lower Unit Replacement: What You Need to Know
Many skilled boat owners choose the DIY route to save money and gain a better understanding of their vessel. If you’re comfortable with tools and have the right service manual for your Yamaha model, this task is within reach.
Here’s a simplified list of what you’ll need:
- New or remanufactured Yamaha lower unit
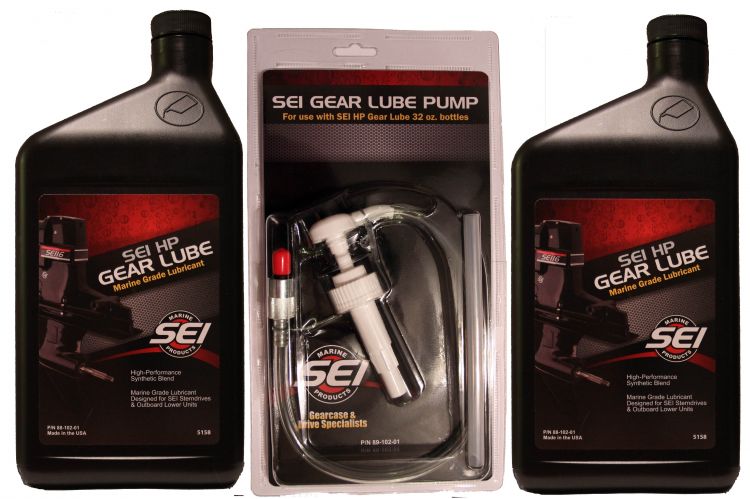
- Yamaha-approved gear lube
- Gasket kit
- Torque wrench
- Marine grease
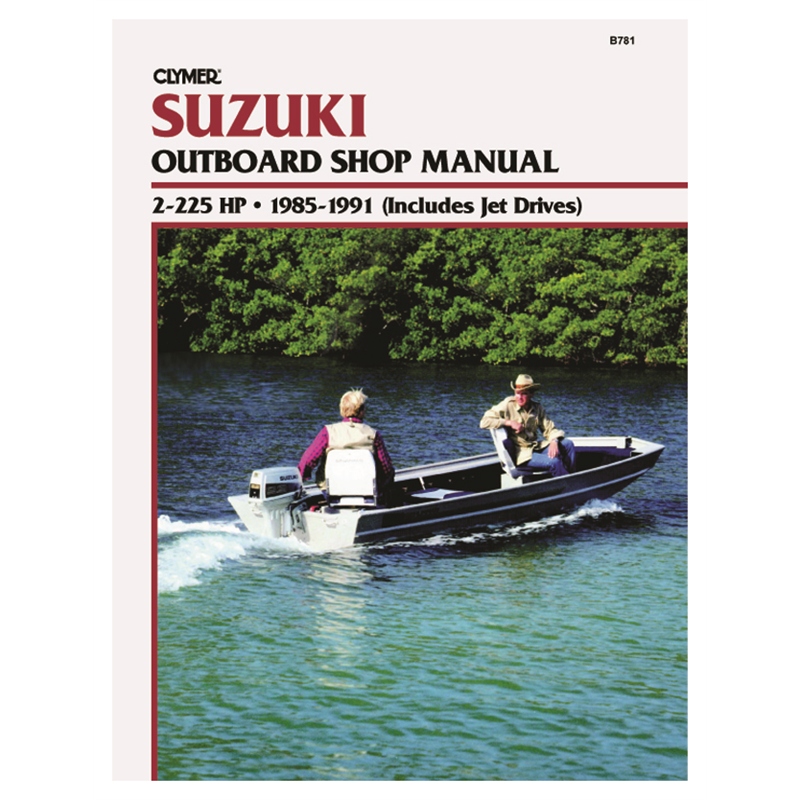
- Service manual for torque specs and diagrams
Step-by-step:
- Drain gear oil and remove propeller.
- Disconnect shift rod and water pump connections.
- Unbolt and carefully remove the lower unit.
- Install the new lower unit with proper alignment.
- Reconnect components, torque bolts as per manual.
- Refill gear lube and perform a test run.
Should You Hire a Mechanic for Yamaha Lower Unit Replacement?
If you’re unsure about your mechanical skills or lack the tools and environment for marine repairs, hiring a certified Yamaha mechanic is a smart move. Professionals bring experience, diagnostic tools, and guaranteed work, reducing risks of improper installation or hidden damage.
Mechanics also offer:
- Warranty-backed service
- Precise troubleshooting
- Access to OEM parts and tools
- Proper disposal of old unit fluids and materials
Though more expensive upfront, it ensures your boat stays seaworthy and safe.
How to Choose the Right Lower Unit Replacement
There are OEM (original equipment manufacturer) and aftermarket options available. Both have their pros and cons:
- OEM Lower Units: Guaranteed compatibility and longevity, but pricey.
- Aftermarket Lower Units: Cost-effective and widely available, but quality varies by brand.
Always verify your Yamaha outboard’s model, horsepower, shaft length, and year before purchasing. Sites like allboatsupplies.com offer detailed listings and compatibility charts.
Common Yamaha Lower Unit Troubleshooting Tips
Before you replace the unit entirely, ensure the issue isn’t something simple. Common lower unit problems include:
- Milky gear oil – water intrusion
- No forward/reverse – shift rod failure
- Overheating – water pump damage
- Vibration – bent prop or shaft
Regular inspections and fluid checks can help diagnose problems early and avoid full replacement.
Maintenance Tips
Proper maintenance of your Yamaha lower unit can dramatically extend its lifespan and avoid costly replacements. Here are some maintenance best practices:
- Change the gear oil every 100 hours or annually, whichever comes first.
- Inspect seals, gaskets, and the drain plug magnet for metal shavings.
- Grease fittings regularly and inspect the prop shaft for fishing line or debris.
- Flush the motor with fresh water after each use, especially in saltwater.
Sticking to a maintenance routine prevents corrosion, reduces wear, and enhances boat performance.
Expert Advice and Pro Recommendations
According to marine technicians and boat mechanics, the key to avoiding lower unit failure lies in proactive care. Here’s what the pros say:
- Don’t ignore unusual noise or vibration — address it immediately.
- Store your engine upright to avoid water accumulation in the gearcase.
- Use genuine Yamaha parts or high-quality aftermarket equivalents from trusted sellers.
- If you’re unsure, get a diagnostic check before investing in a replacement.
It’s also recommended to keep a log of maintenance and replacements for resale value and insurance documentation.
Detailed FAQ Section
How do I know if my Yamaha lower unit is bad?
Signs of a bad lower unit include metal flakes in the gear oil, water intrusion (milky oil), difficulty shifting gears, and unusual vibration or noise from the lower portion of the engine. Another major indicator is a complete loss of propulsion despite the engine running fine. If your boat suddenly won’t move in forward or reverse, the issue could be within the gearcase. Conduct a gear oil check and visual inspection. If in doubt, consult a certified Yamaha mechanic for confirmation before proceeding with a full replacement.
Is it cheaper to replace or repair a Yamaha lower unit?
It depends on the damage extent. Minor issues like replacing seals or gears may be cost-effective. However, if the gears, shafts, and bearings are compromised, labor costs can quickly surpass the price of a remanufactured unit. On average, repairing can cost $800–$1500, while an aftermarket replacement ranges between $1200–$2000. Considering the warranty and performance of new units, many professionals recommend replacing unless the damage is minimal. A full inspection will help you make the right choice.
Can I install a Yamaha lower unit by myself?
Yes, if you’re mechanically inclined and have the proper tools, you can install a Yamaha lower unit by following the service manual closely. The process involves draining fluids, unbolting the old unit, aligning and securing the new unit, and reconnecting shift rods and water lines. While DIY can save money, any mistake can lead to leaks, shifting problems, or overheating. It’s crucial to follow torque specifications and double-check alignments. If you’re unsure, it’s best to have a mechanic supervise or assist during installation.
What tools are needed for Yamaha lower unit replacement?
Basic tools include a socket wrench set, torque wrench, flathead screwdriver, marine grease, gasket kit, and gear oil pump. For some models, a lower unit holding fixture and shift rod alignment tool are recommended. You’ll also need a drain pan for old oil and gloves to maintain cleanliness. A Yamaha service manual specific to your engine model is invaluable for correct specifications and steps. Having all tools ready before starting ensures a smoother DIY replacement process.
Where can I buy quality Yamaha lower unit replacements?
You can buy both OEM and aftermarket Yamaha lower units at reputable marine supply retailers. One of the best places is allboatsupplies.com, where you can find high-quality SEI lower units compatible with various Yamaha models. Listings include detailed specifications, gear ratios, spline counts, and shaft lengths to help you choose accurately. Always verify compatibility before purchase, and look for warranty-backed products. Avoid cheap, no-brand options that may compromise safety and longevity.
Special Offer
WELCOME5 – Get 5% off storewide at allboatsupplies.com
And upto 10% additional off on all lower units
-
Yamaha Aftermarket Lower Unit Replaces 75-100HP (2 & 4 Stroke) – 2.0/2.3 Gear Ratios, 18 Spline, 20/25″ Shafts – SEI-90-404
-
Yamaha Aftermarket Lower Unit Replaces 115-130HP 4-Stroke – Fits 20/25″ Shafts – SEI-90-405
-
Yamaha 90° Aftermarket Lower Unit Replaces 150-200HP (2 & 4 Stroke) – Fits 20/25″ Shafts – SEI-90-416
-
Yamaha 150–200HP Lower Unit 4-Stroke – 20/25″ Shaft – F150/F175/F200 Series (2004–2024) – New/Remanufactured – YA-G4-06
Conclusion
Whether you choose to tackle your Yamaha lower unit replacement yourself or rely on a marine mechanic, making the right call depends on your skill level, time, tools, and budget. DIY can be rewarding and cost-effective, while professional installation ensures reliability and peace of mind. With proper maintenance, diagnostics, and high-quality parts from trusted sources like allboatsupplies.com, you can keep your Yamaha outboard running strong for years to come.
Read More
For more helpful marine maintenance guides, check out our article on Yamaha Lower Unit Recall List (Updated for 2025).
