Zipwake Mini Controller Explained: Features & Tips

Welcome to our comprehensive guide about the zipwake mini controller. In this post, we’ll dive deep into how the controller works, its key features, installation steps, expert tips, and more. Use coupon code welcome5 at allboatsupplies.com to get 5% instant discount on your purchase!
This guide is designed for both seasoned boaters and newcomers who want to get the most out of the Zipwake Mini Controller. Let’s begin!
🔍 What Is the Zipwake Mini Controller?
The zipwake mini controller is a compact yet powerful trim tab and interceptors controller designed to provide precise, real‑time automatic ride control. It includes features such as:
- Auto, Manual, and Trim Assist modes
- Sensitive control via gyro and accelerometer
- Compact fit for tight helm areas
With proactive commands sent to interceptor tabs, the controller helps maintain optimal trim and list correction.
🚤 Key Features of Zipwake Mini Controller
H2: 1. Auto Mode – Hands‑Free Trim
In Auto Mode, the zipwake mini controller continuously evaluates boat attitude and adjusts interceptor position automatically, helping maintain a smooth and efficient ride. This mode responds instantly to wake, wind, and wakes from other boats.
H2: 2. Manual + Trim Assist
Switch to Manual Mode when you want direct control. Trim Assist helps fine-tune adjustments using arrow buttons. Great for conditions like wind or heavy load changes.
H3: Compact, Helm‑Friendly Design
The controller’s slim design makes it perfect for console or dash mounting without crowding your cockpit.
H2: 3. Intelligent Sensors
Equipped with gyro and accelerometer sensors, the controller detects roll, pitch, and yaw, adjusting tabs quickly and precisely to stay stable.
H3: Easy Integration
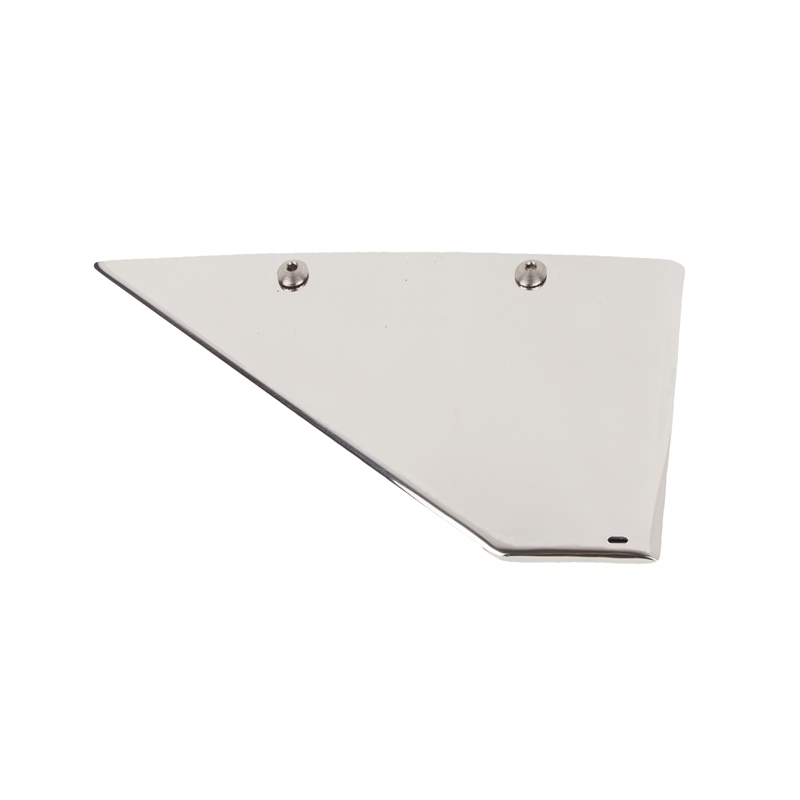
Works seamlessly with Zipwake interceptors and can also be fitted with third‑party trim tabs. Wiring is straightforward, and setup can be completed in under 45 minutes with the right tools.
⚙️ Zipwake Mini Controller Installation Guide
Here’s a step‑by‑step zipwake mini controller installation guide:
H2: Step 1 – Mounting the Controller
Choose a spot within easy reach of the helm. Stick-on or screw-down mounting are both possible. Ensure it’s in clear view and easy to operate.
H2: Step 2 – Wiring & Connections
Connect the controller to power and the Zipwake interceptor actuator. Use shielded cable to minimize electrical interference. Follow the wire-color diagram in the user manual.
H3: Step 3 – System Calibration
After power-on, follow the calibration sequence:
- Auto-level to start.
- Press “Done” once flat.
- Calibrate sensors while sitting still.
H2: Step 4 – First Sea Trial
Start with Manual Mode and confirm interceptor movement. Then go to Auto Mode at 10 kn. Fine-tune Sensitivity settings to match your boat type, load, and water conditions.
H3: Pro Tip
Note your Zipwake Mini Controller benefits for boats: faster plane time, improved fuel efficiency, and better ride comfort.
🎯 Tips & Best Practices for Zipwake Mini Controller Setup
H2: Tip 1 – Adjust Sensitivity
Sensitivity settings range from 1 to 8. Higher is more responsive, ideal for rough seas. Lower is smoother, perfect for calm water.
H2: Tip 2 – Pre‑Plan Conditions
For solo runs without load, choose lower sensitivity. When towing water toys or fishing with gear, increase sensitivity to maintain stability.
H2: Tip 3 – Combine with Interceptors
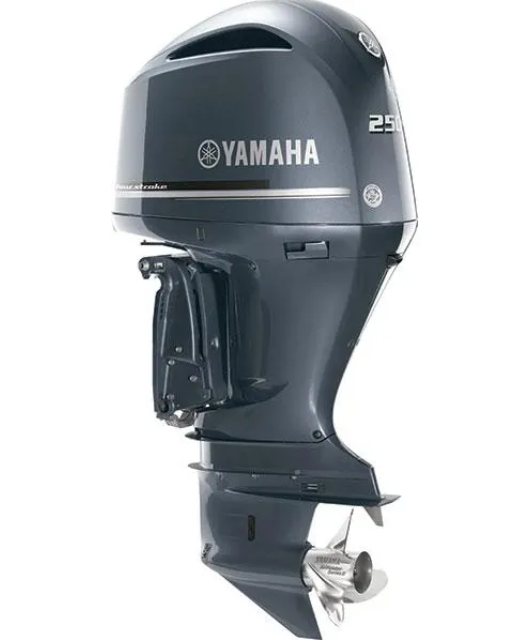
The full value comes when you pair your controller with Zipwake interceptors. Add the interceptors via the Yamaha SHO Lower Unit if your boat has Yamaha power. (Yes—you can use a Zipwake system on your Yamaha-powered vessel!)
H2: Tip 4 – Update Firmware
Check for software updates on the Zipwake or Raymarine site. Staying current ensures the best performance and compatibility.
H3: Tip 5 – Use Manual Mode in Heavy Seas
Even optimized controllers can over‑correct in rough conditions. Use Manual + Trim Assist mode, then revert to Auto once seas calm.
Q1. How do I install a Zipwake Mini Controller?
Answer:
To install, choose a clean, dry helm area for mounting. Run wires from the controller to the main power supply and interceptors. Then perform calibration in calm water—place the boat level, follow the on-screen instructions, and confirm that the interceptors move as expected. Finish with sea-trial tweaks in both Manual and Auto modes.
Q2. What are the Zipwake Mini Controller benefits for boats?
Answer:
This controller delivers a smoother ride by automatically correcting roll and pitch using interceptors. It saves fuel—by trimming your boat optimally at all times, you reduce drag. It also aids in quicker planing, which helps with fuel efficiency and responsiveness. Overall, it makes boating safer, more comfortable, and more enjoyable.
Q3. Can I use the Zipwake Mini Controller with Yamaha SHO Lower Unit?
Answer:
Yes—many boaters combine a Yamaha SHO Lower Unit with Zipwake for superior performance. The controller works with interceptors installed near the transom. Once correctly wired and calibrated, you’ll notice improved stability and better handling, especially on Yamaha-powered boats with high‑performance lower units.
Q4. How do I update the firmware on the controller?
Answer:
Check Zipwake or Raymarine’s official site for firmware updates. Download via USB or SD card, insert into the controller, and follow prompts in Settings → Firmware Update. Keep your controller current for best performance and new features.
✅ Conclusion & Call to Action
The zipwake mini controller offers precise, automatic ride control for serious boaters. With modes for Auto, Manual, and Trim Assist, along with easy installation and firmware updates, it enhances performance across conditions. Remember our installation tips, firmware guidance, and pairing suggestions for maximum benefits.
Take action now—use code welcome5 at allboatsupplies.com for a 5% instant discount on your Zipwake Mini Controller or Yamaha SHO Lower Unit purchase.
- Check out the Yamaha SHO Lower Unit
- View all Yamaha 150 Lower Units
- Related reads: How to Flush a Yamaha Outboard, Signs of Lower Unit Failure
